It’s been some time since we did any real changes to the house, but we’ve been working hard since after Christmas. Our first big project of the year has been updating the living room. We’ve been wanting to add built-ins on either side of the fireplace, while also mounting the TV above the fireplace.
Something like this is what we had in mind:
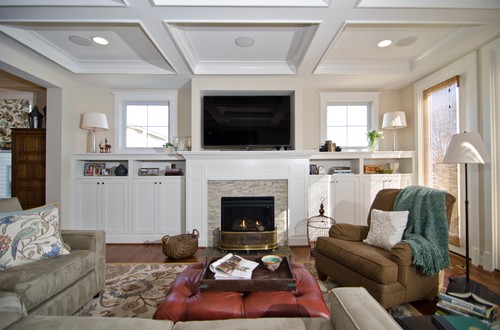
Inspiration for our living room
Although our fireplace is set back, the cabinets in the photo above are similar to what I had originally planned, and the TV is similar as well.
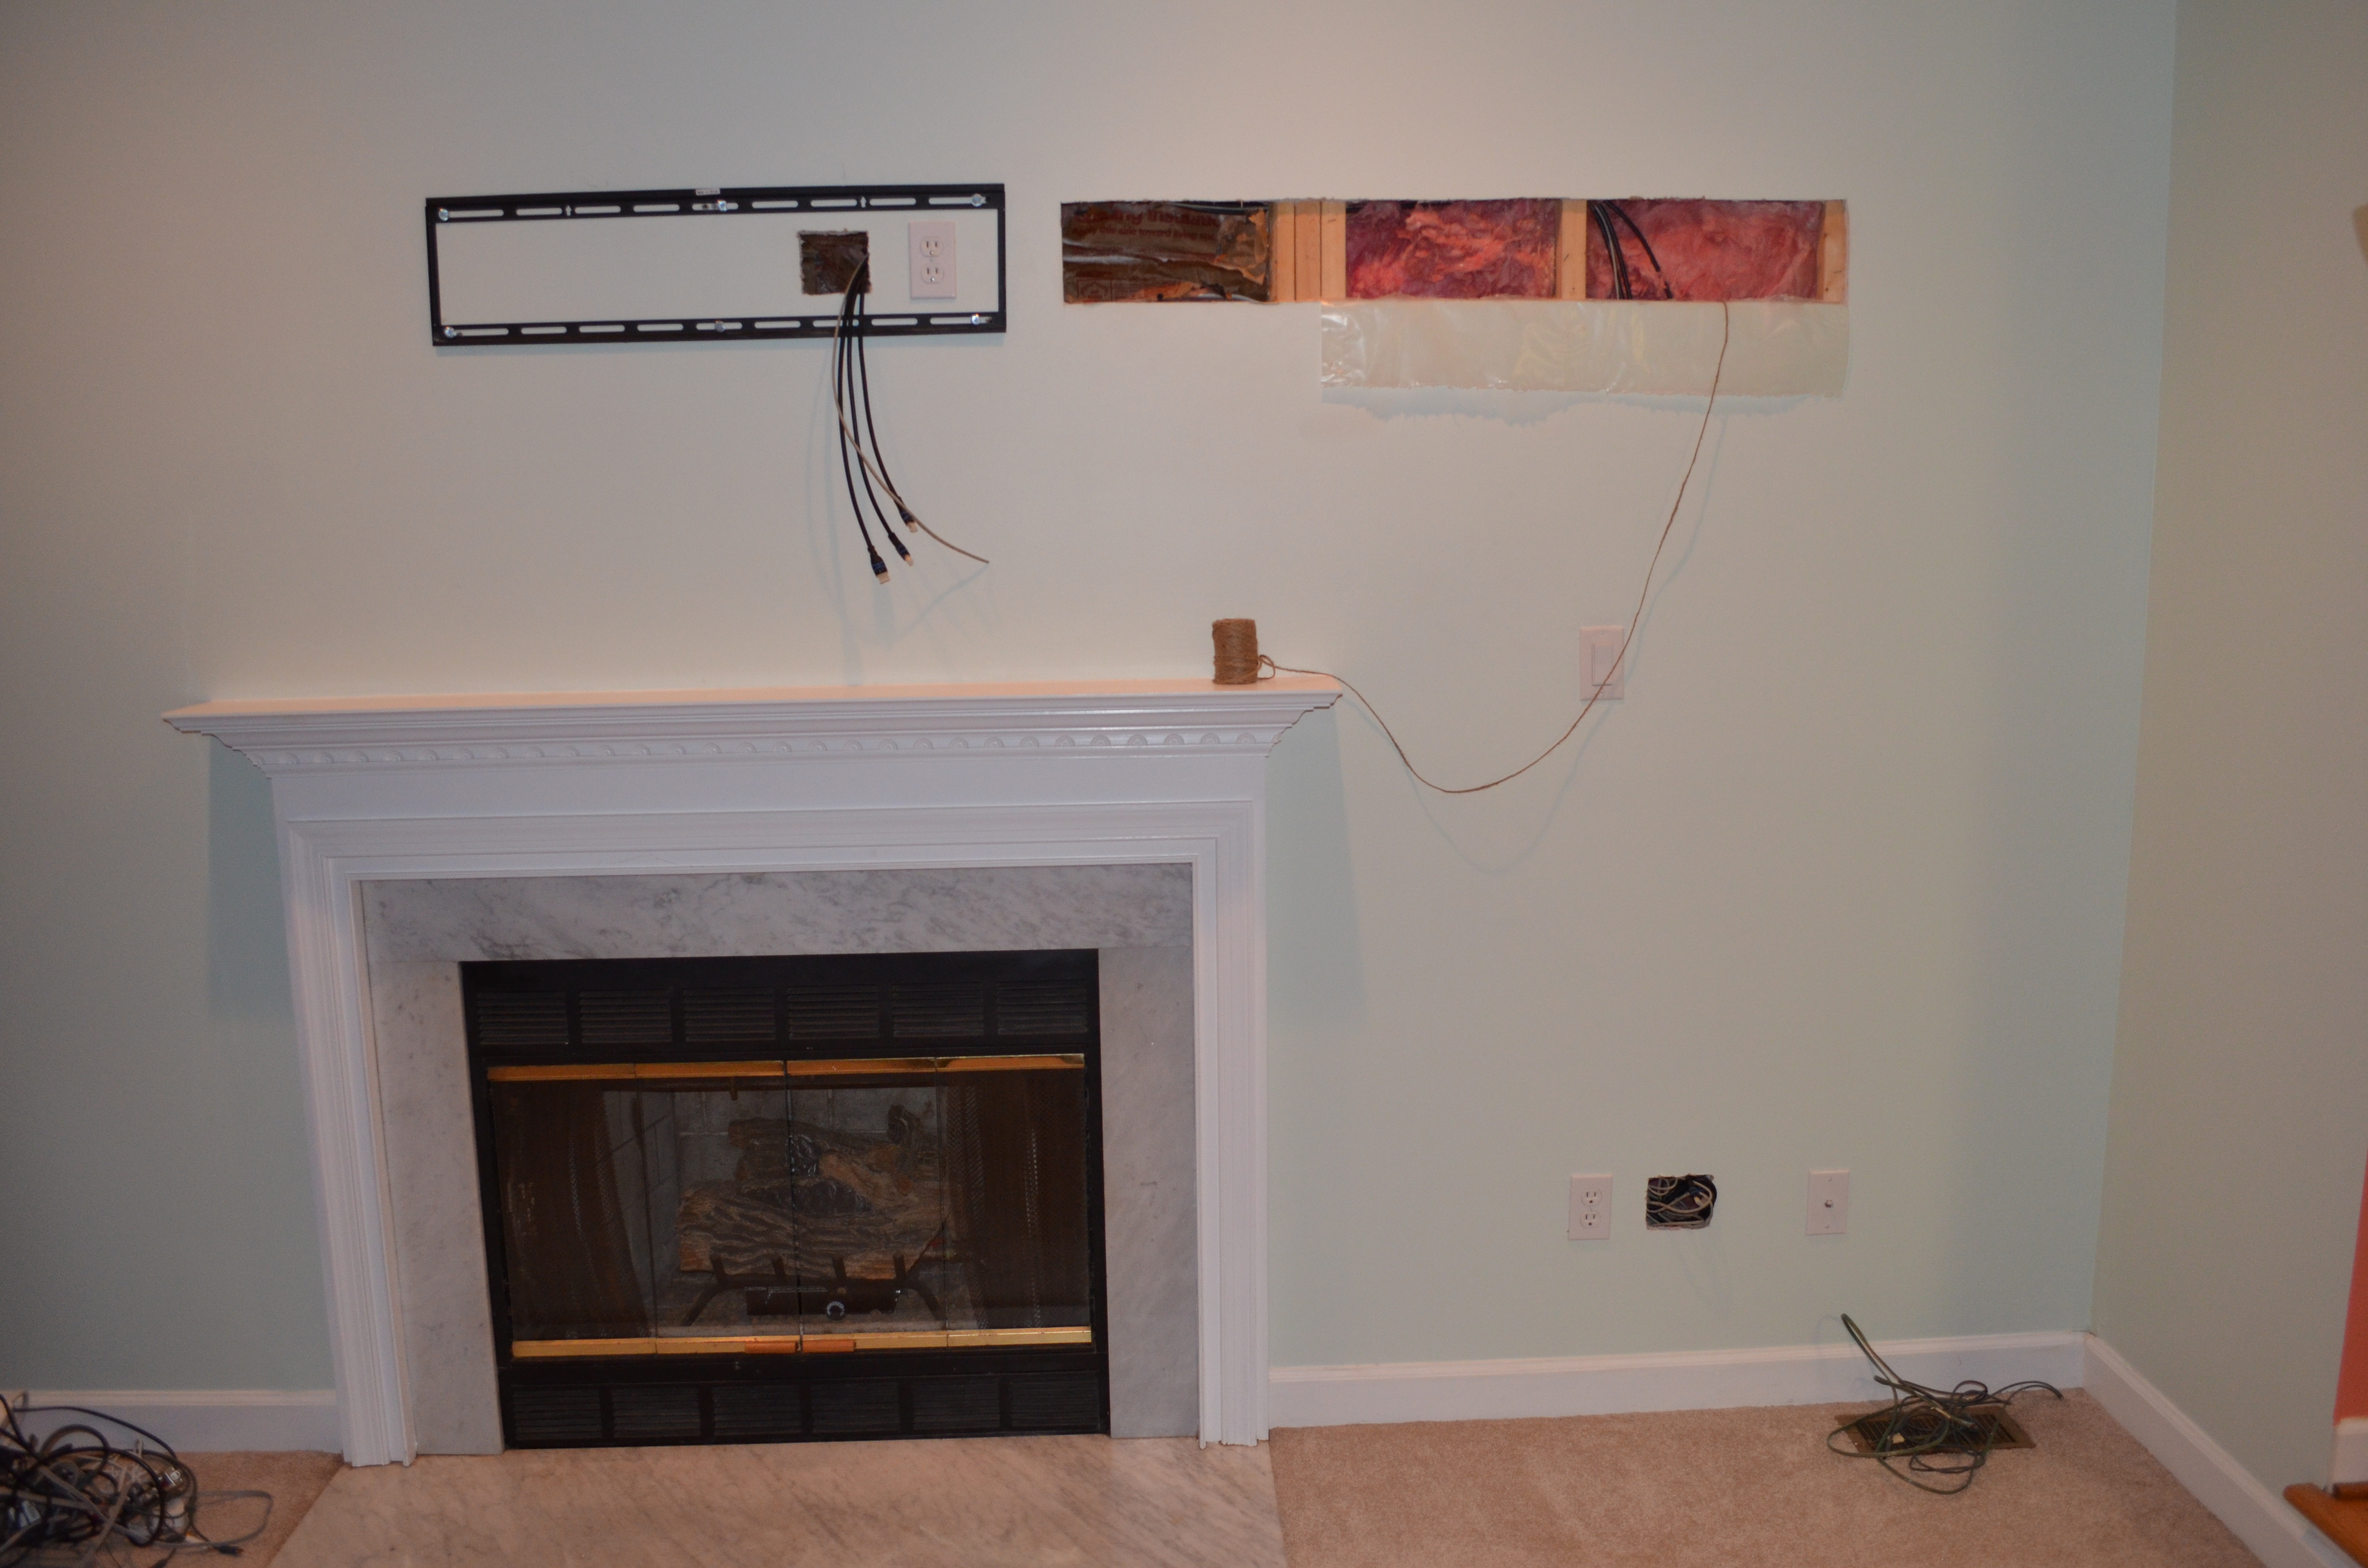
Before building the cabinets, we had to begin by wiring for the TV. With my massive dislike for wires or anything that represents them, I had to have them in the wall. We had the raceways that are made for concealing them at our apartment, but since we’re allowed to tear apart the wall in our own house, that’s how I thought it should be done.
Of course, to get power, we needed to come from another power outlet. The closest one comes from about 3 feet to the right of the fireplace, and since studs are in the path, we had to cut a pretty sizable hole in the wall to get there. Being an outside wall, there was insulation in it too, so it made it even harder to pull cables through.
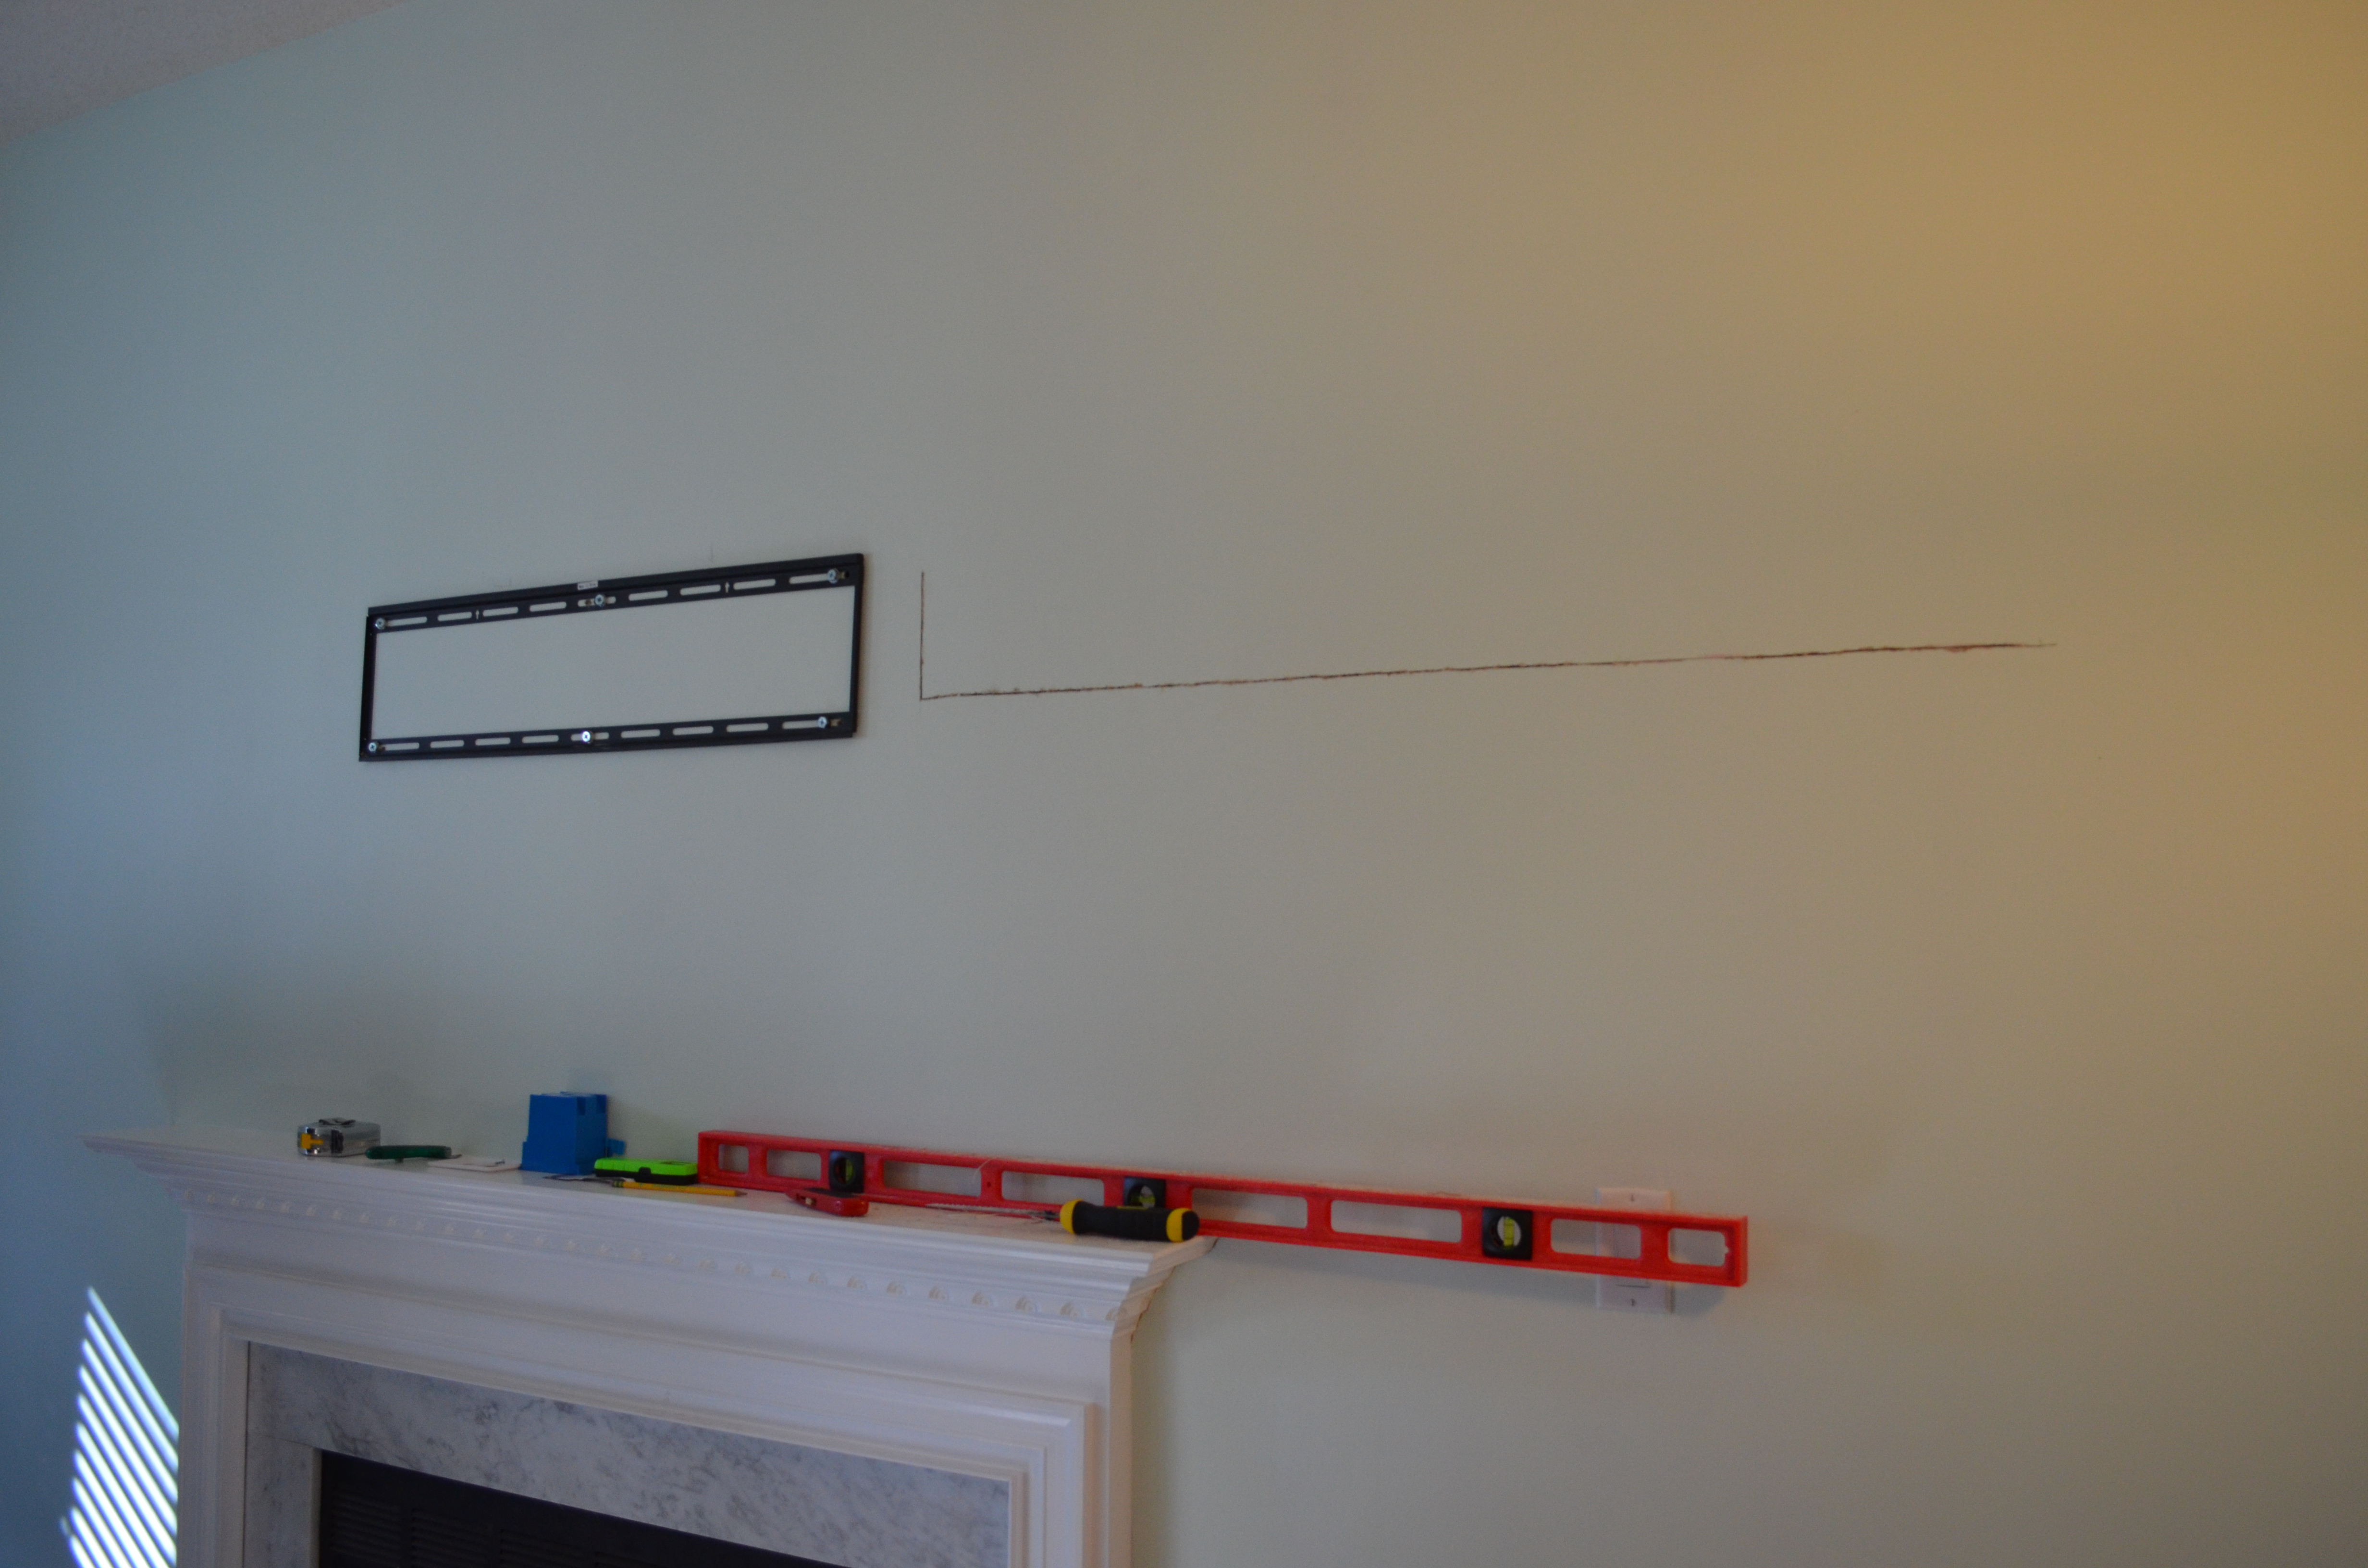
Cutting open the wall.
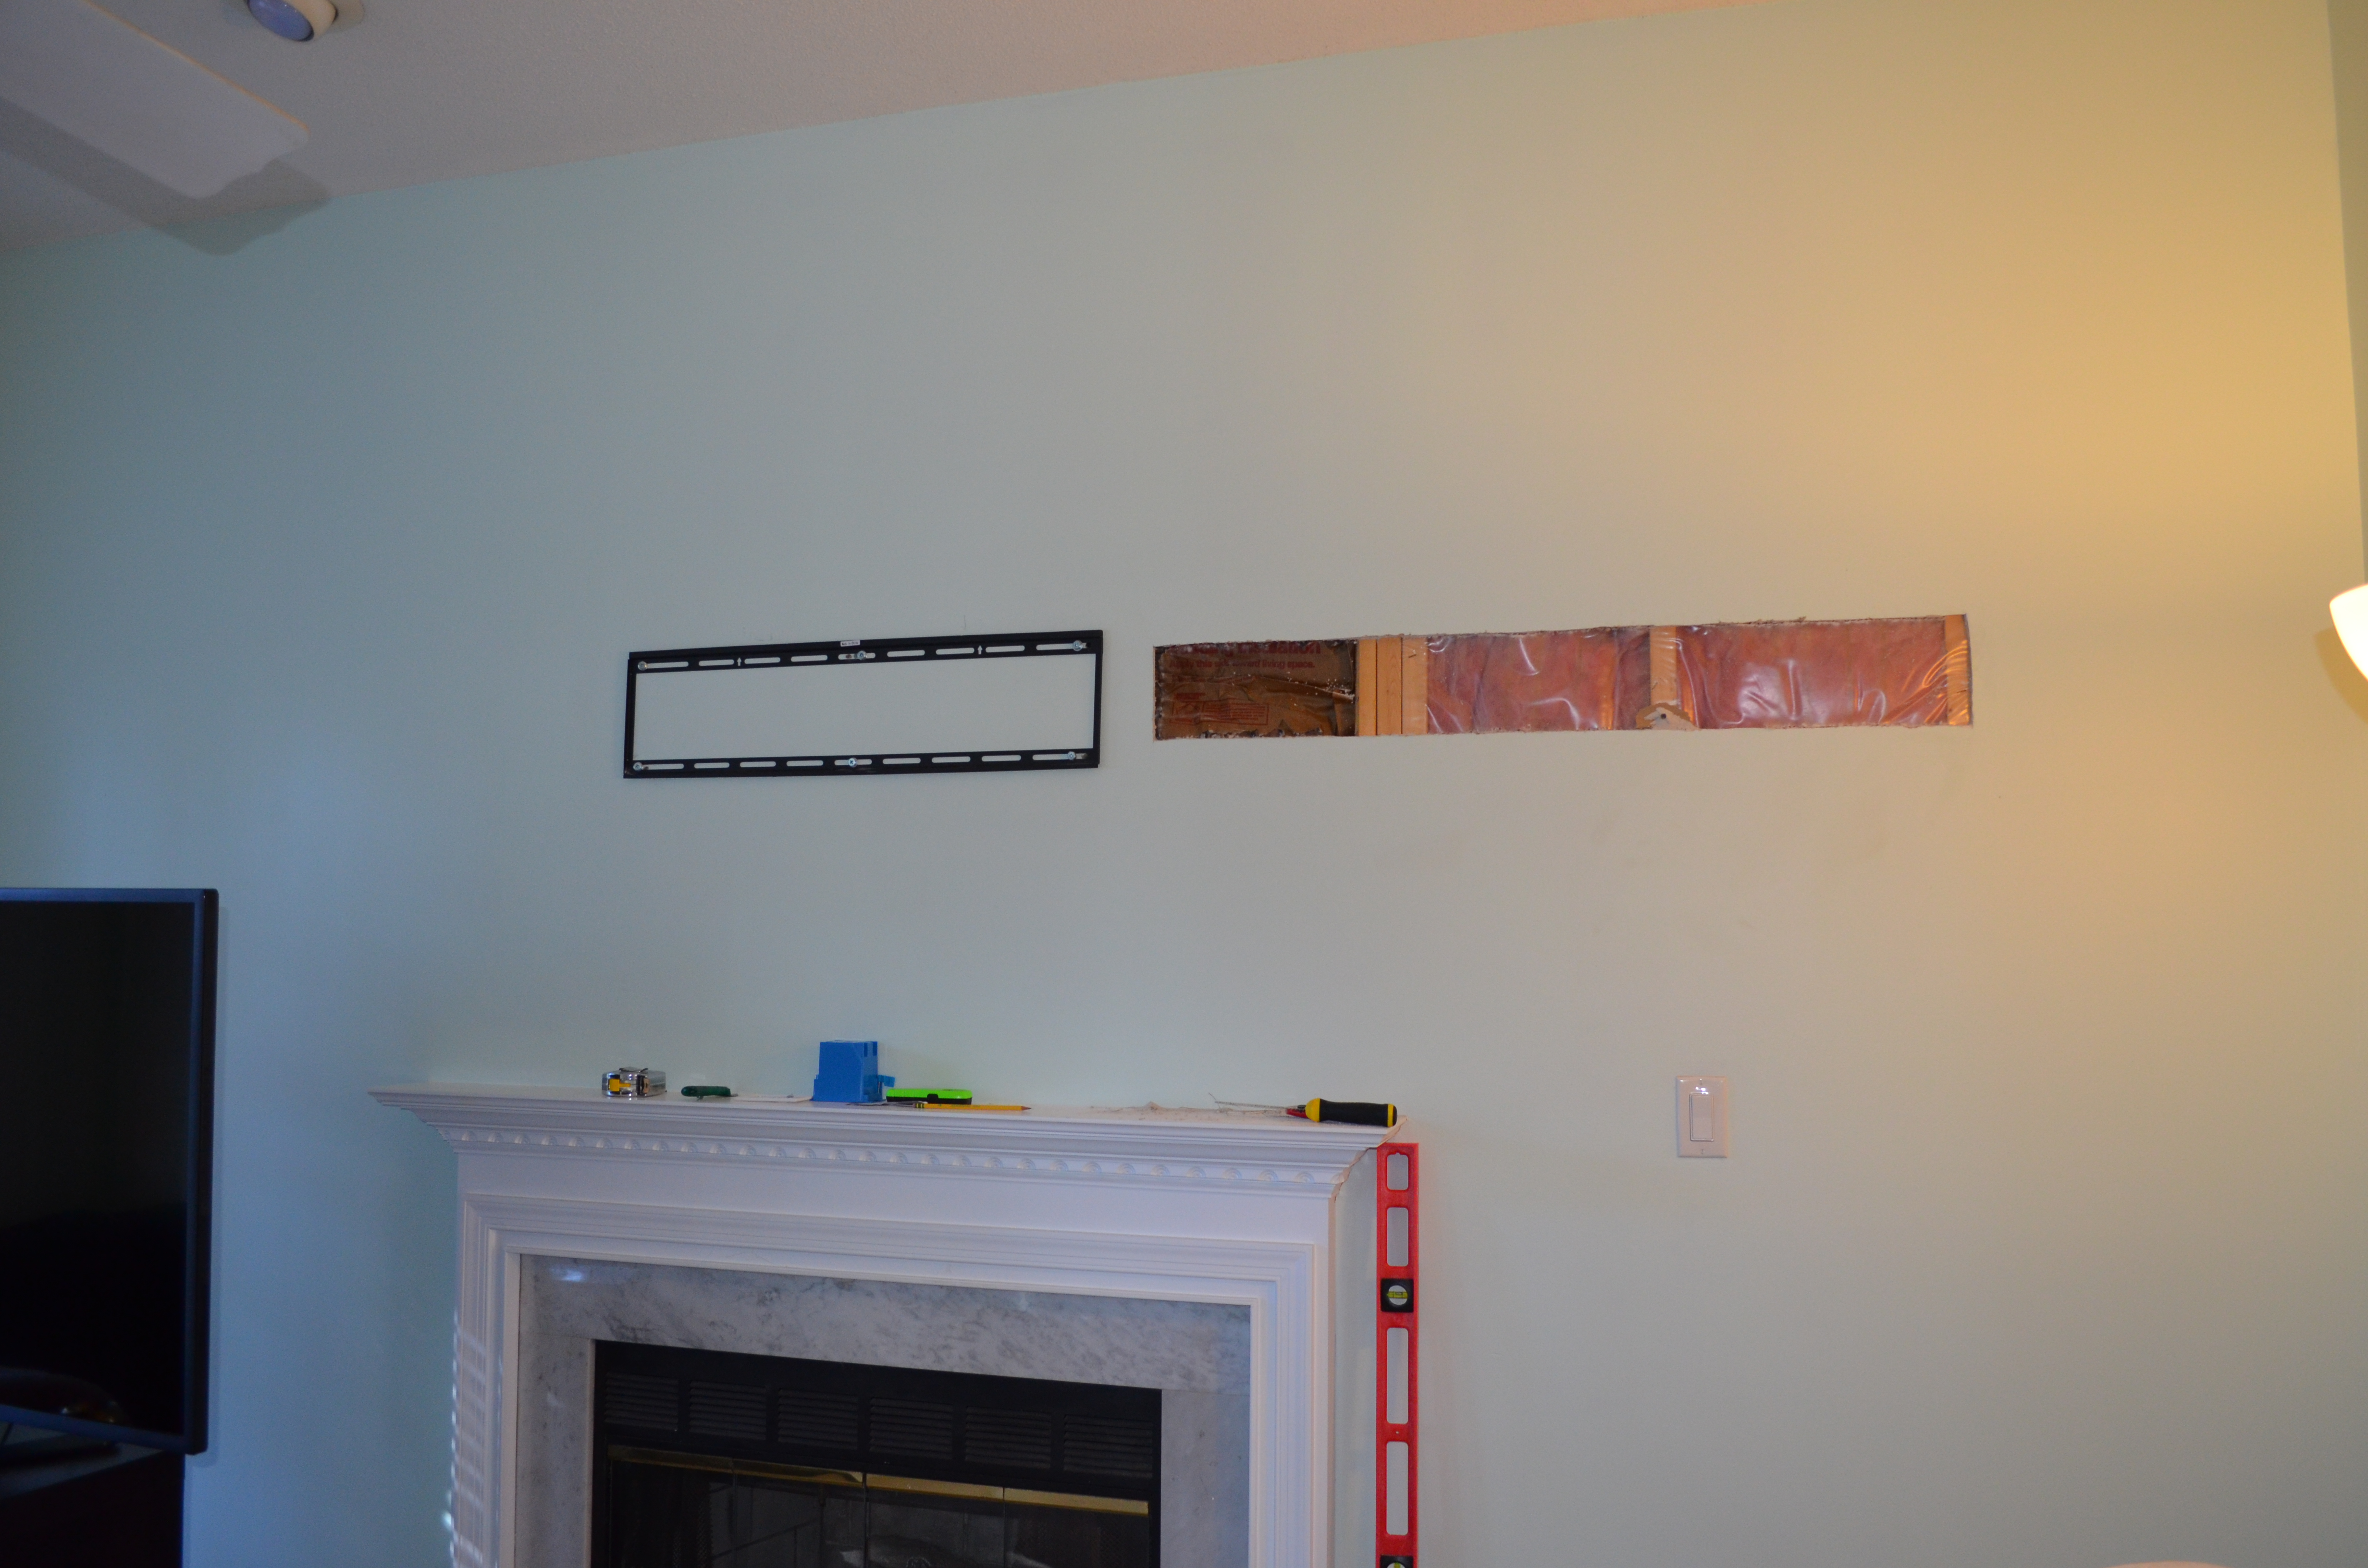
Large hole in the wall.
Once the wall was opened up, I had to drill holes in the studs in order to run cables. I drilled one smaller hole for the romex cable for high-voltage electric, so we could install an outlet behind the TV. I also wanted to run a large set of low-voltage cables through the wall, so I drilled a much larger hole about 8 inches above the smaller holes. Recommendation is to run them at least 12″ apart, so the high-voltage wires don’t cause interference, but there’s no set standard and some people just run them together anyways. 8″ seemed to be enough to me, and I haven’t noticed any interference since we’ve been watching it.
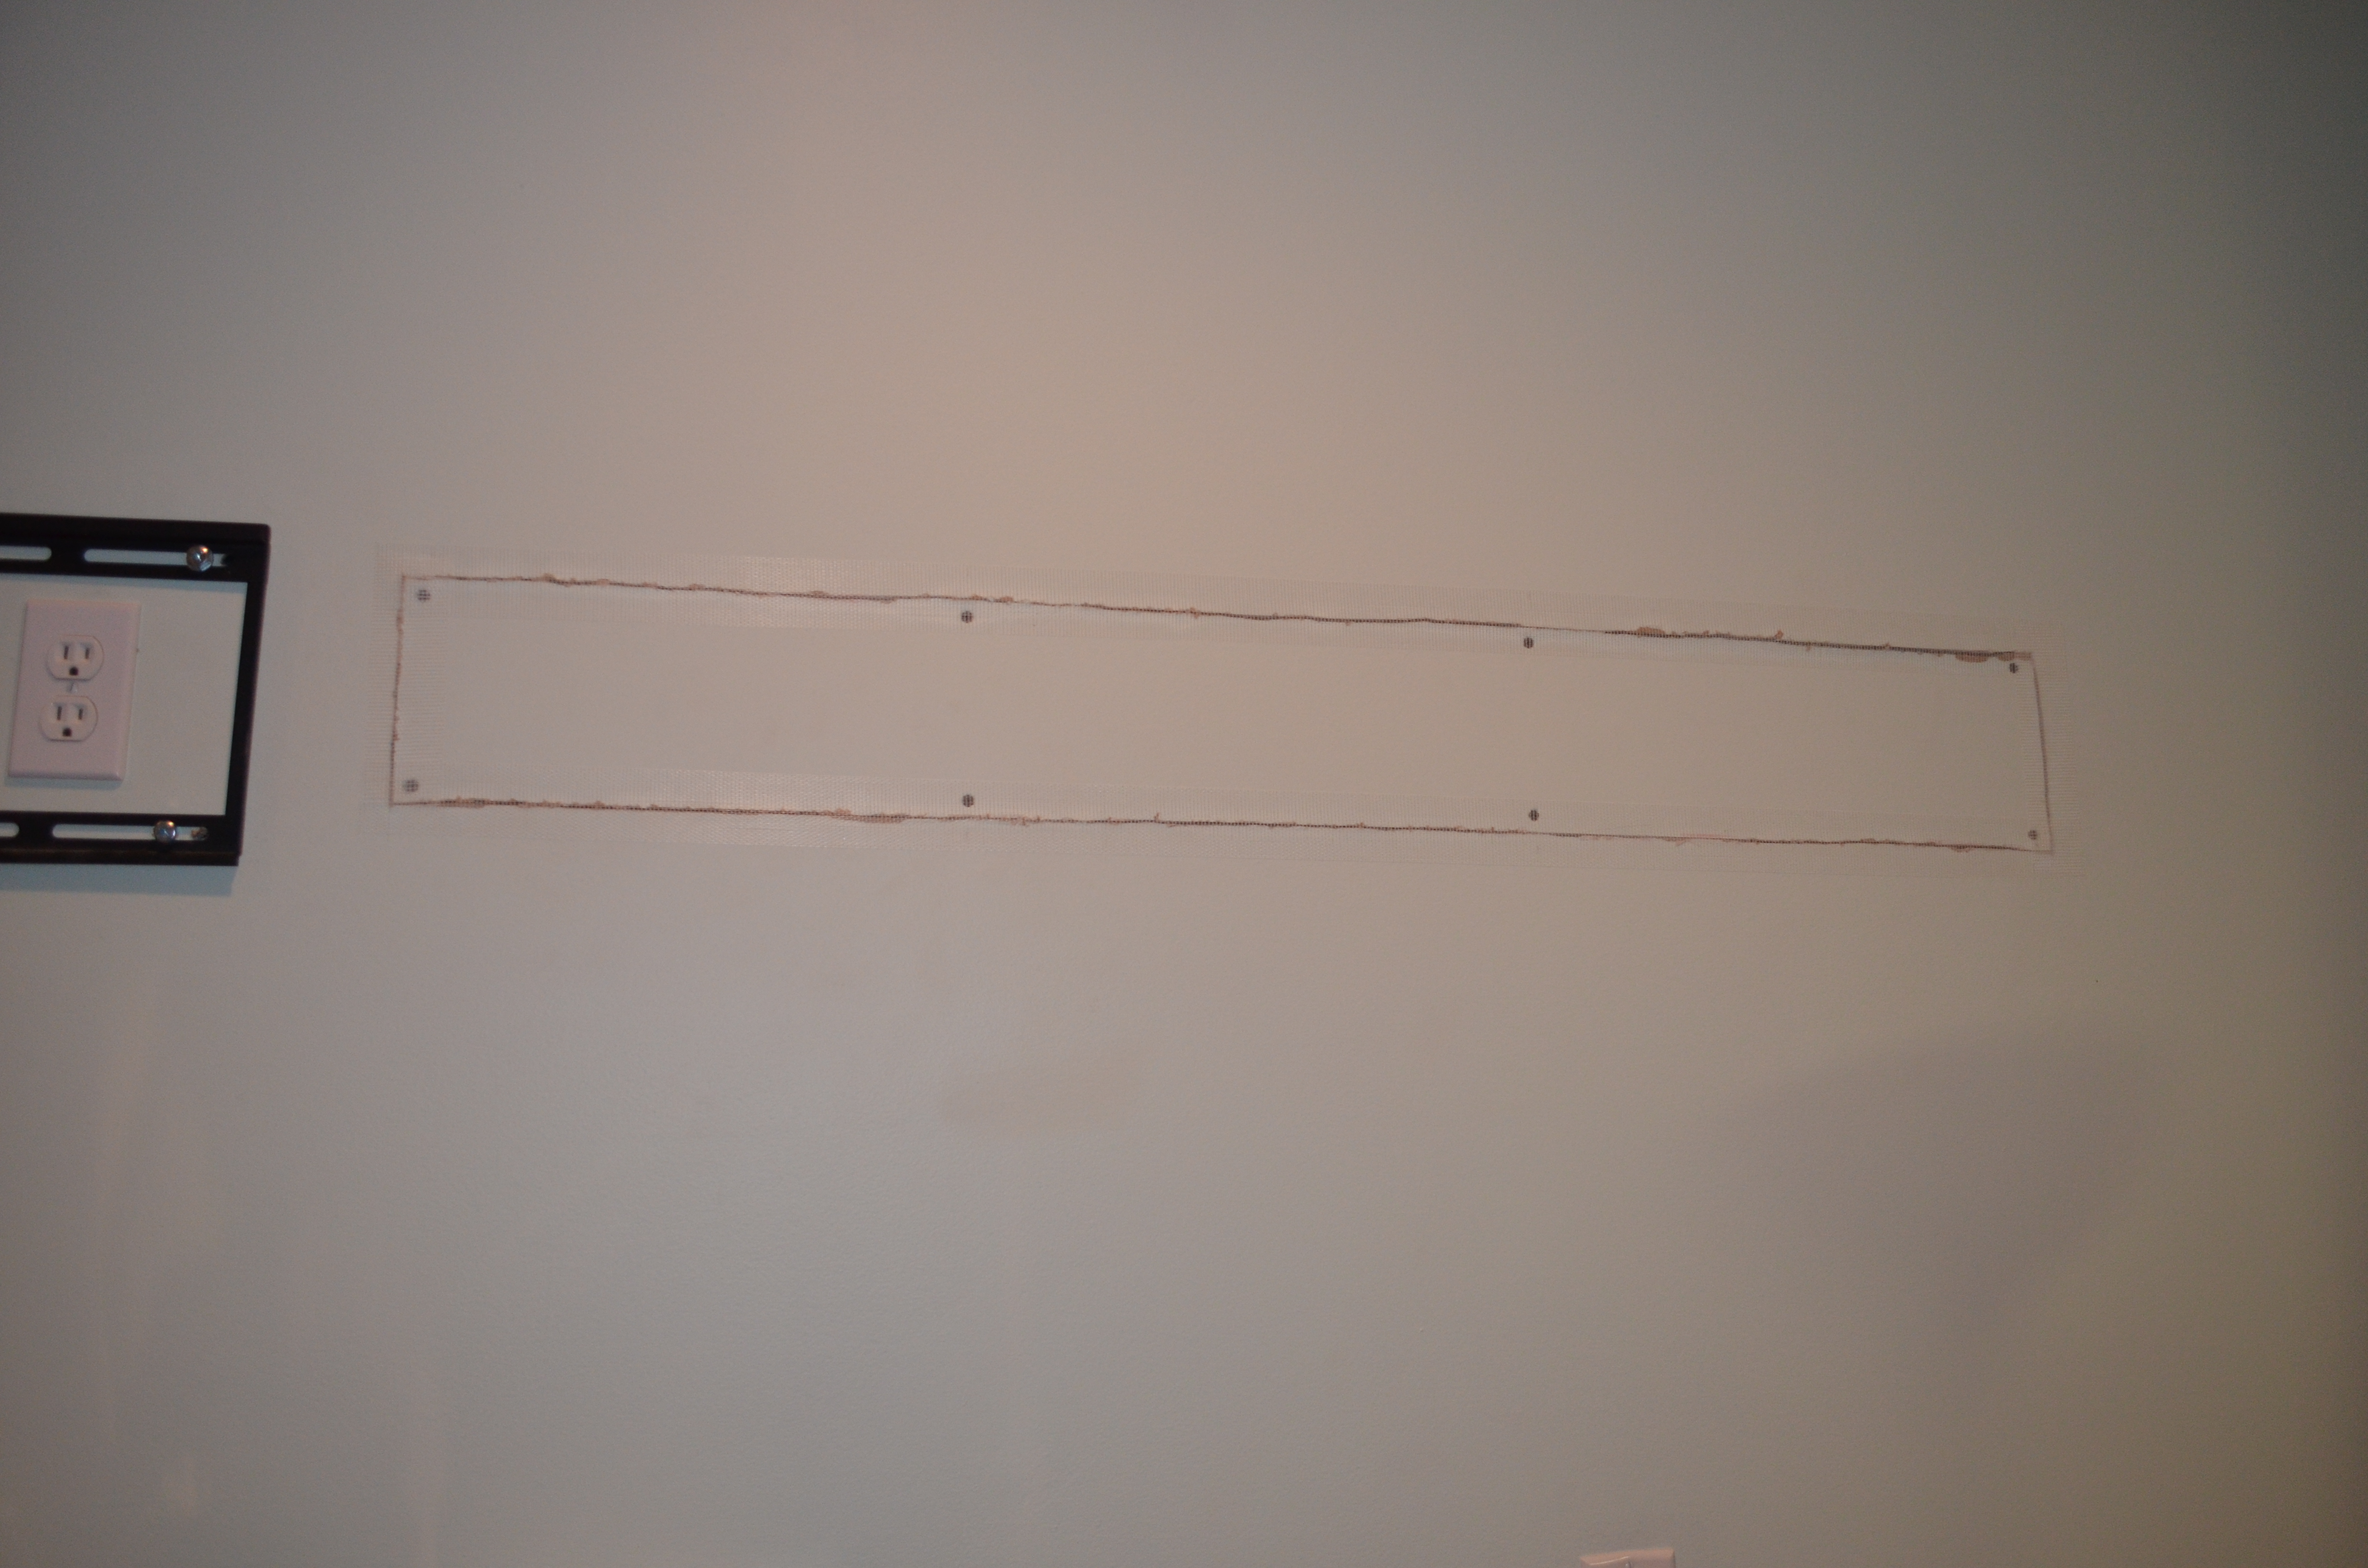
After I had the holes all drilled, which took quite some time (due to the triple width stud that didn’t want to give into getting a large hole drilled through it), I began running wire. First we ran the romex, since I was ready to get power working the first day, and I had everything I needed to do it (we were still waiting for some of the low-voltage cables to show up in the mail). In addition to running the high-voltage cable, I cut holes in the drywall for the outlets.
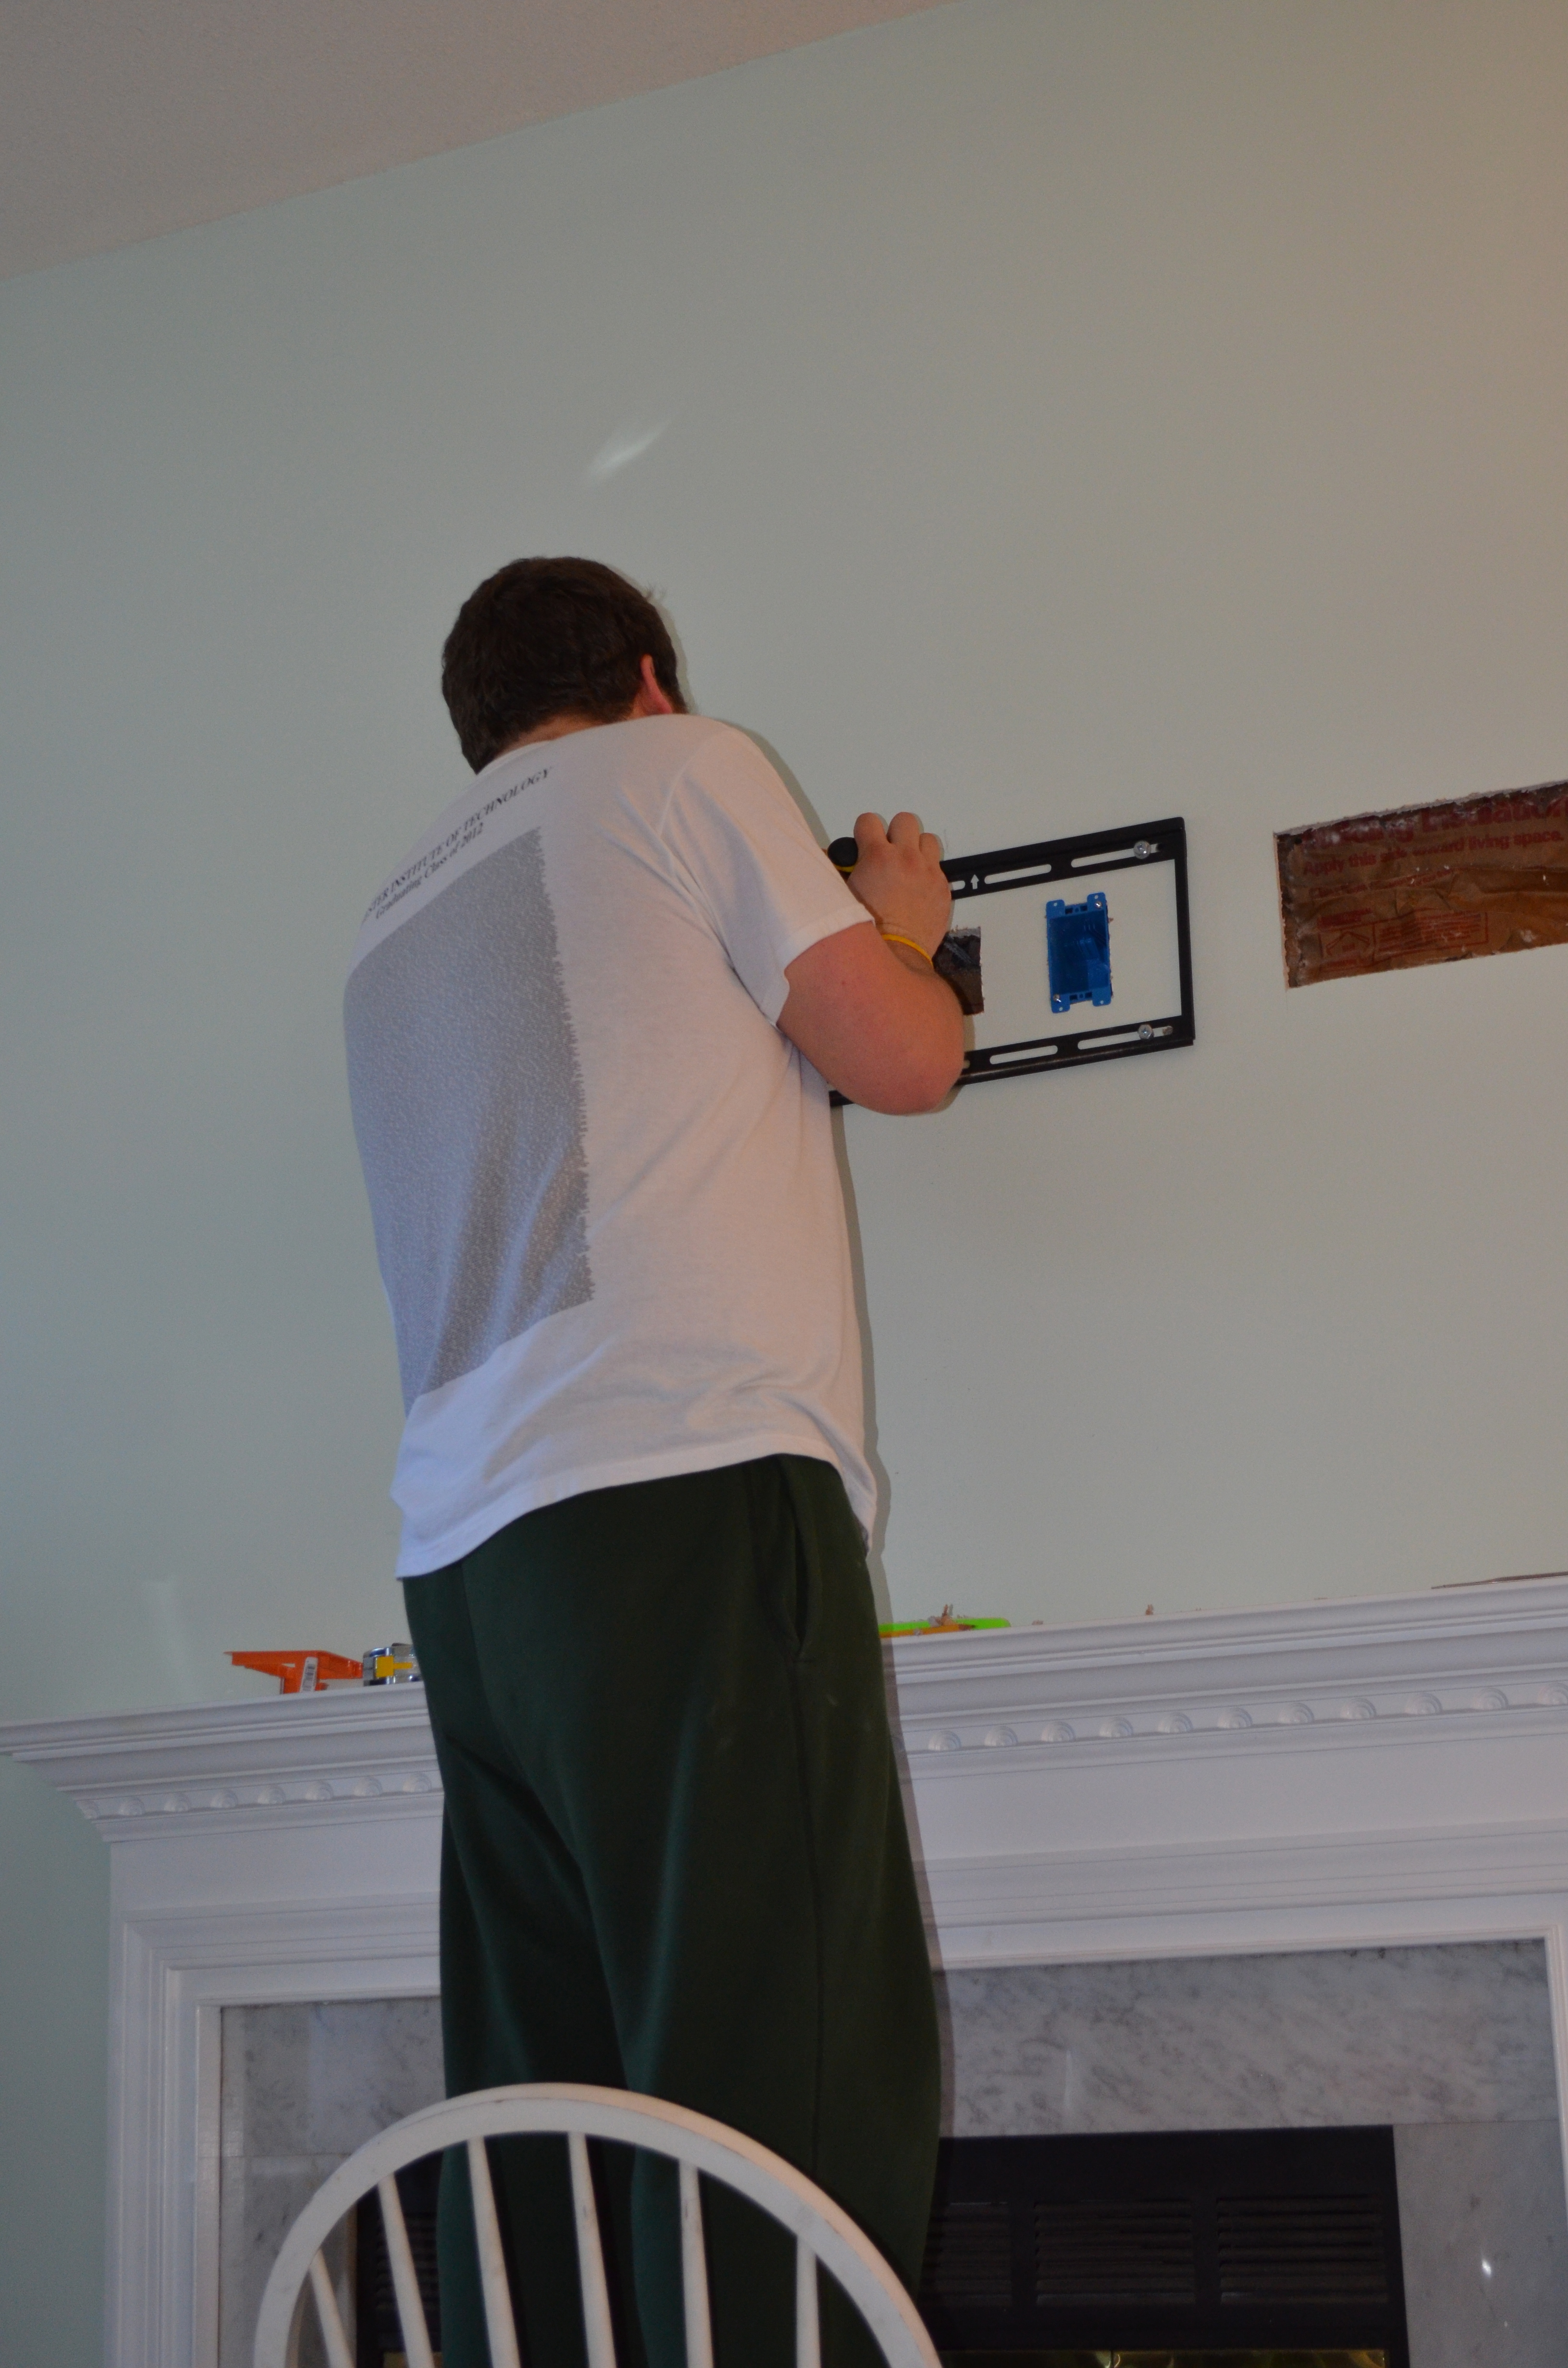
Cutting the outlet holes.
We turned the power off to begin this entire thing, so I didn’t end up dead. So I stripped off the end of the wire at the new box side, and connected those to the correct screws: white wire to silver screw, copper ground wire to the green screw, and black wire to the bronze screw.
Once the new outlet was set, I pulled the wire down through the wall, which was made significantly tougher by the insulation in the wall. I decided to tie a piece of twine to the end of the wire, so that when I finally got the wire down to the other side, I was able to tie the twine to all of the low-voltage cables. Rather than fight the insulation for each and every wire, I could easily pull the piece of twine all the way through the wall along with all of the cables.
All of the wires through the wall.
Once we had all the cables through, I had to add the new outlet onto the same circuit as the old outlet. This took time, but wasn’t difficult. I put wire caps over the ends of 3 pieces of wire; the old wire, the new wire, and a shorter new wire to connect the old outlet. Once that was all set, I re-connected the original outlet, and then, fingers crossed, turned the power back on. And nothing exploded! I used our lamp to test both the original outlet, and the new outlet, finding that both now worked.
At that point, it was time for dinner, and time to put our tools down for the rest of the day, since I had to wait for the other cables to arrive.
When we got the cables the next day, I ran them through the wall as soon as they showed up at our door. Included in that package were the wall plates and keystone jacks for the low-voltage wires. Basically it was an empty plate that lets you plug in whatever jacks you want, so you can customize it yourself instead of buying a pre-made one. Once I had the last few cables through the wall, including the RCA cables and coaxial cable, I put the plates together for both above the fireplace, and for down next to the old power outlet, where we’ll eventually have our cabinet and keep all of our TV boxes.
Unfortunately, Ashley wasn’t home for this part of the process and I forgot to take pictures of any of that myself.
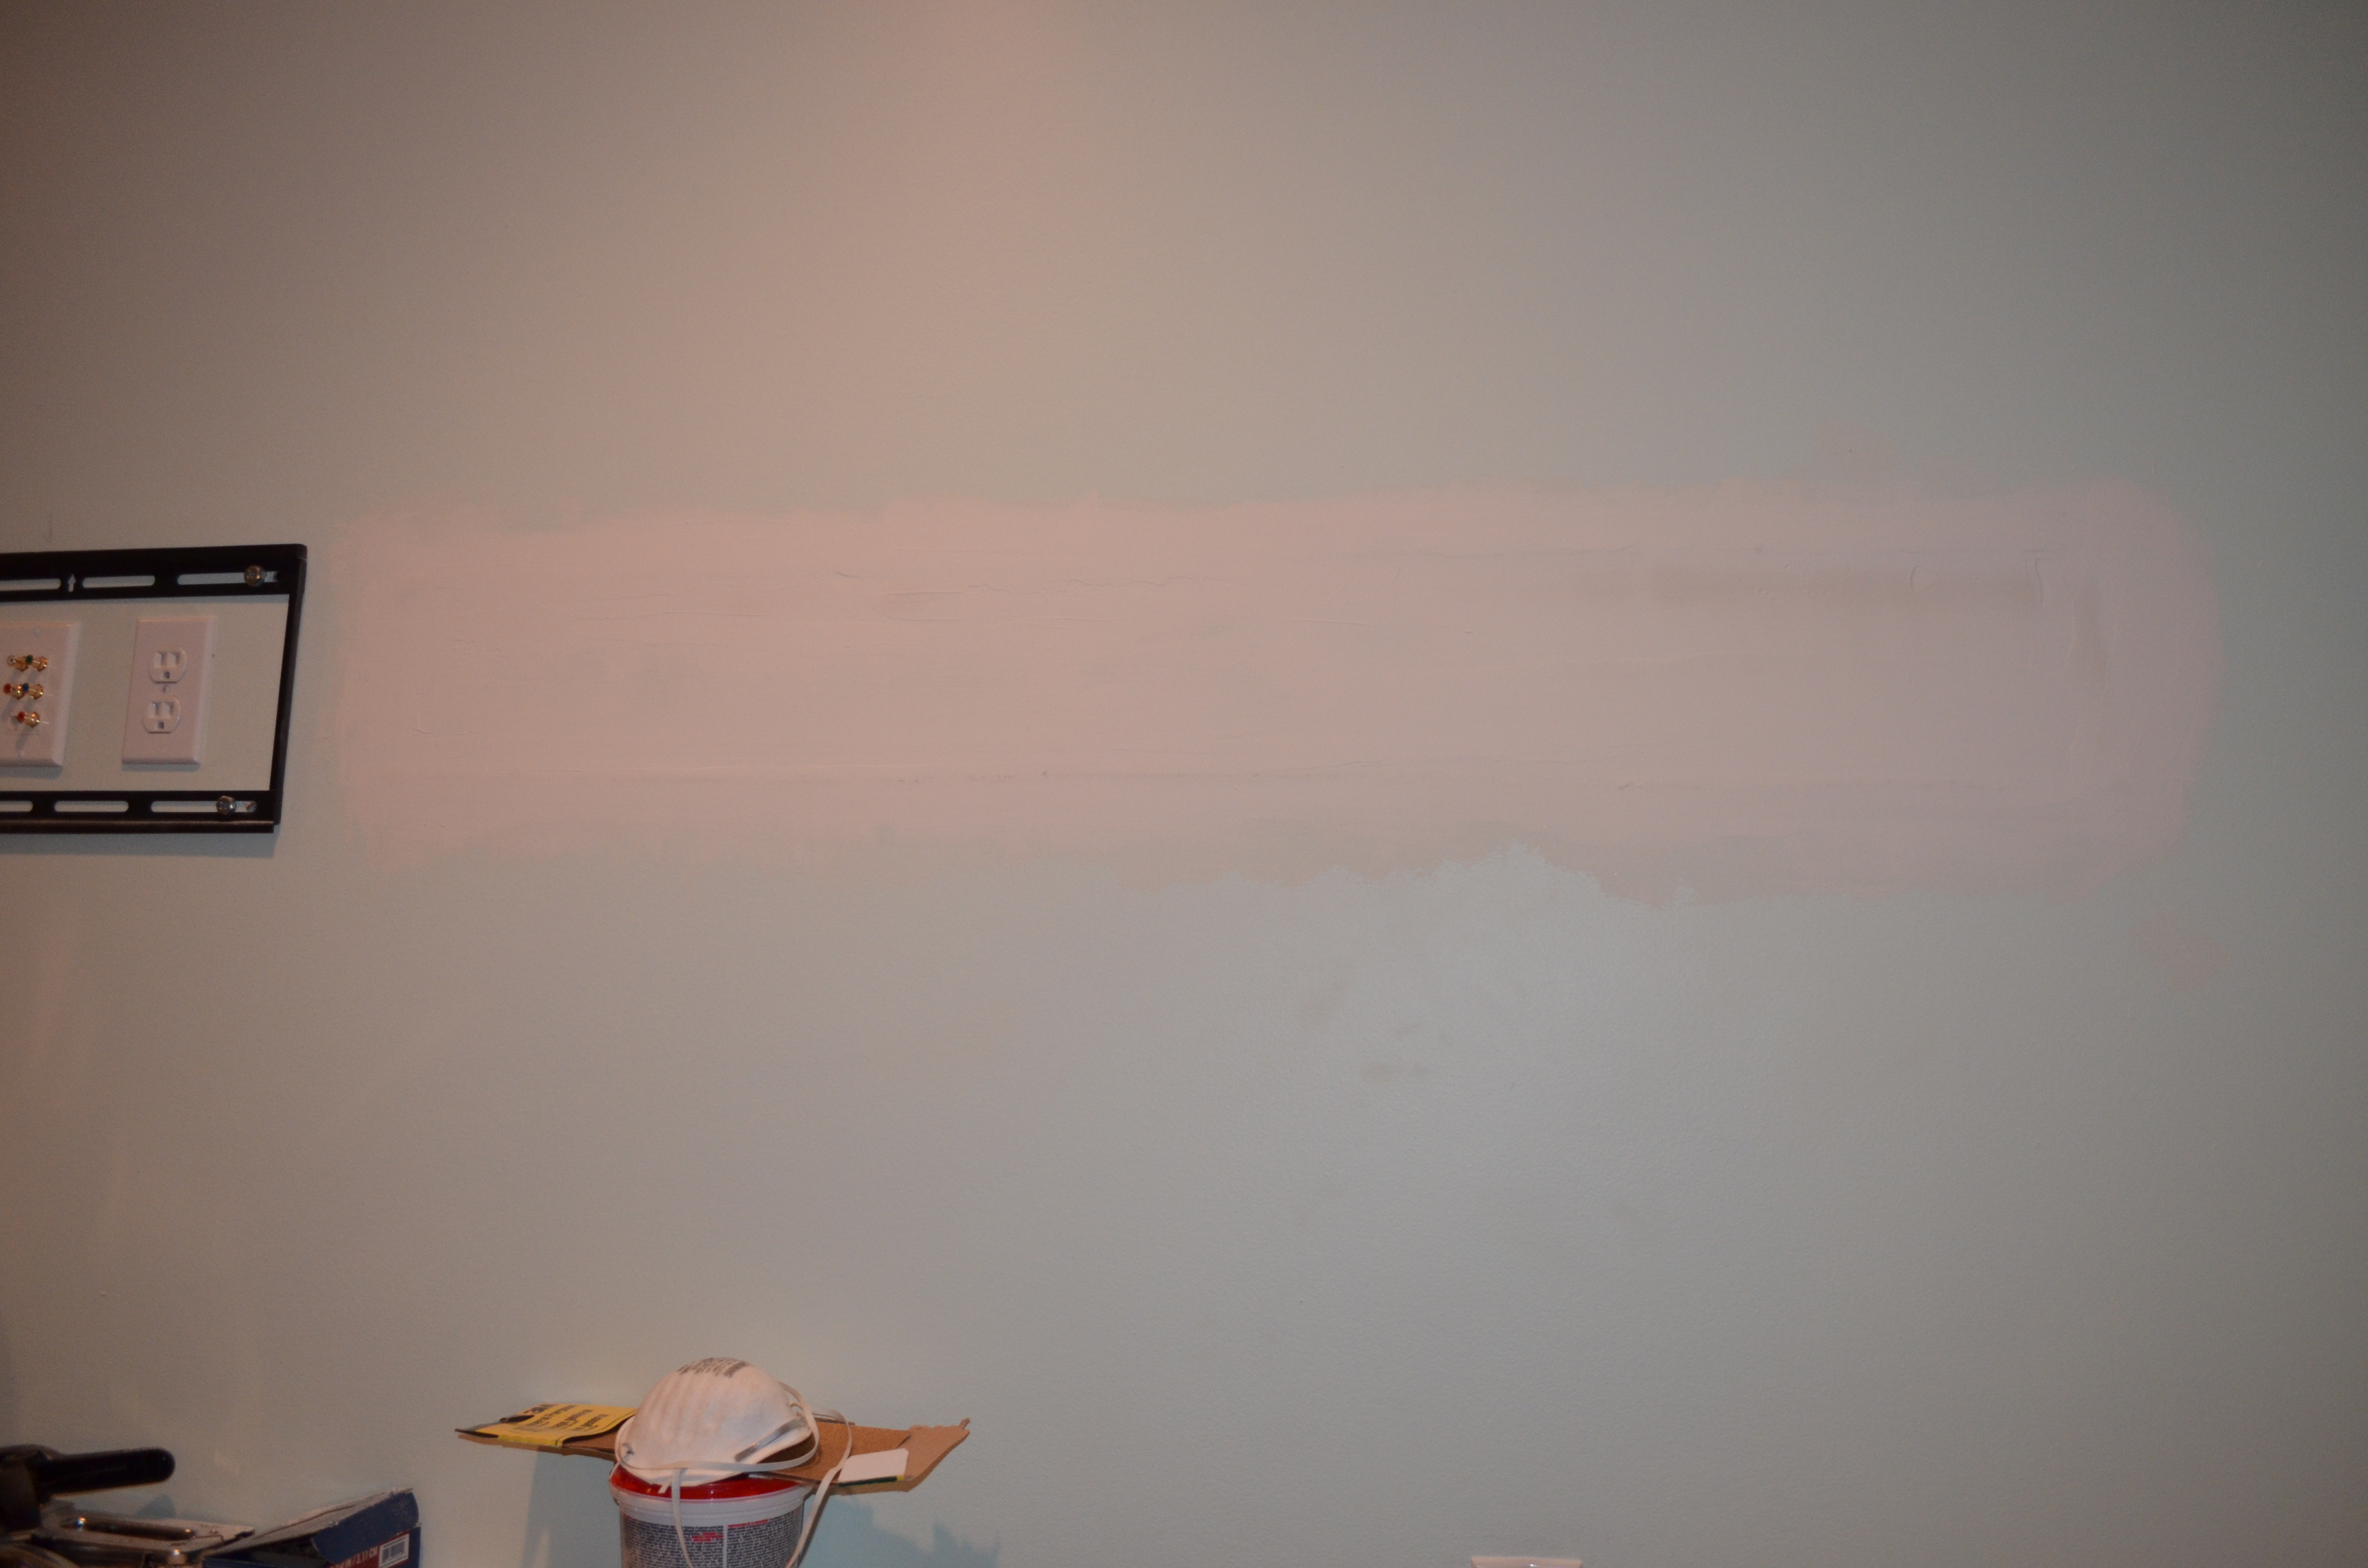
That same night, I also re-installed the old drywall piece. Using drywall tape, I taped over each of the cut marks, and then began using joint compound for the first coat.
Drywall tape.
First coat of joint compound.
We added an additional coat the second night after sanding the first, and a third on the third night. After the third coat it looked much better, but we added a fourth just to be sure.
Final coat of joint compound.
To complete the wall repair, we sanded down after the final coat, and then had to paint over it. Even after the first coat it, we could barely tell that we ever opened it up, but again, to be sure, we added another coat.
Once that was done came the fun part, getting the TV up on the wall. It took some struggle and fighting with the mount to get it to hold, but we finally managed to get the TV secured to the wall.
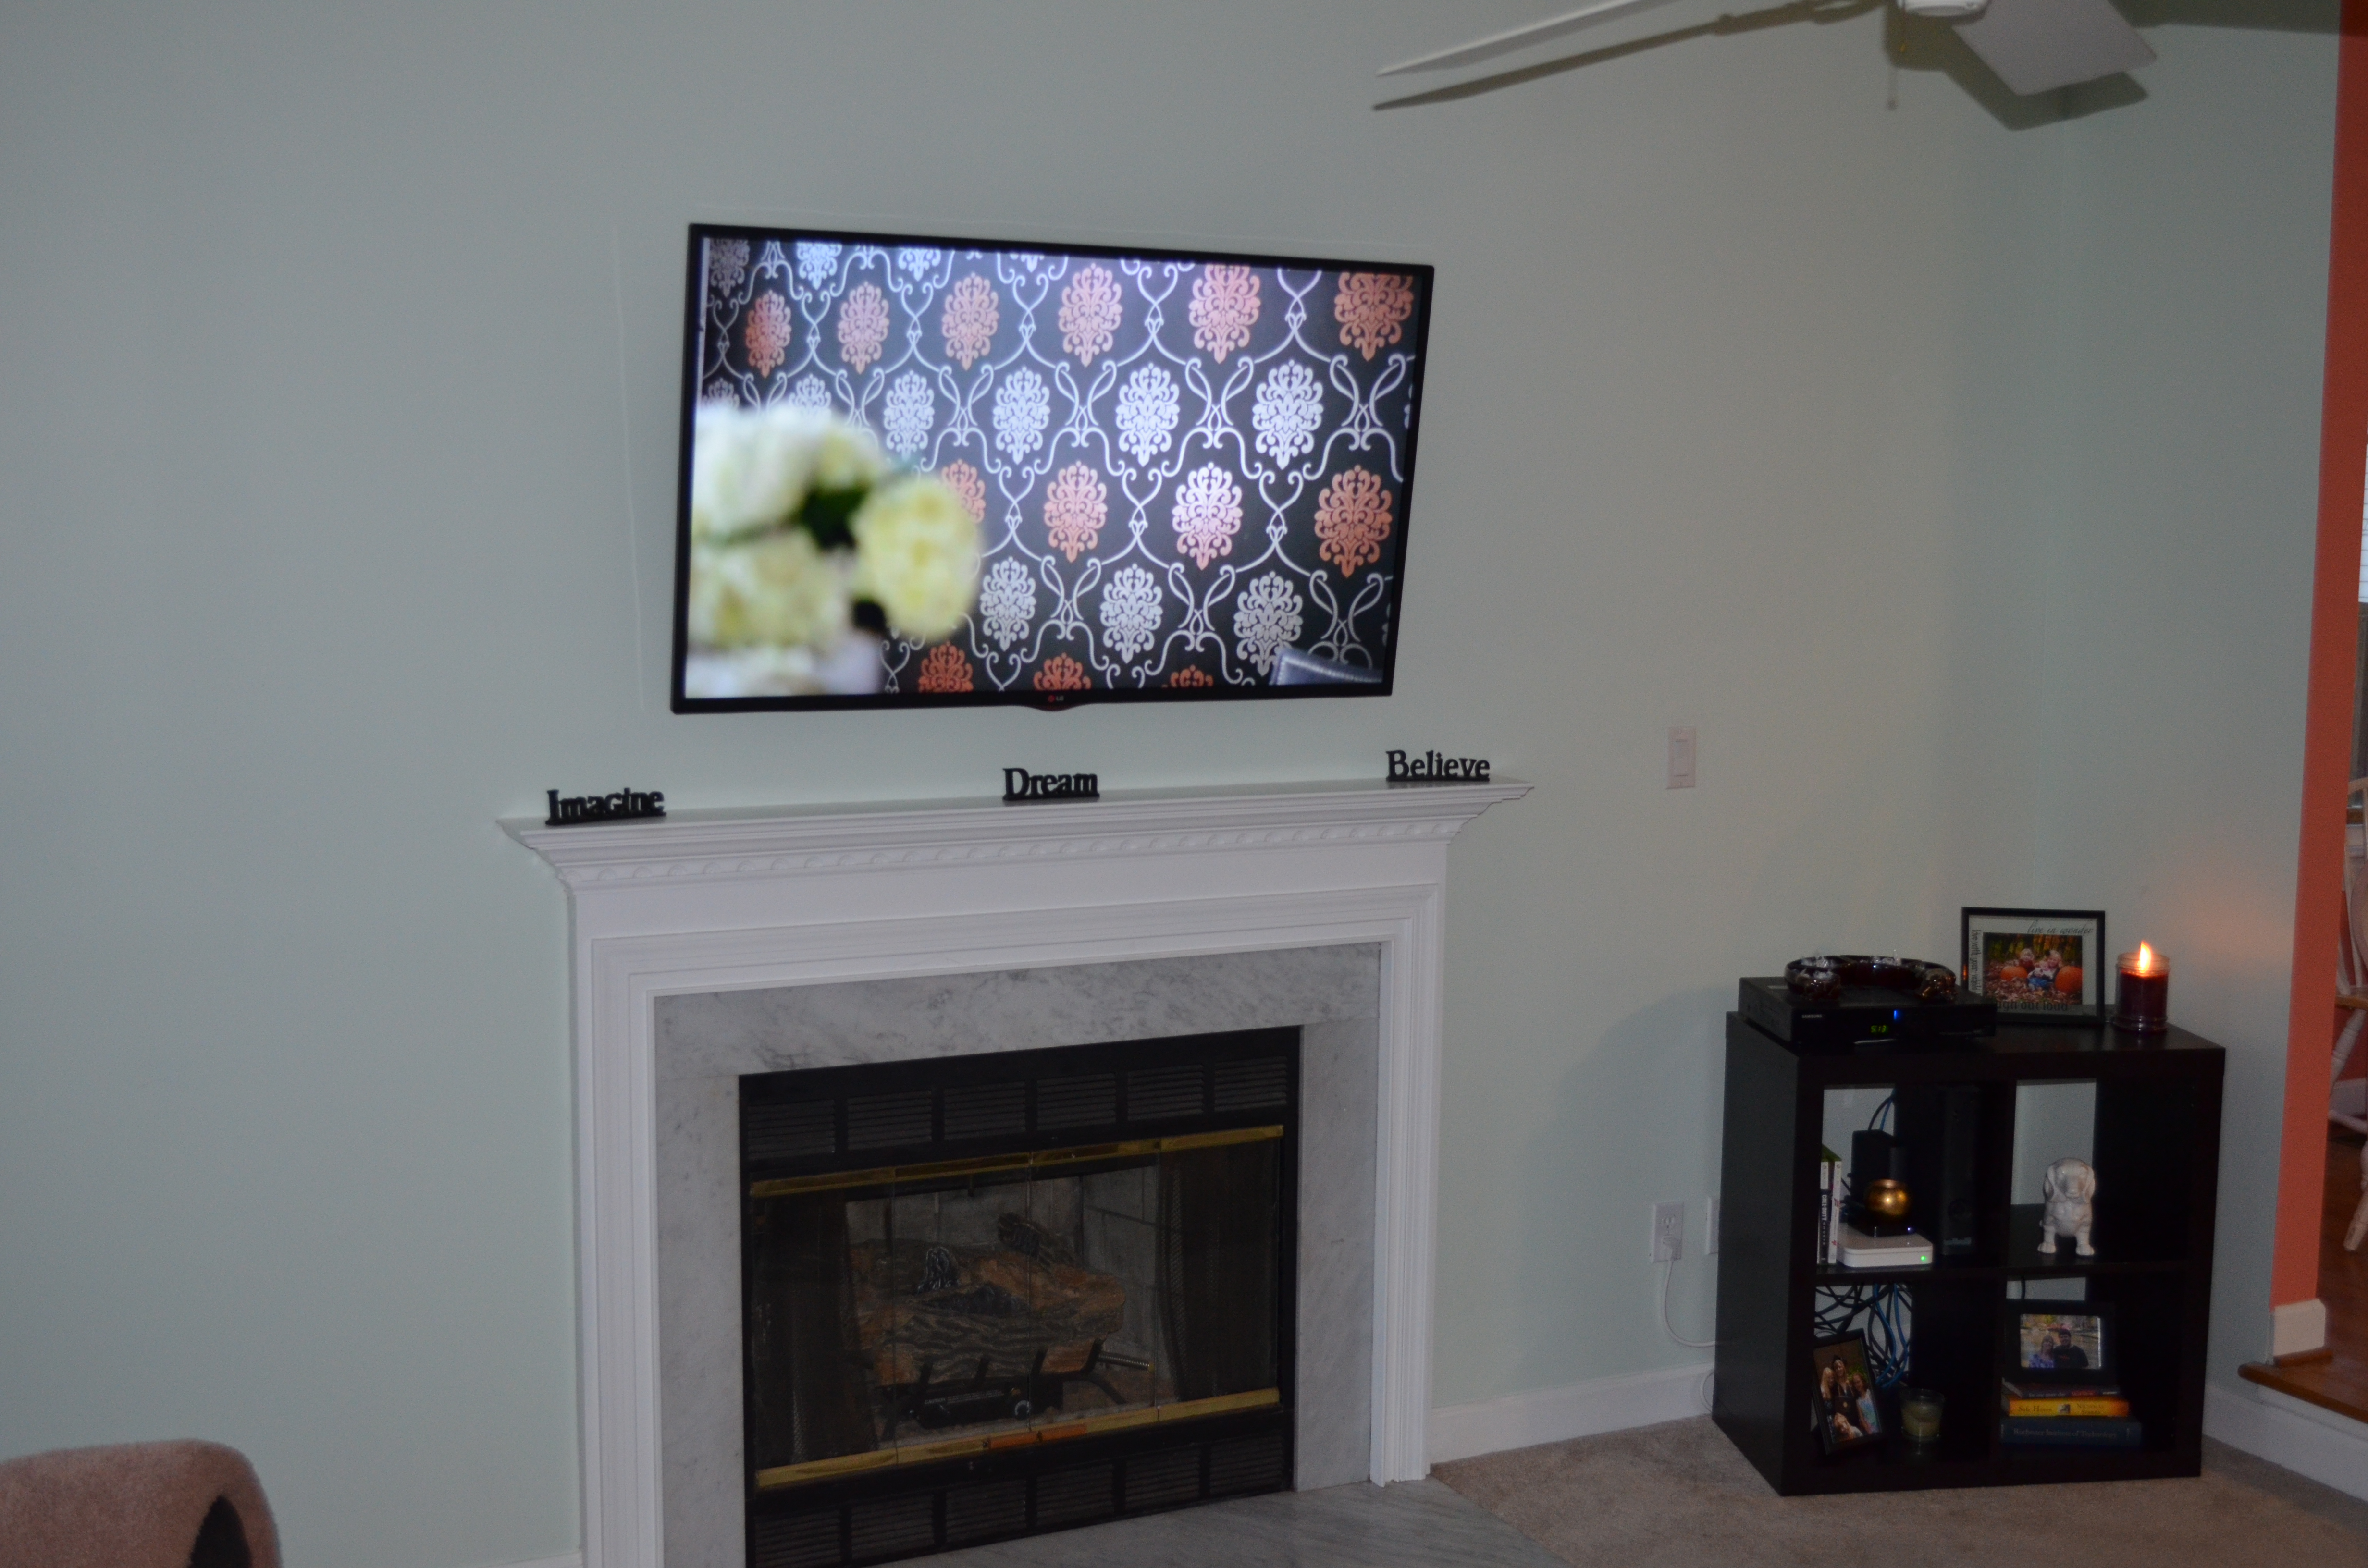
Everything working nicely.
Next we’ll work on the cabinets, and once those are closer to done we’ll post updates on that.
Update: Part 2.