Wow! It’s been a while since our last post, but there was a lot that we had to finish this time around.
In our last post, we left off after we finished mounting our TV on the wall. The living room has certainly been our biggest project since we moved in (I can’t believe it’s already been nine months!), and I’m going to go ahead and say it’s also been one of the most frustrating ones so far as well, and Ashley would DEFINITELY agree! Painting all of the rooms was tedious, but at least there were no real tough situations and you could see progress. It doesn’t get much easier than rolling paint on a wall.
So when it came to building cabinets, while I was excited to start using some of my new tools from Christmas, I don’t think we were entirely prepared for the problems that would come with building and installing them.
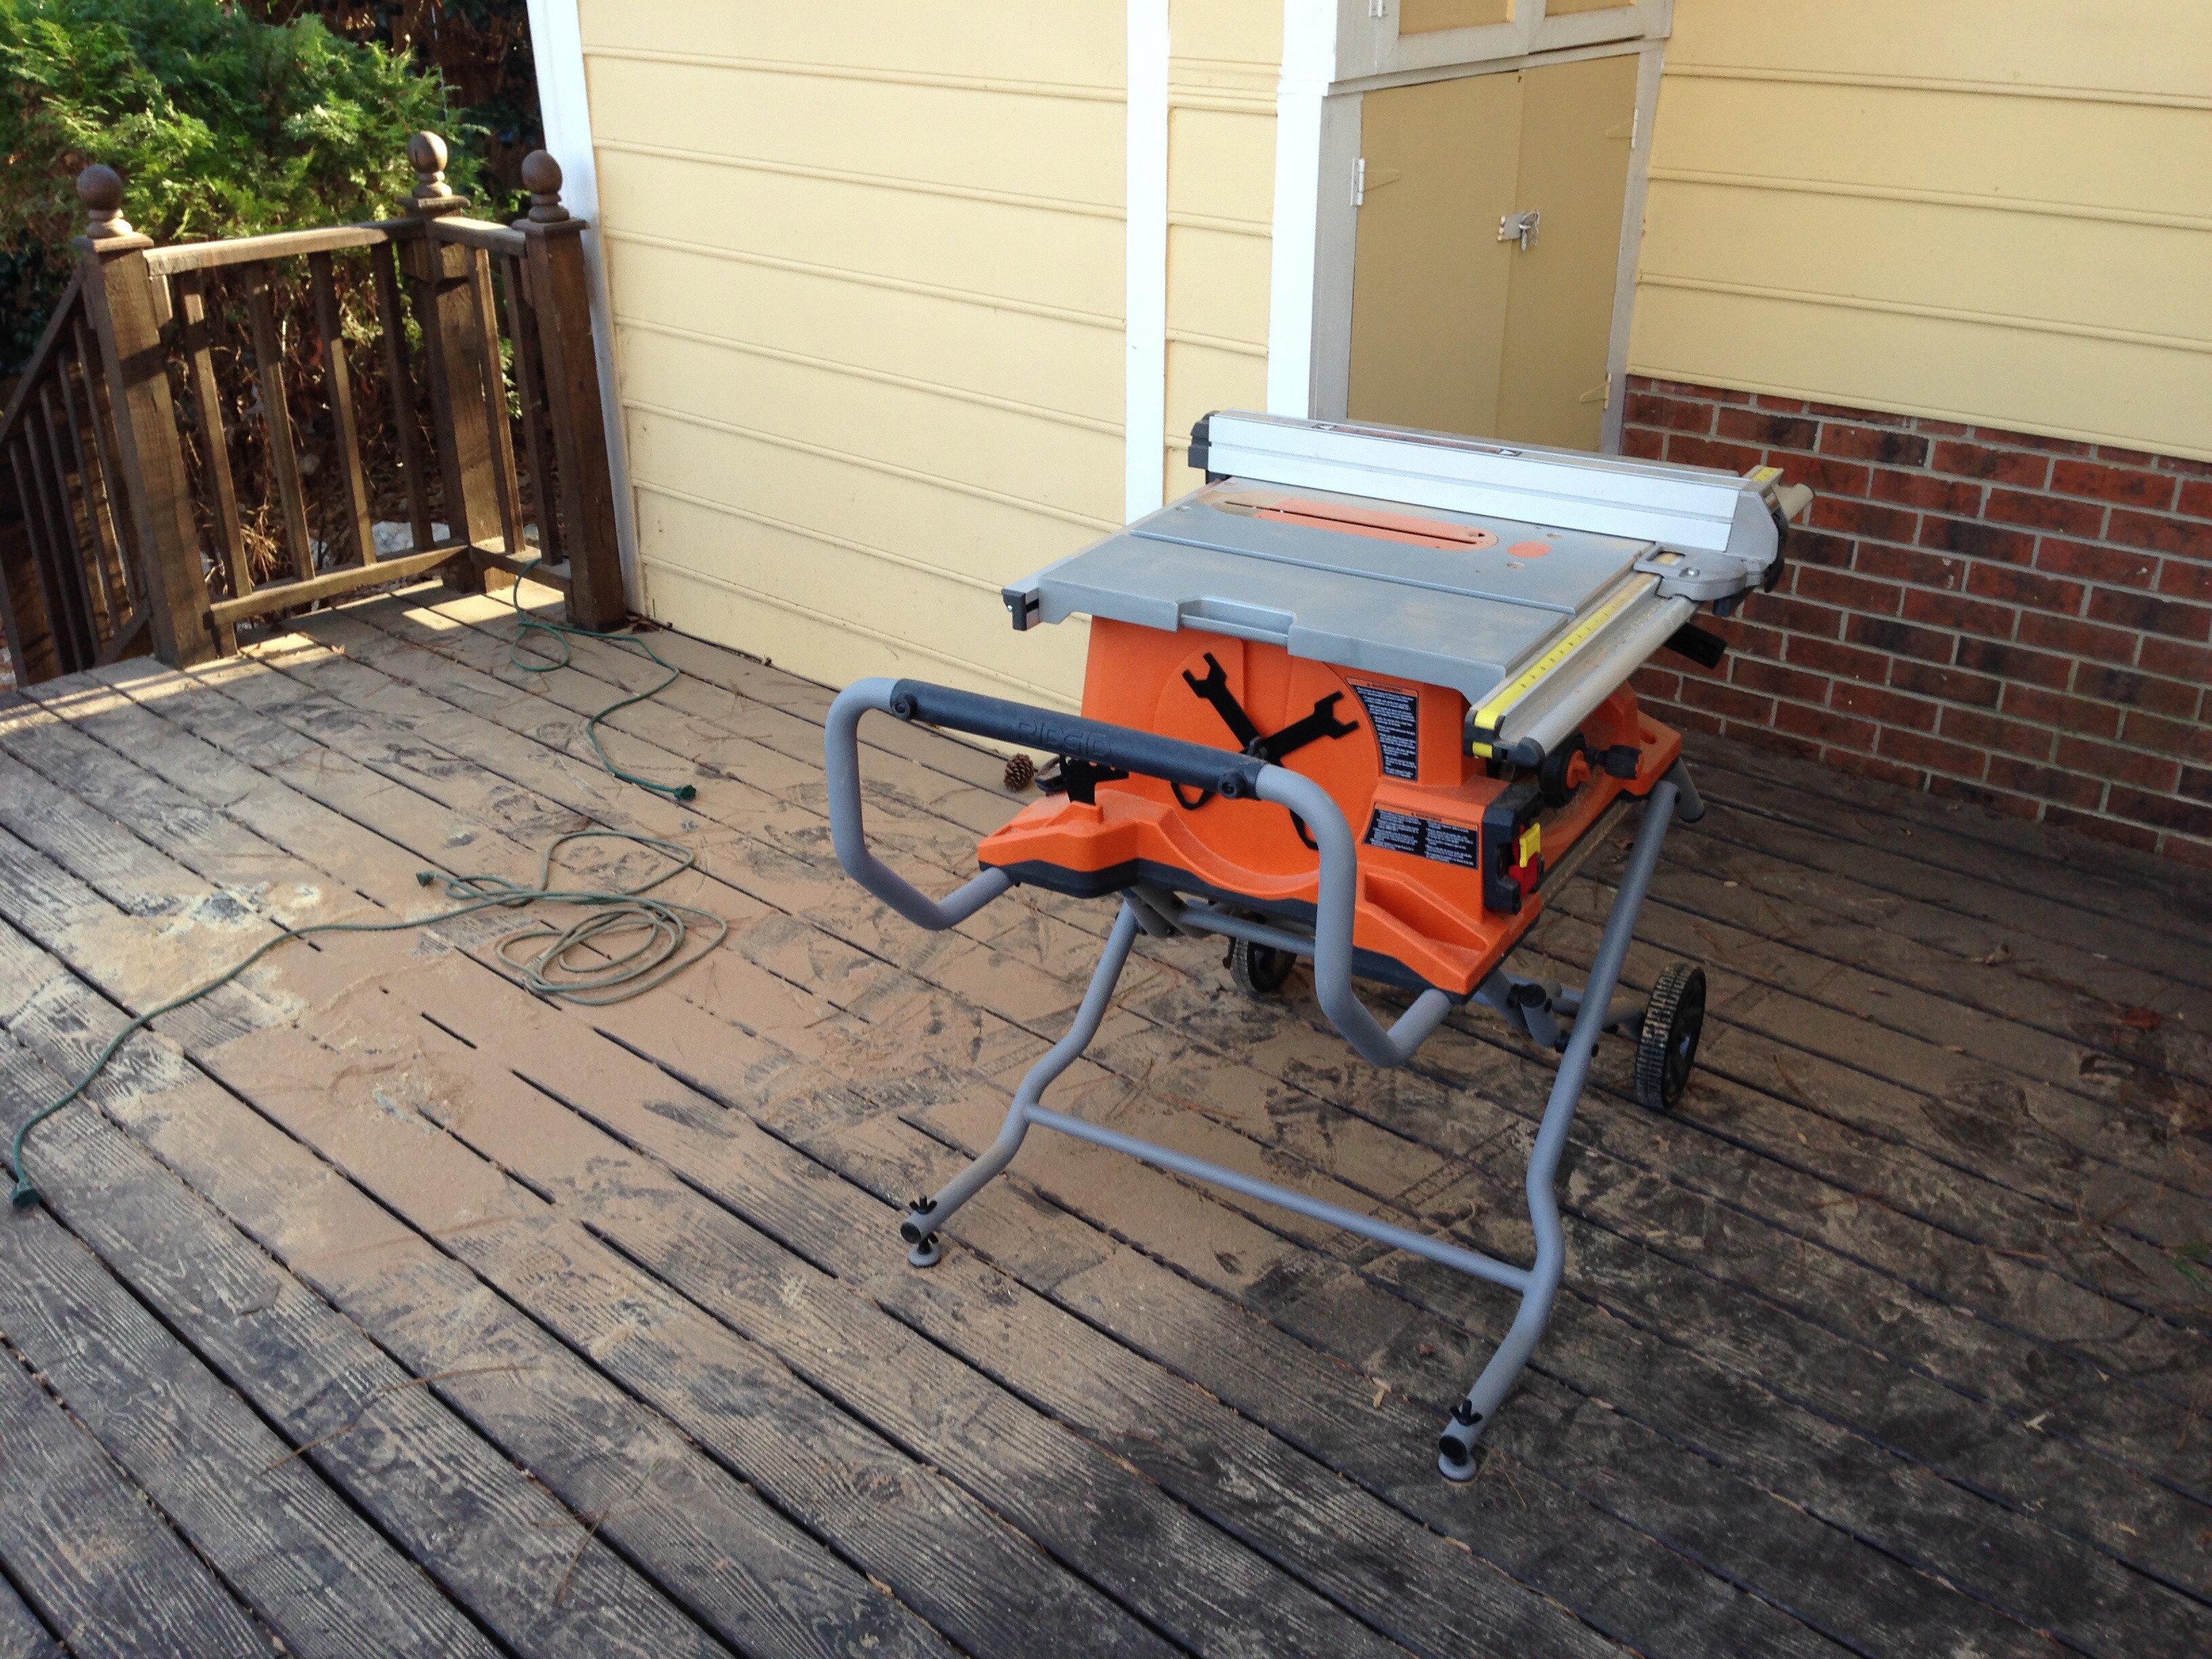
New saw from Christmas being put to use.
We got started by building the initial base for the cabinets to sit on. I also drew up the cabinets on paper to plan out the measurements and hopefully avoid measurement problems throughout the process. It was hopeful thinking, but there were still issues, and I still felt like double- and triple-checking everything that I planned.
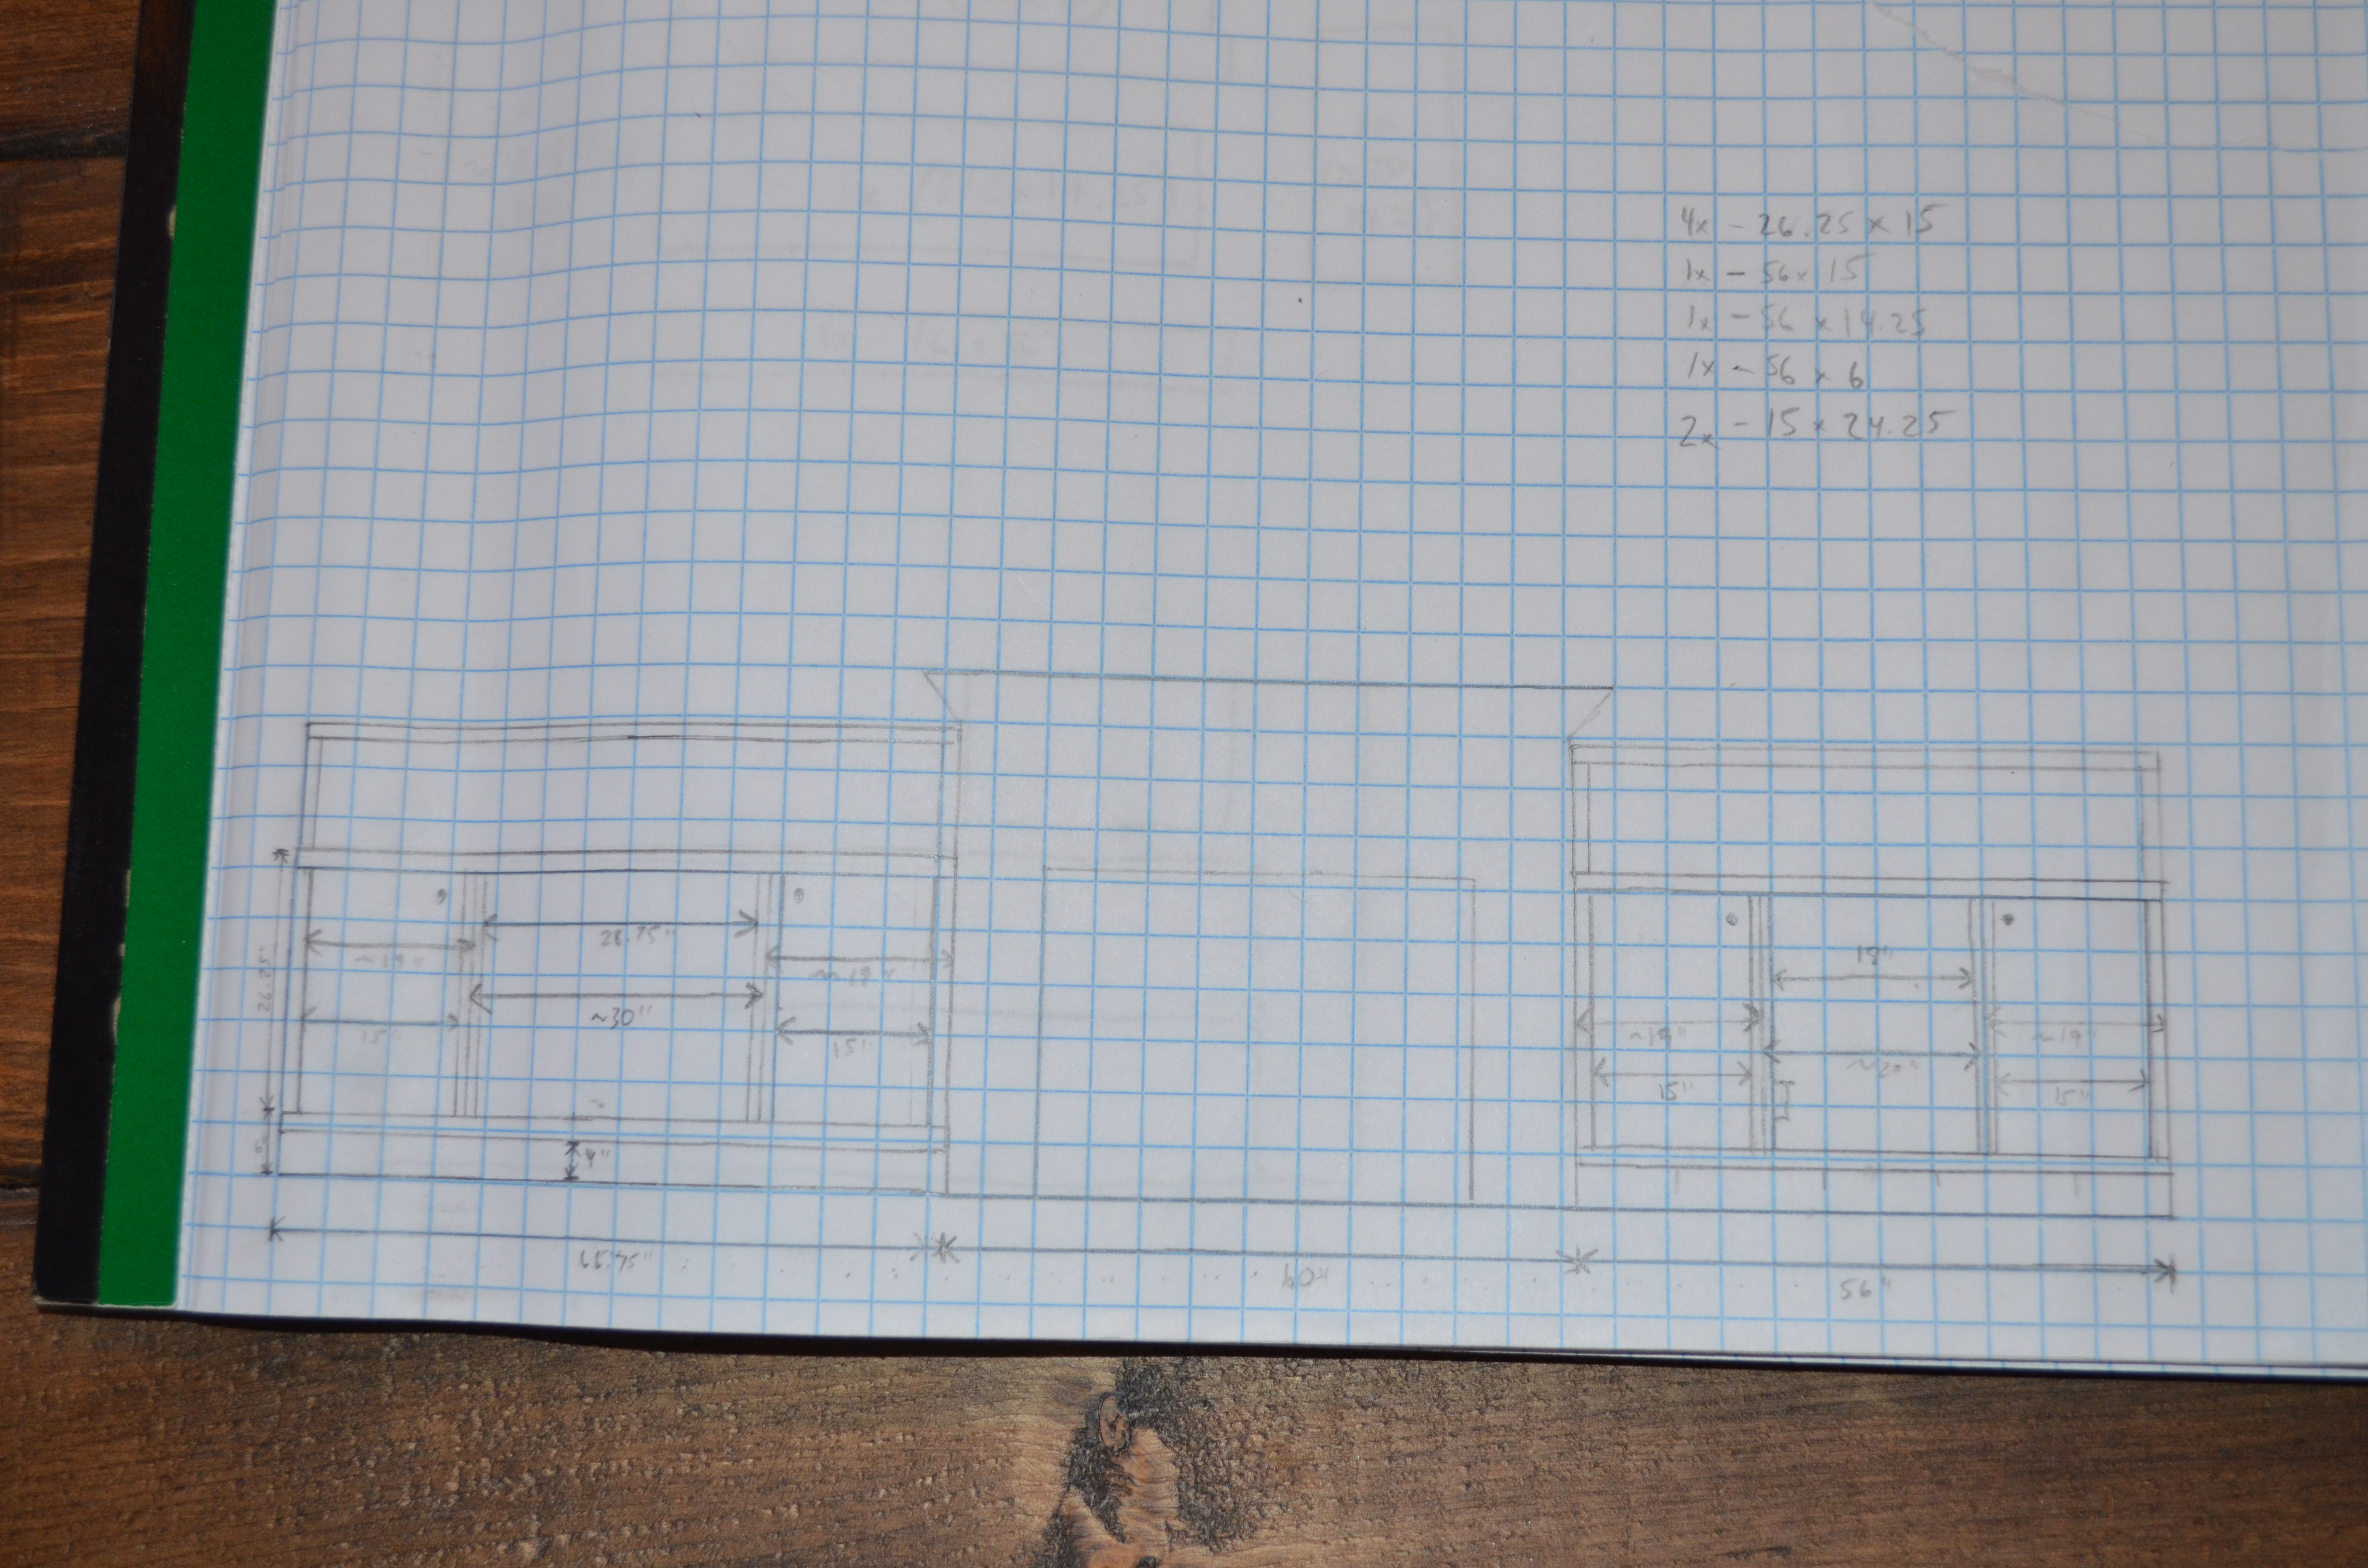
Initial design plan.
Once the base was complete, we started cutting down the MDF into the right sizes to attach to the base. I did my best to try and avoid showing edges of MDF, since it doesn’t paint as well. So throughout the process I was constantly thinking of how to avoid showing edges while also avoiding showing any holes or screw heads to connect all the pieces. In the end, we only had one edge of MDF, since we covered most of them with the face frame.
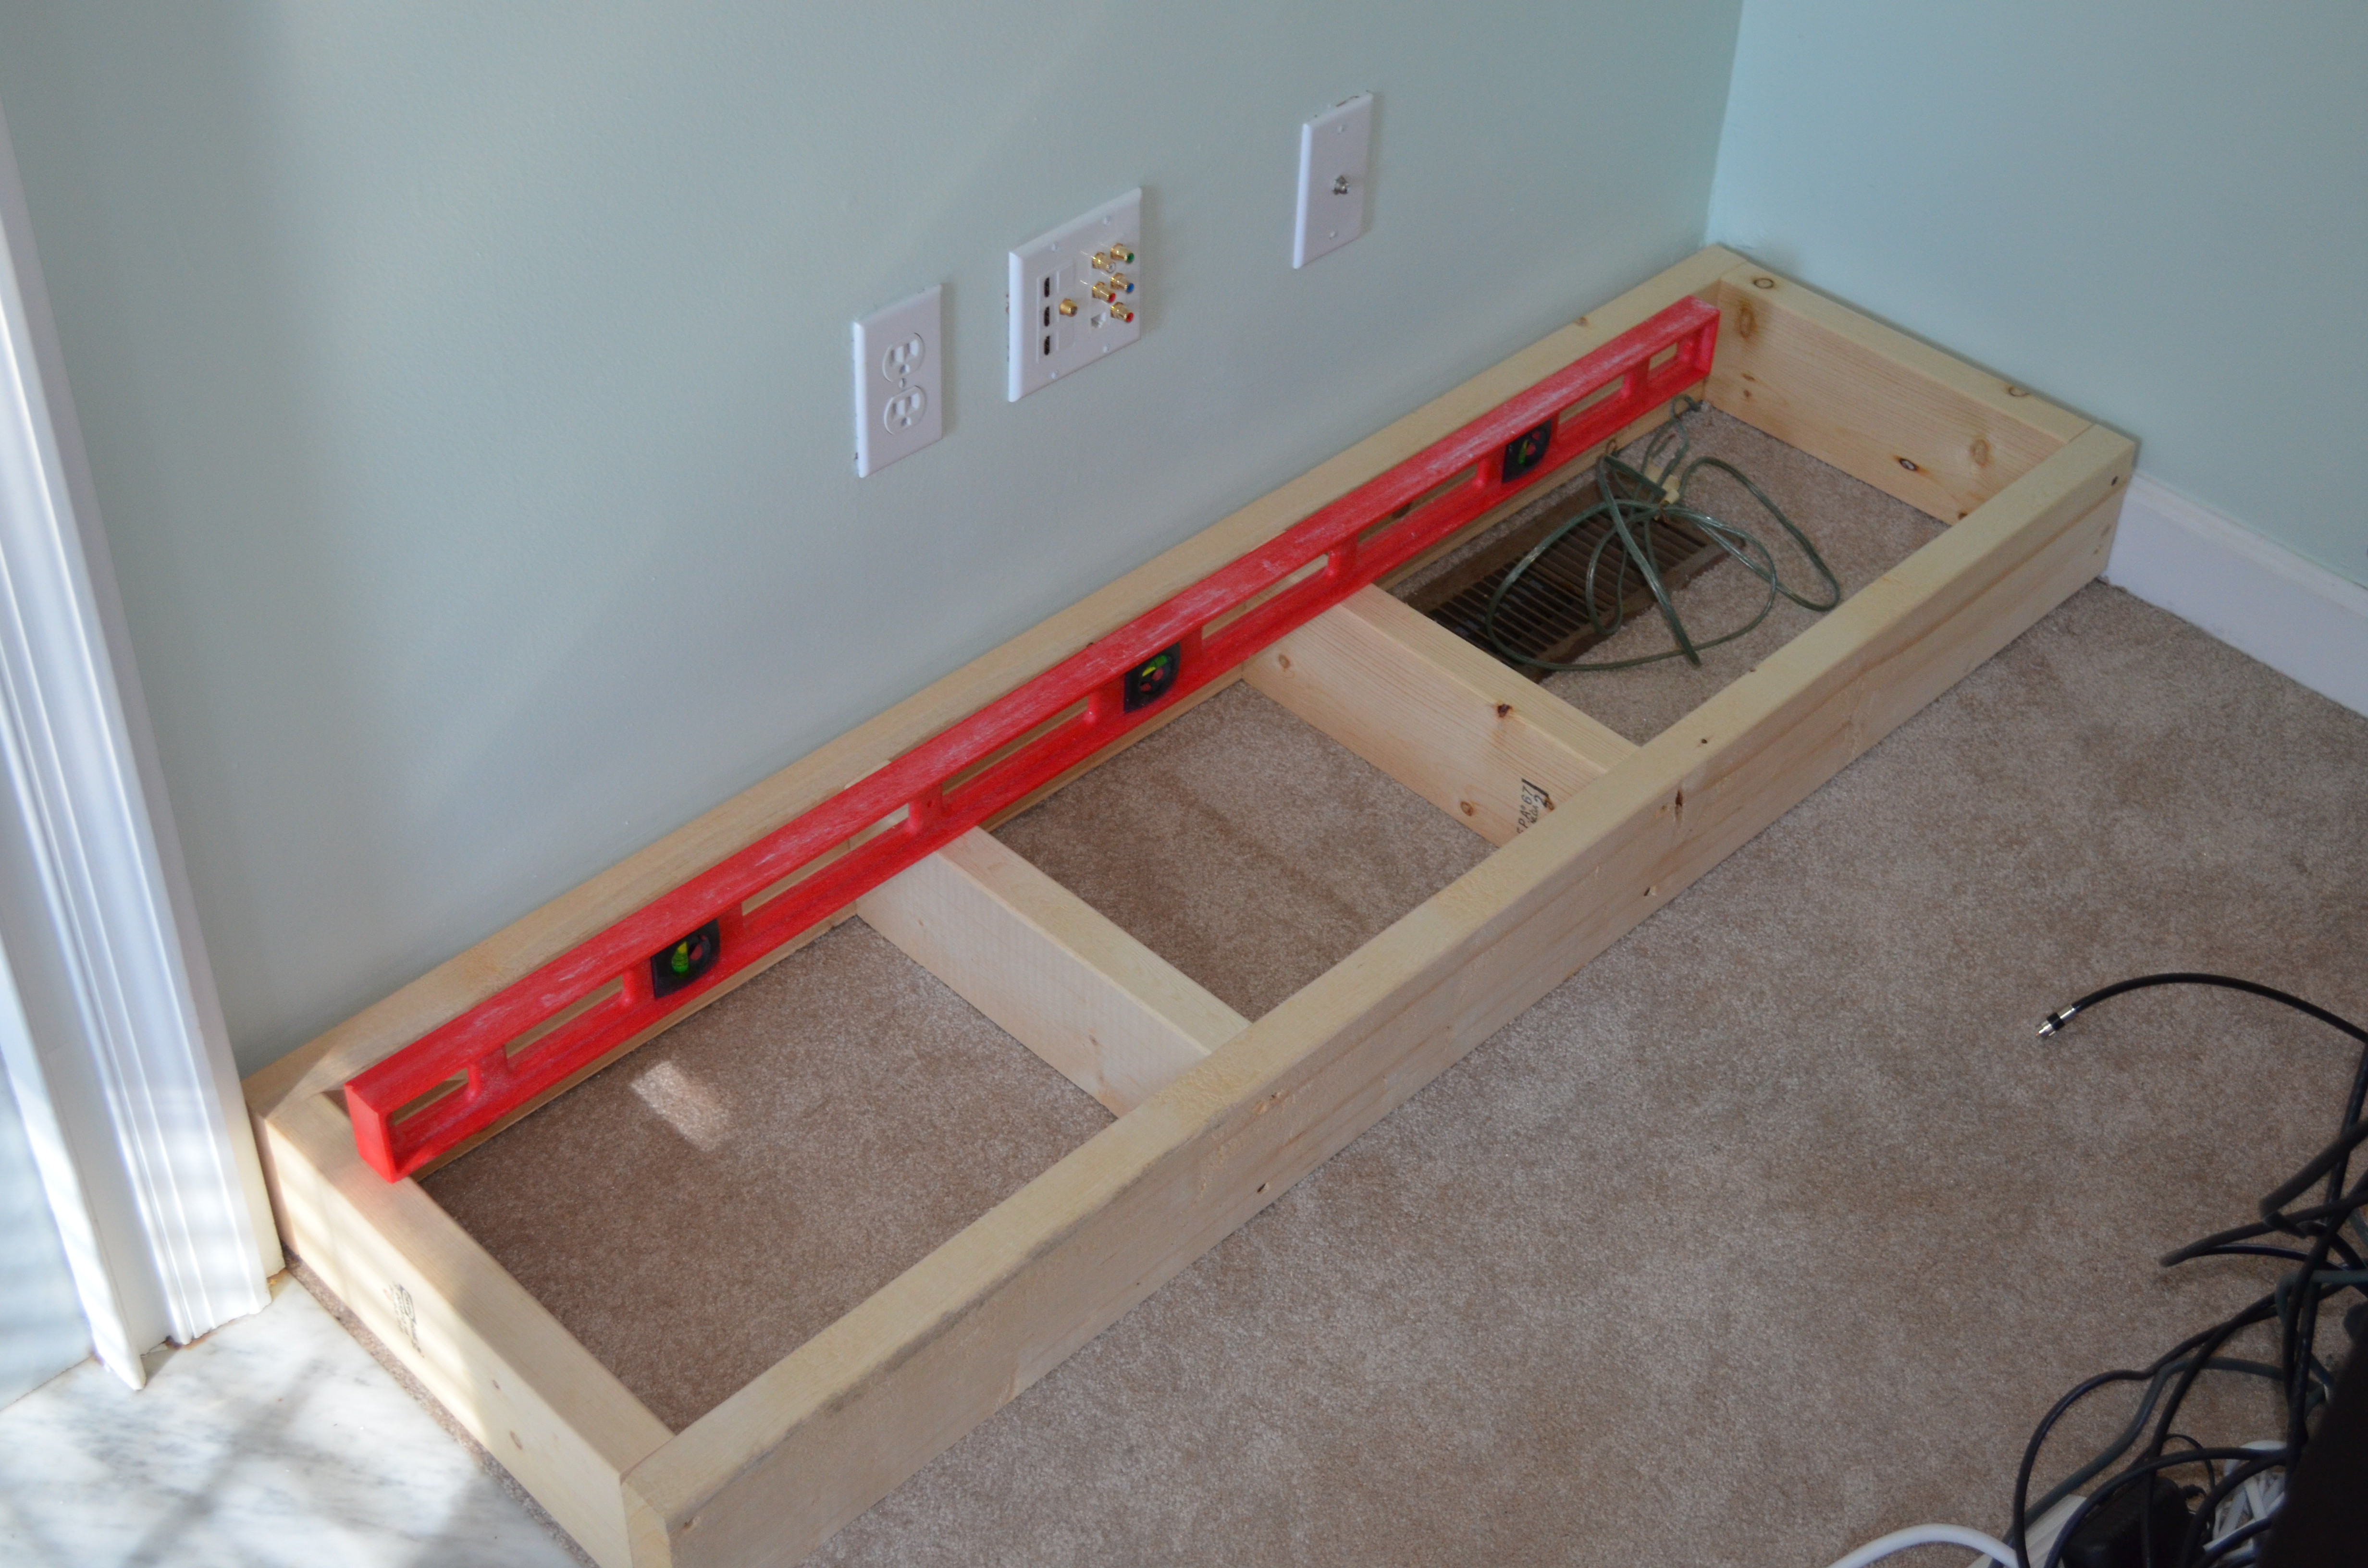
Cabinet base.
We primed all of the pieces of MDF prior to putting them together, in hopes of covering more surface with primer, and not having to worry about hitting the joints in the wood later on. That worked out well, as it was much tougher later when we put it together and had to paint it.
Once the primer dried, and I had drilled a bunch of pocket holes to attach everything to each other, we screwed everything together to create the cabinet boxes. Then, we had to cut and attach the beadboard to the back of the cabinets.
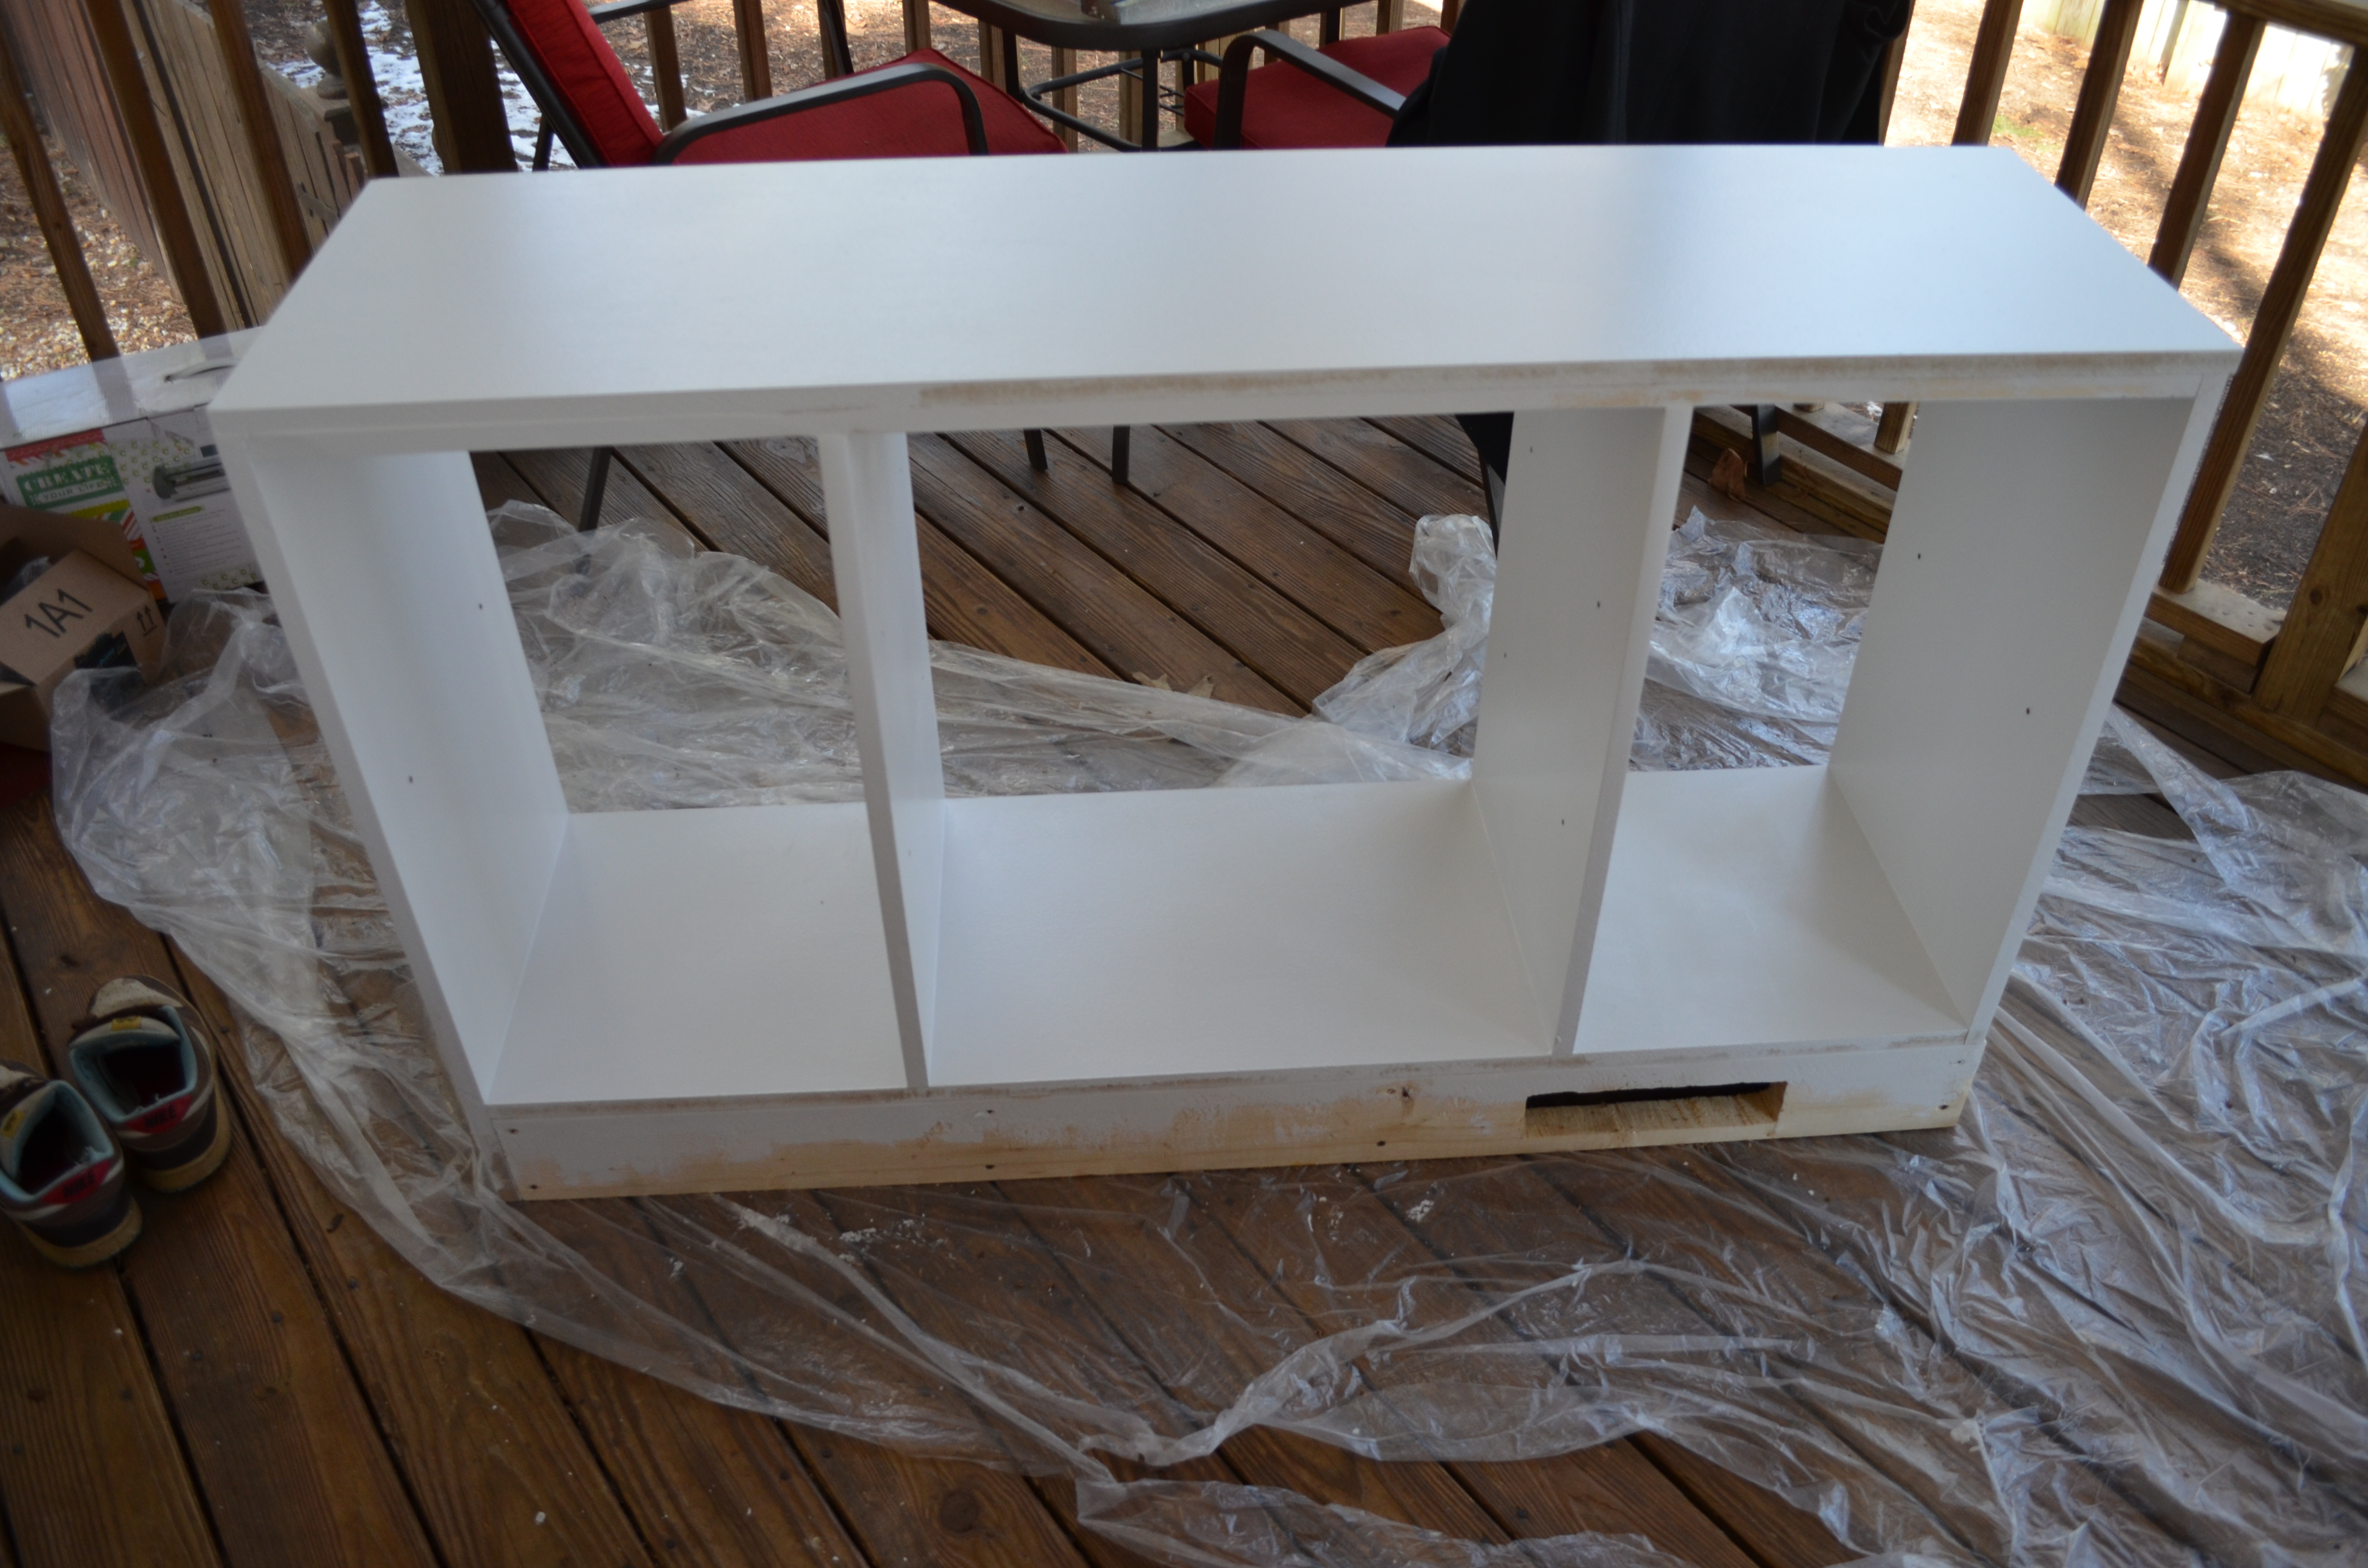
Primed cabinet boxes with vent cutout.
In between this whole process I wondered if it would be better to leave the carpet or remove it, and most sites I read agreed that removing carpet would be the best option, which I also found would make it easier to install trim later on. So I cut out a section of the carpet and moved the tack strip back to in front of where the cabinet would now sit.
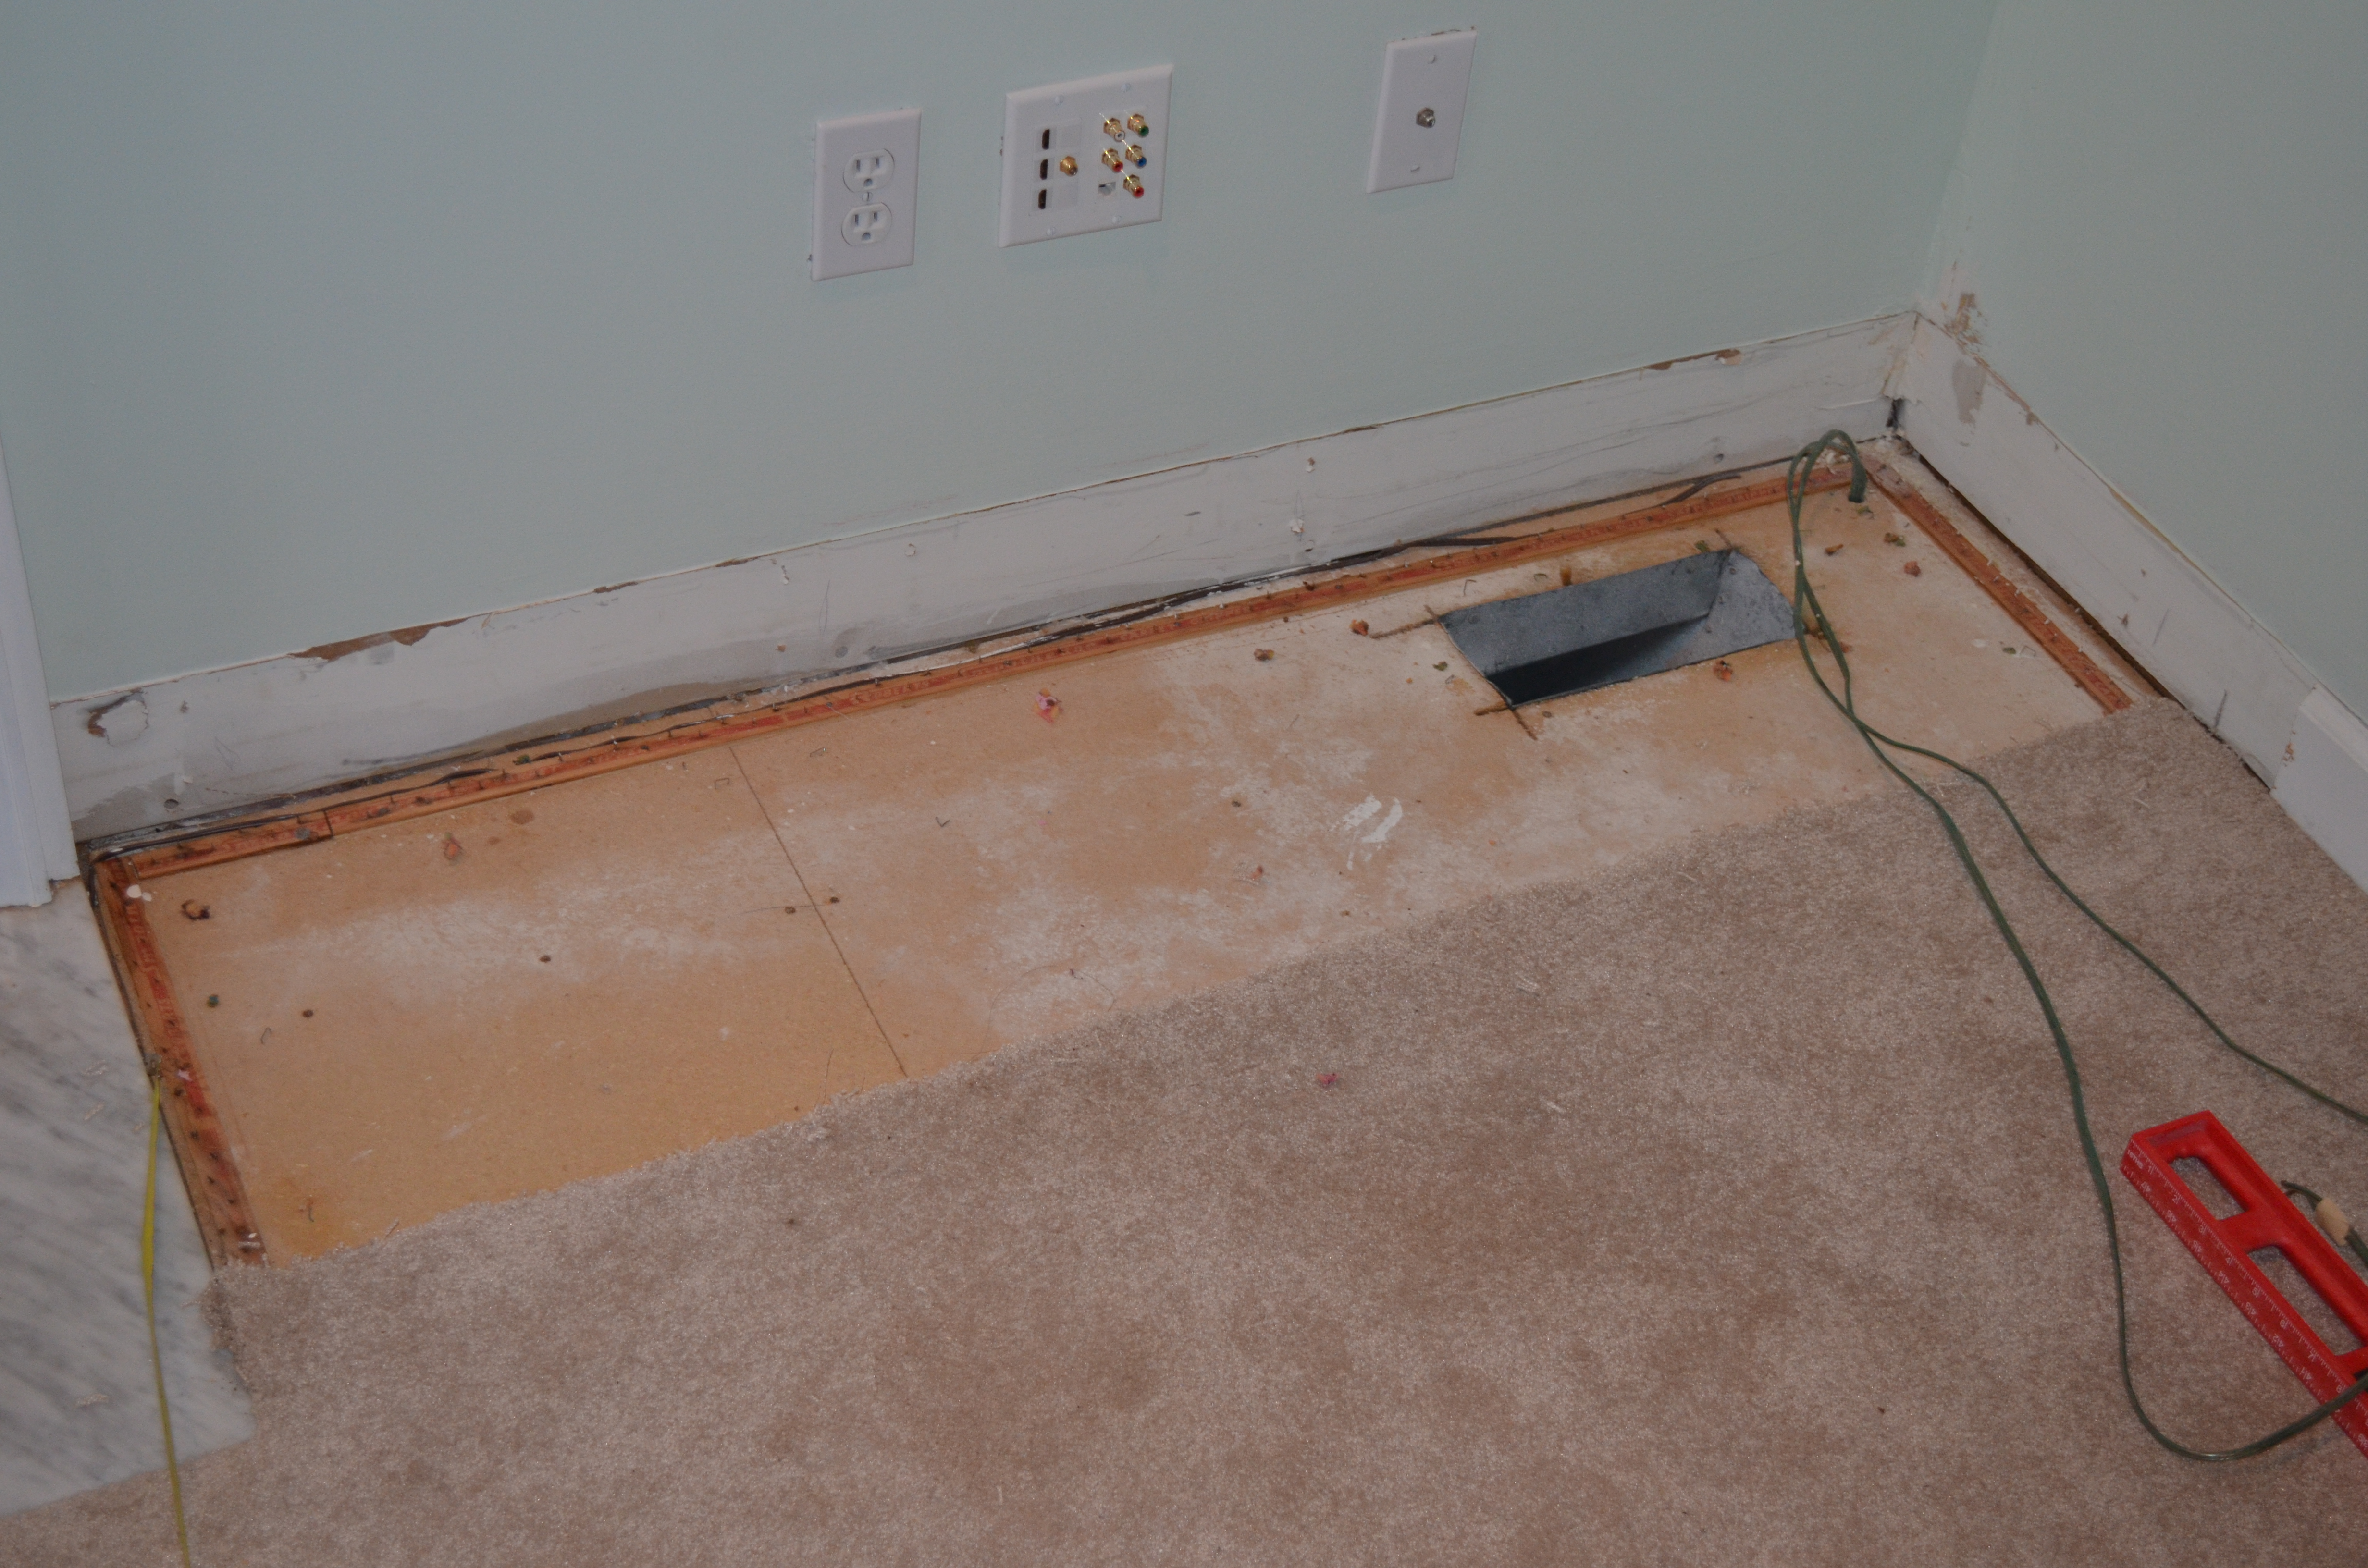
Carpet cutout for where the cabinet was going.
Once that was finished we brought the cabinet inside and tried to measure the cuts we needed to make to fit the outlets through the beadboard. This was not an easy process, and the jigsaw ended up shaking the beadboard so much that it just fell off the back of the cabinet while I was cutting it. So we just measured a little better and took it outside to cut it, which made it a lot easier.
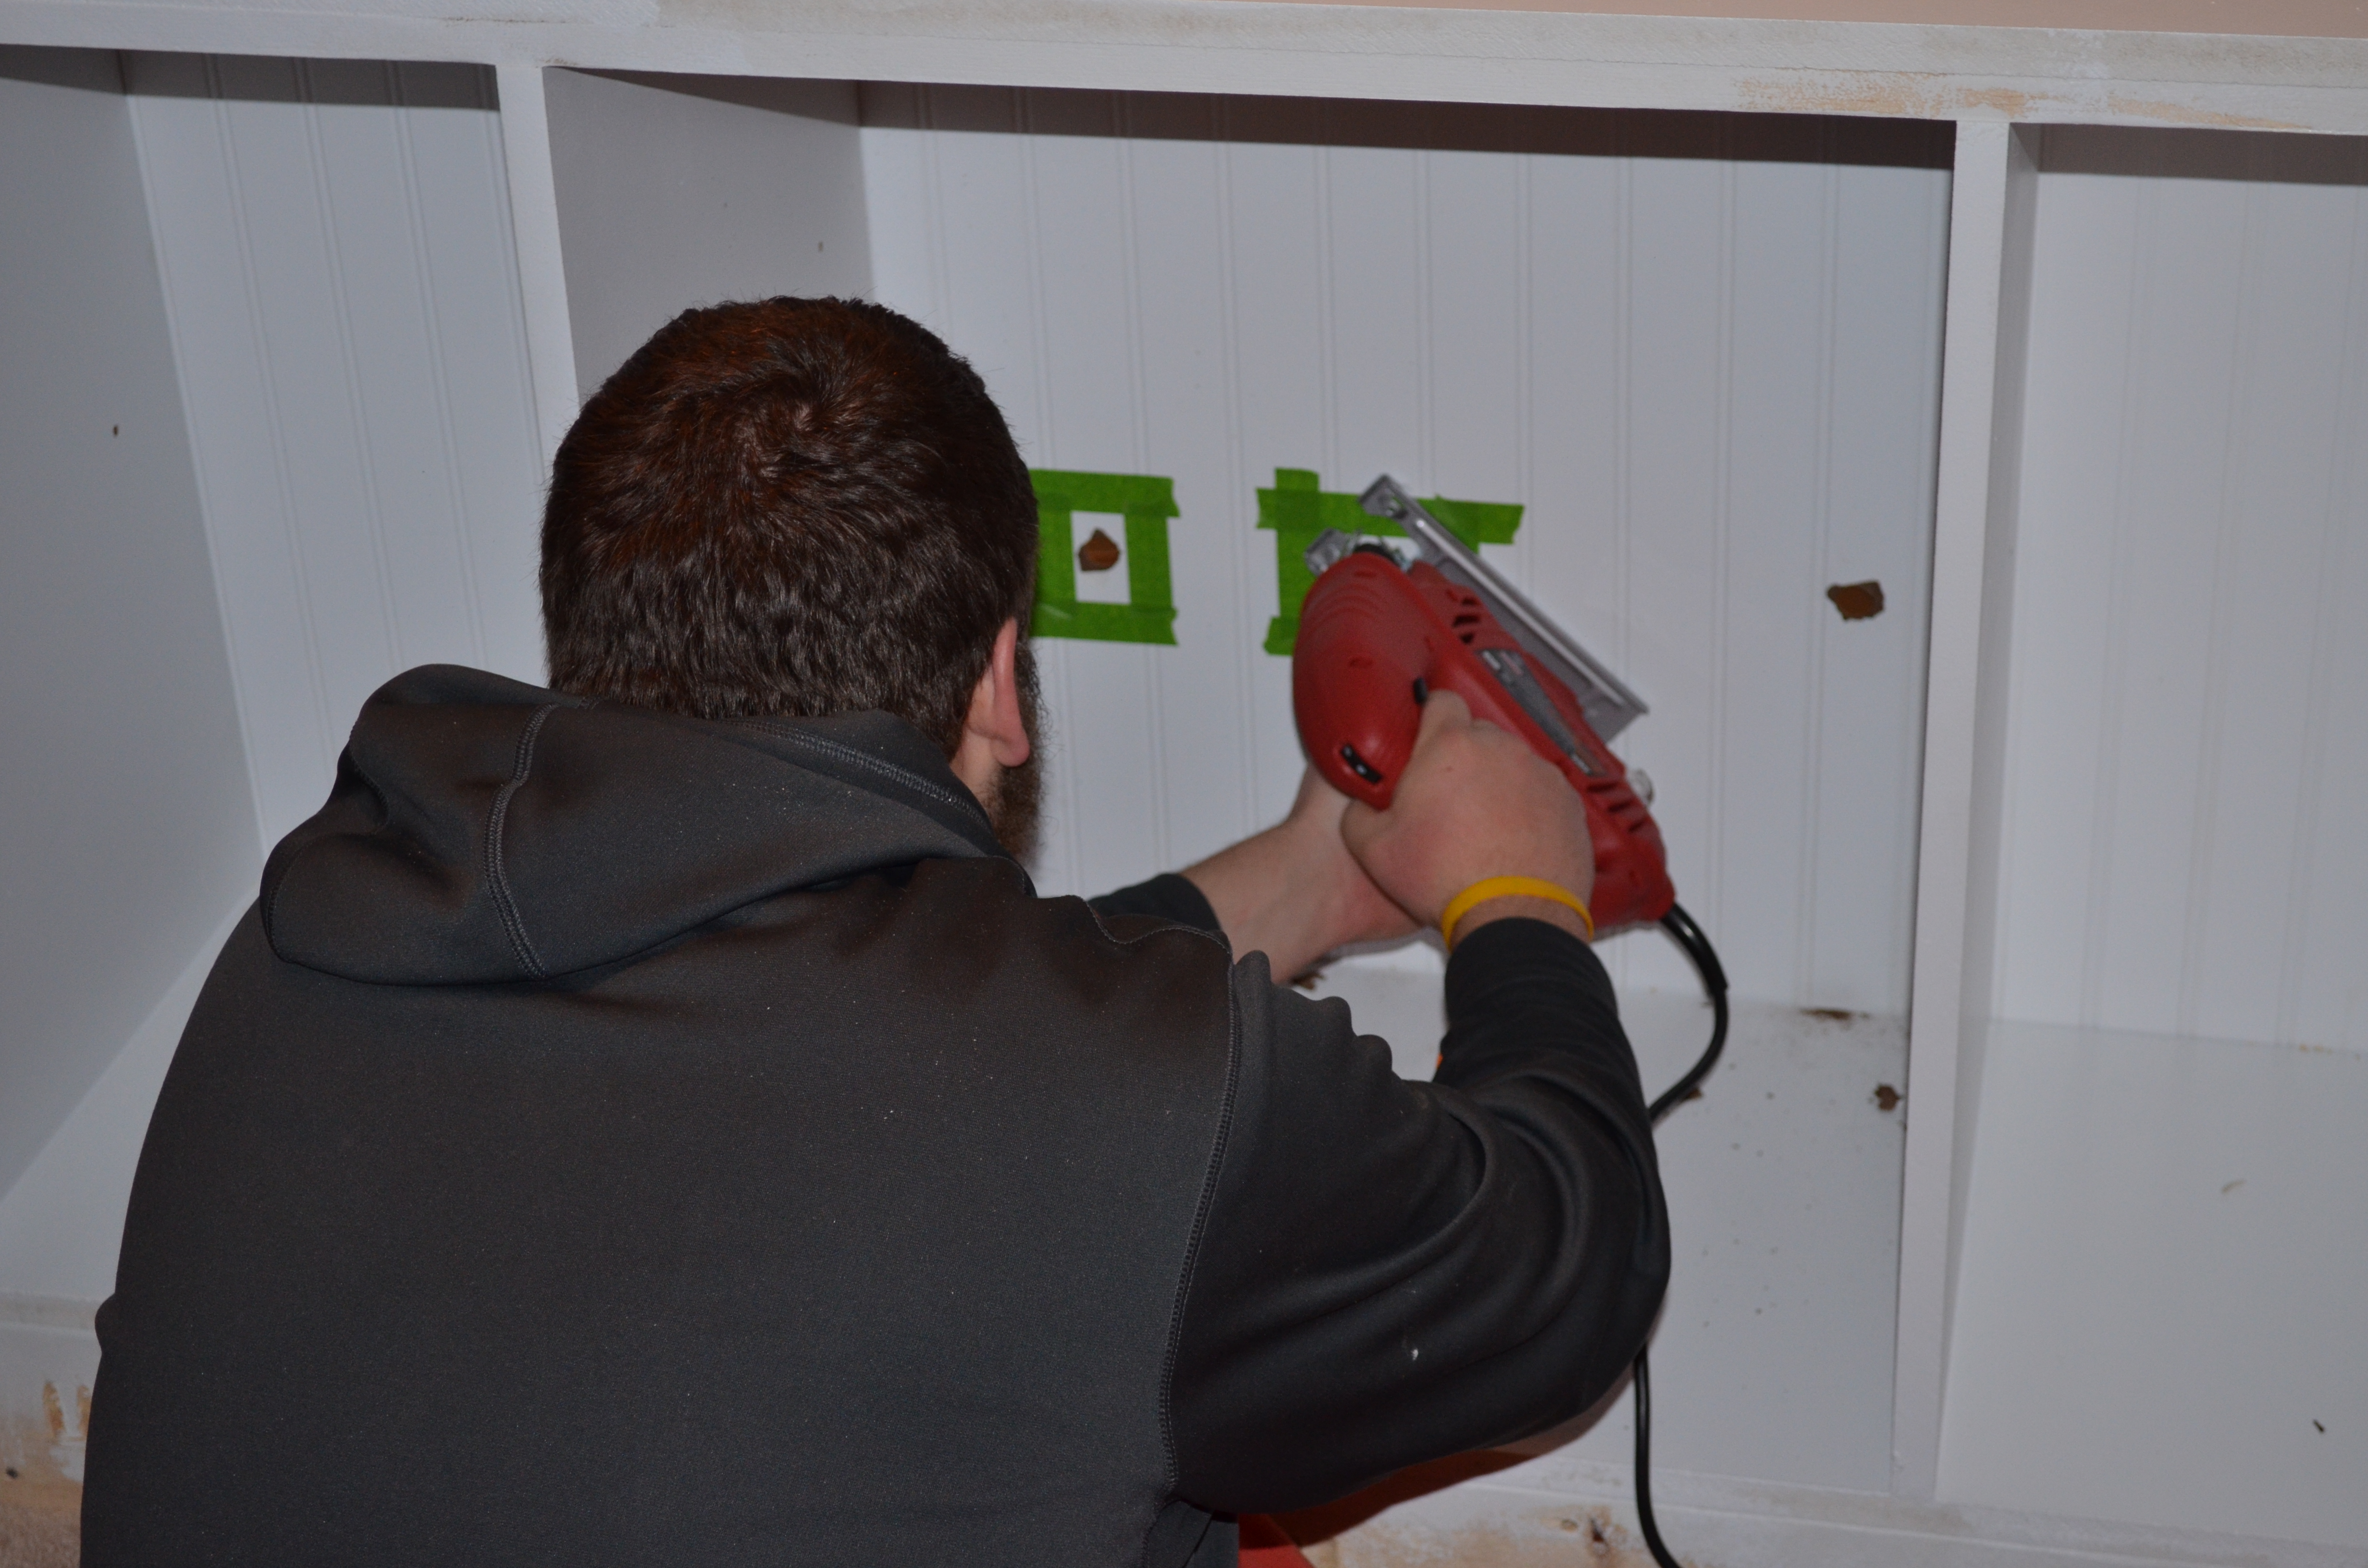
Cutting out holes for outlets.
When that was done and we wanted to sit it in place is when the real issues started to occur. I think a combination of our walls not being 100% flat, and the mantle maybe not being completely square, and our cabinet probably not being completely straight, even with all of our double- and triple-checking, the cabinet wasn’t even close to fitting. Another issue is that when we originally had it in to test, the carpet was there. Now we had to fit it in with the marble hearth, which was visibly not straight, so that could have been another issue.
After lots of pushing and shoving, and trying to cut down parts of the cabinet (a few days worth), it just wasn’t working. I decided that either a planer or sander was the only way we’d be able to squeeze it in between the mantle and the wall, so I went to Lowe’s and bought a sander. Once I made a huge mess of dust in the living room, it finally fit. However, now there was also a significant curve to the left side of the cabinet, since I sanded so much of the back corner down to fit it, and not much of the front side. So I tried to do my best and sand it out even, so you can’t see it much anymore.
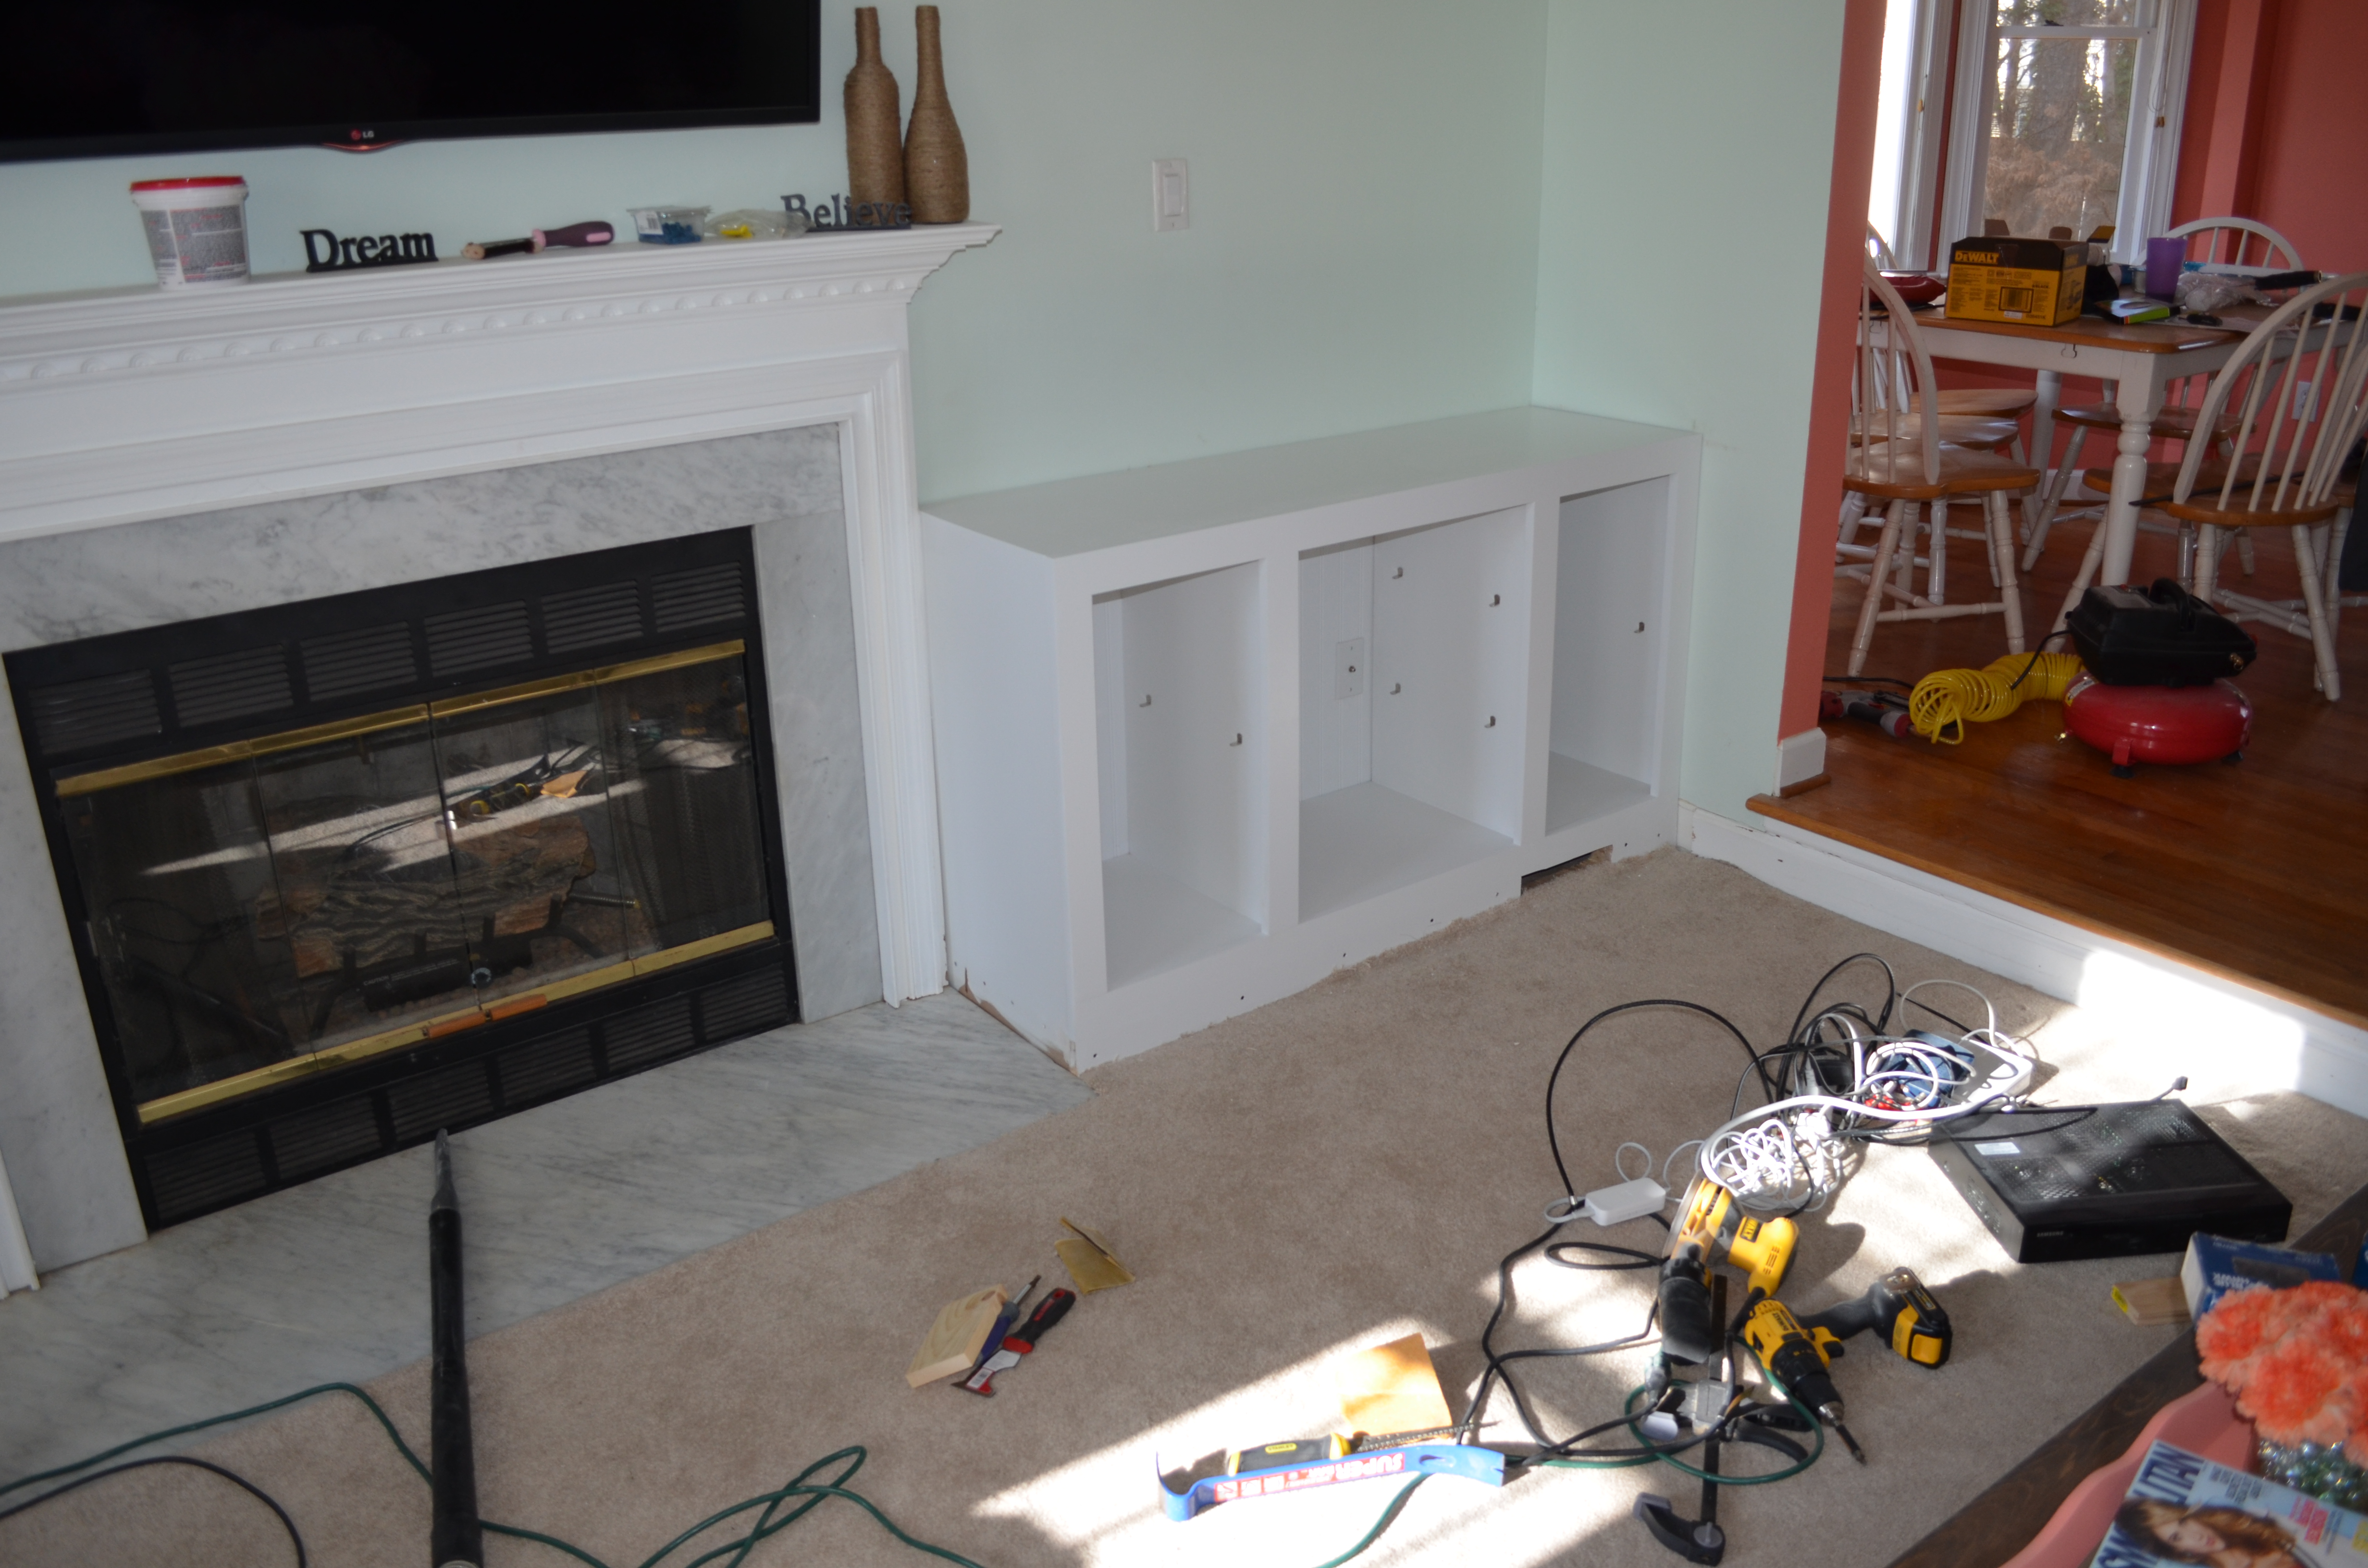
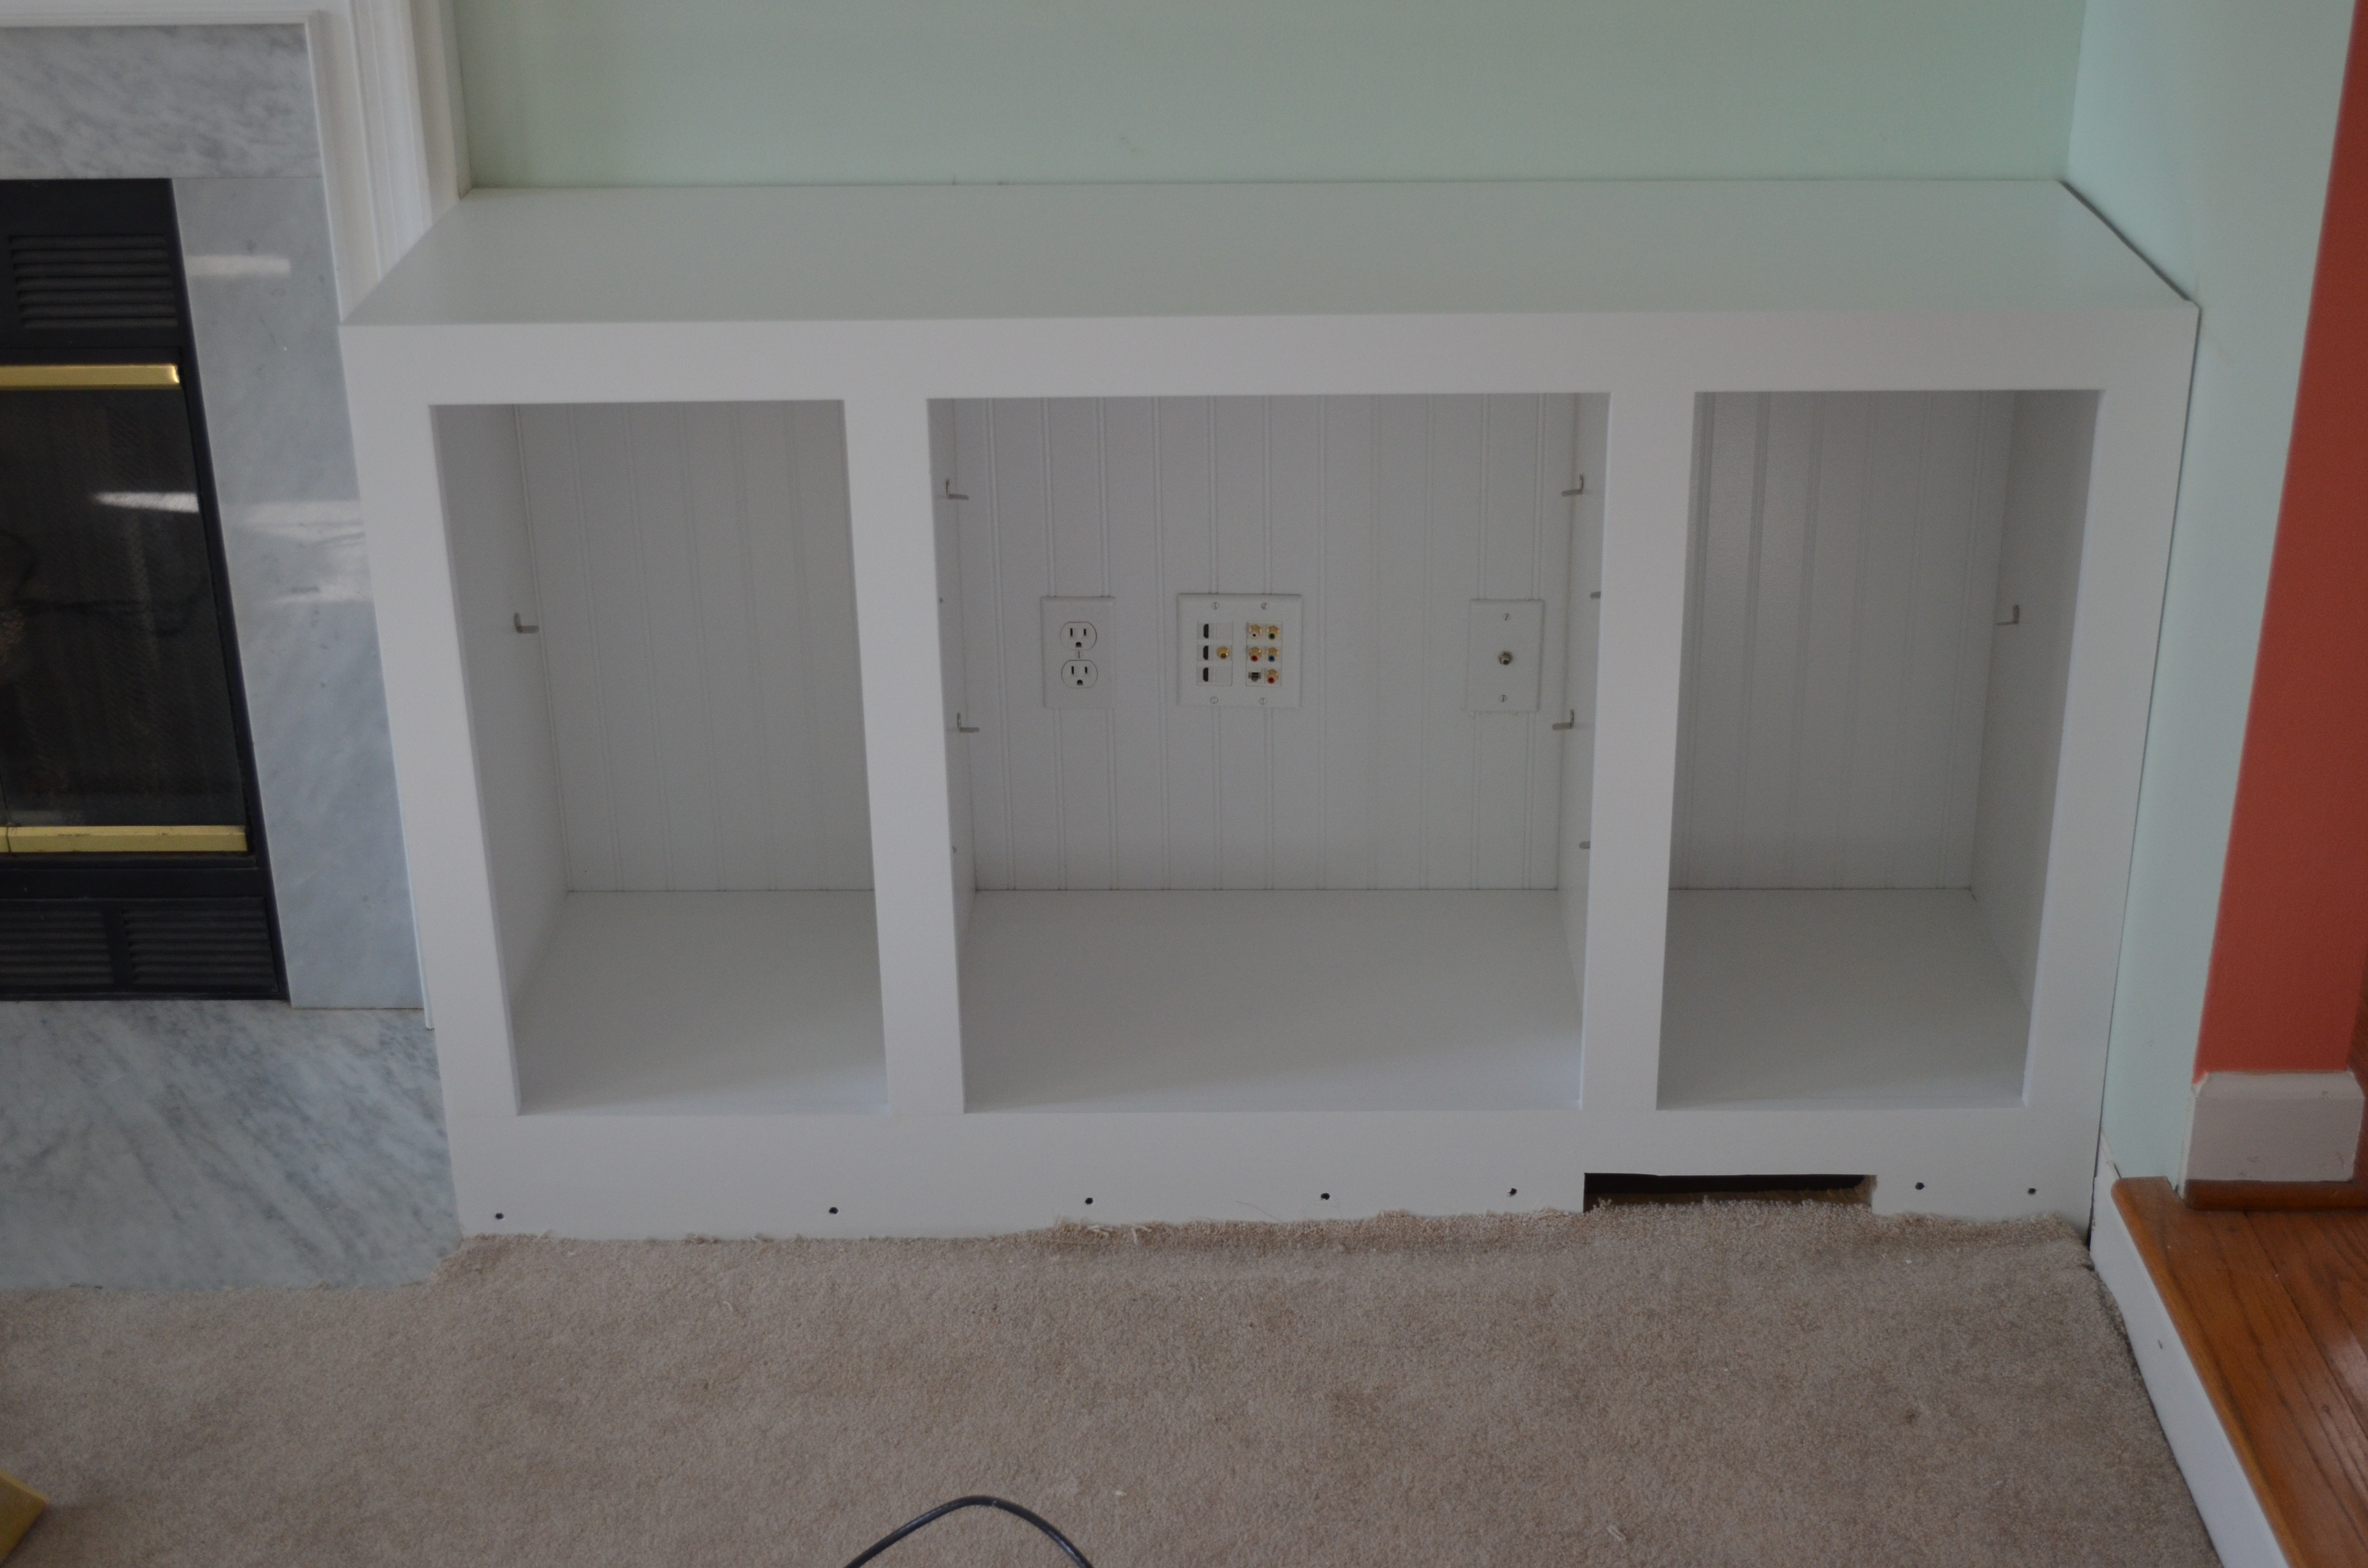
Finally got the cabinet fitting.
The whole process of getting the cabinet to fit took about a full week. It was frustrating, and I’m certainly hoping the other side is easier, and I have a few different ideas to help make it easier.
Now that it fit, we also had to correct a few things because I had already made the face frame, which was now a little bit too long to fit the cabinet. So I sanded that down as well. Once we had it attached it needed some more sanding to line up perfectly.
Finally, it was starting to look good. I built the doors with some real thin plywood (probably about 3/8″), and cut some 1×3′s on the tablesaw about a 1/4″ deep to fit the plywood inside. I put the doors in place and it made it look even better.
Trim and doors in place.
Now that we had pretty much everything setup, we added the trim, and had to make a few other corrections, such as adding a shim to the gap between the wall and cabinet and spackling over, so it now looks like the cabinet goes from the wall to the mantle with no gaps.
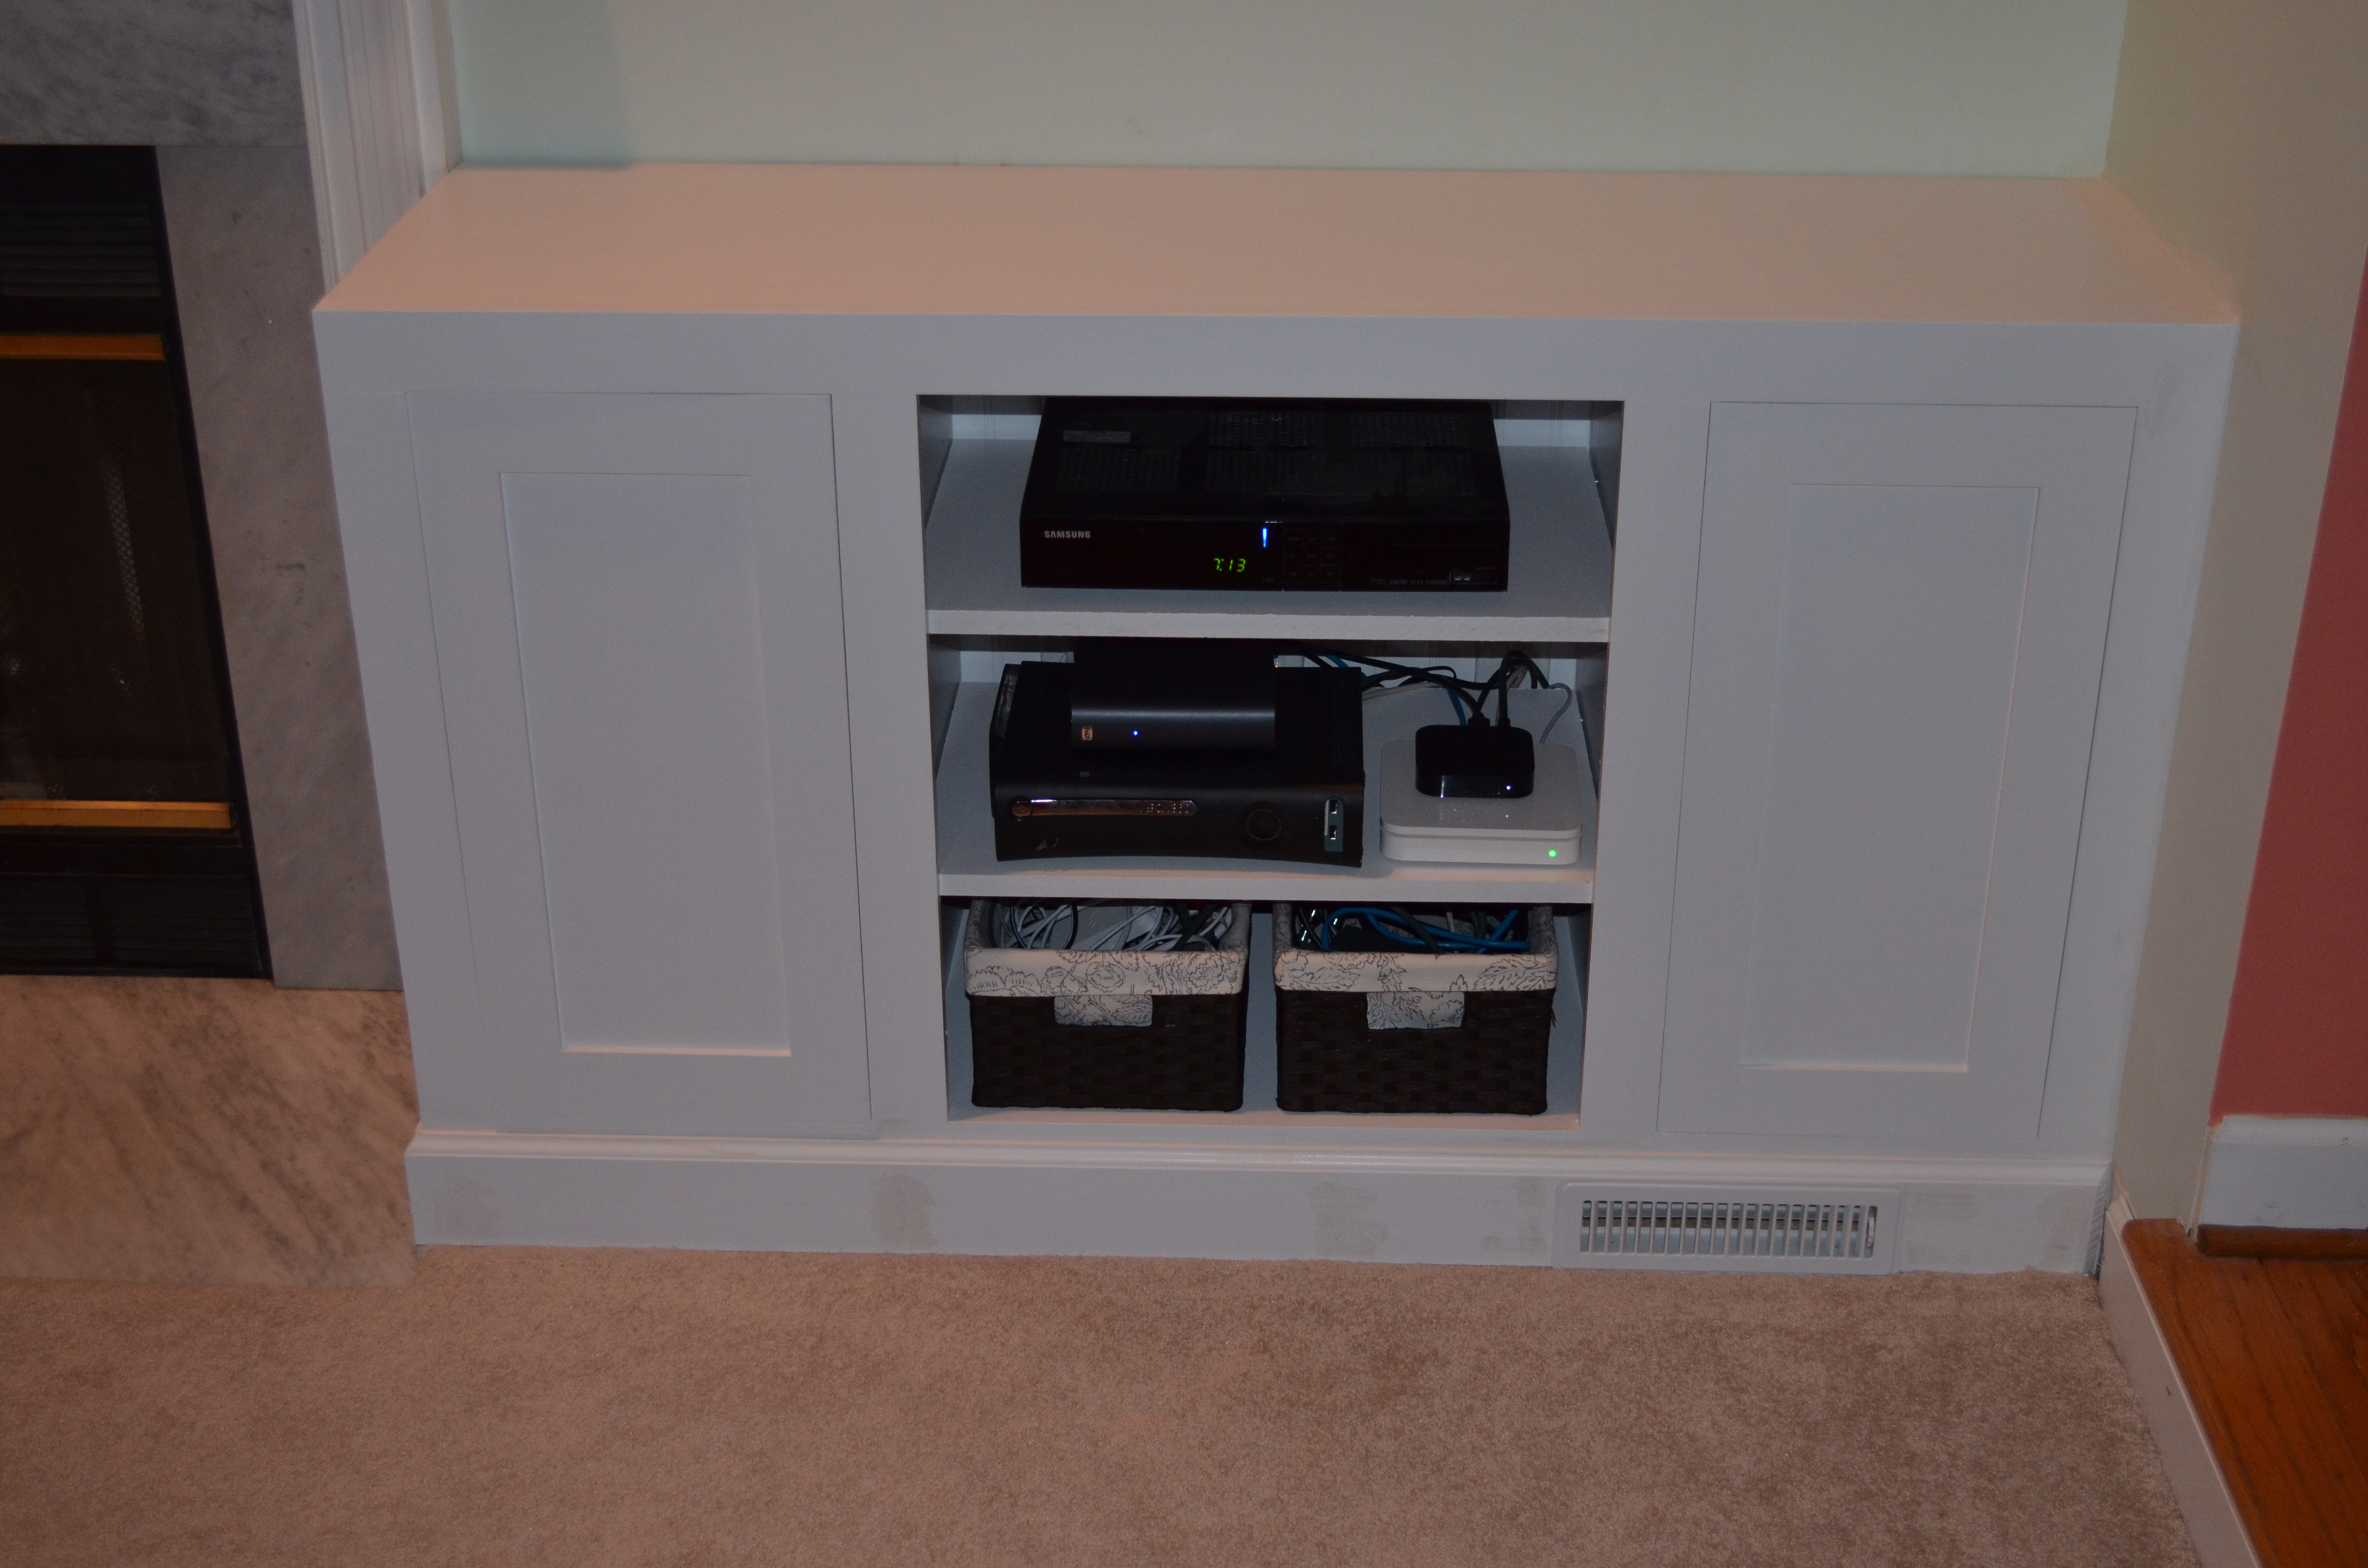
Finally, we added the door hinges, door knobs, and framed in the shelves to look nicer as well. Now that we decorated it, I think it looks pretty nice and I’m happy we spent the time to do it.
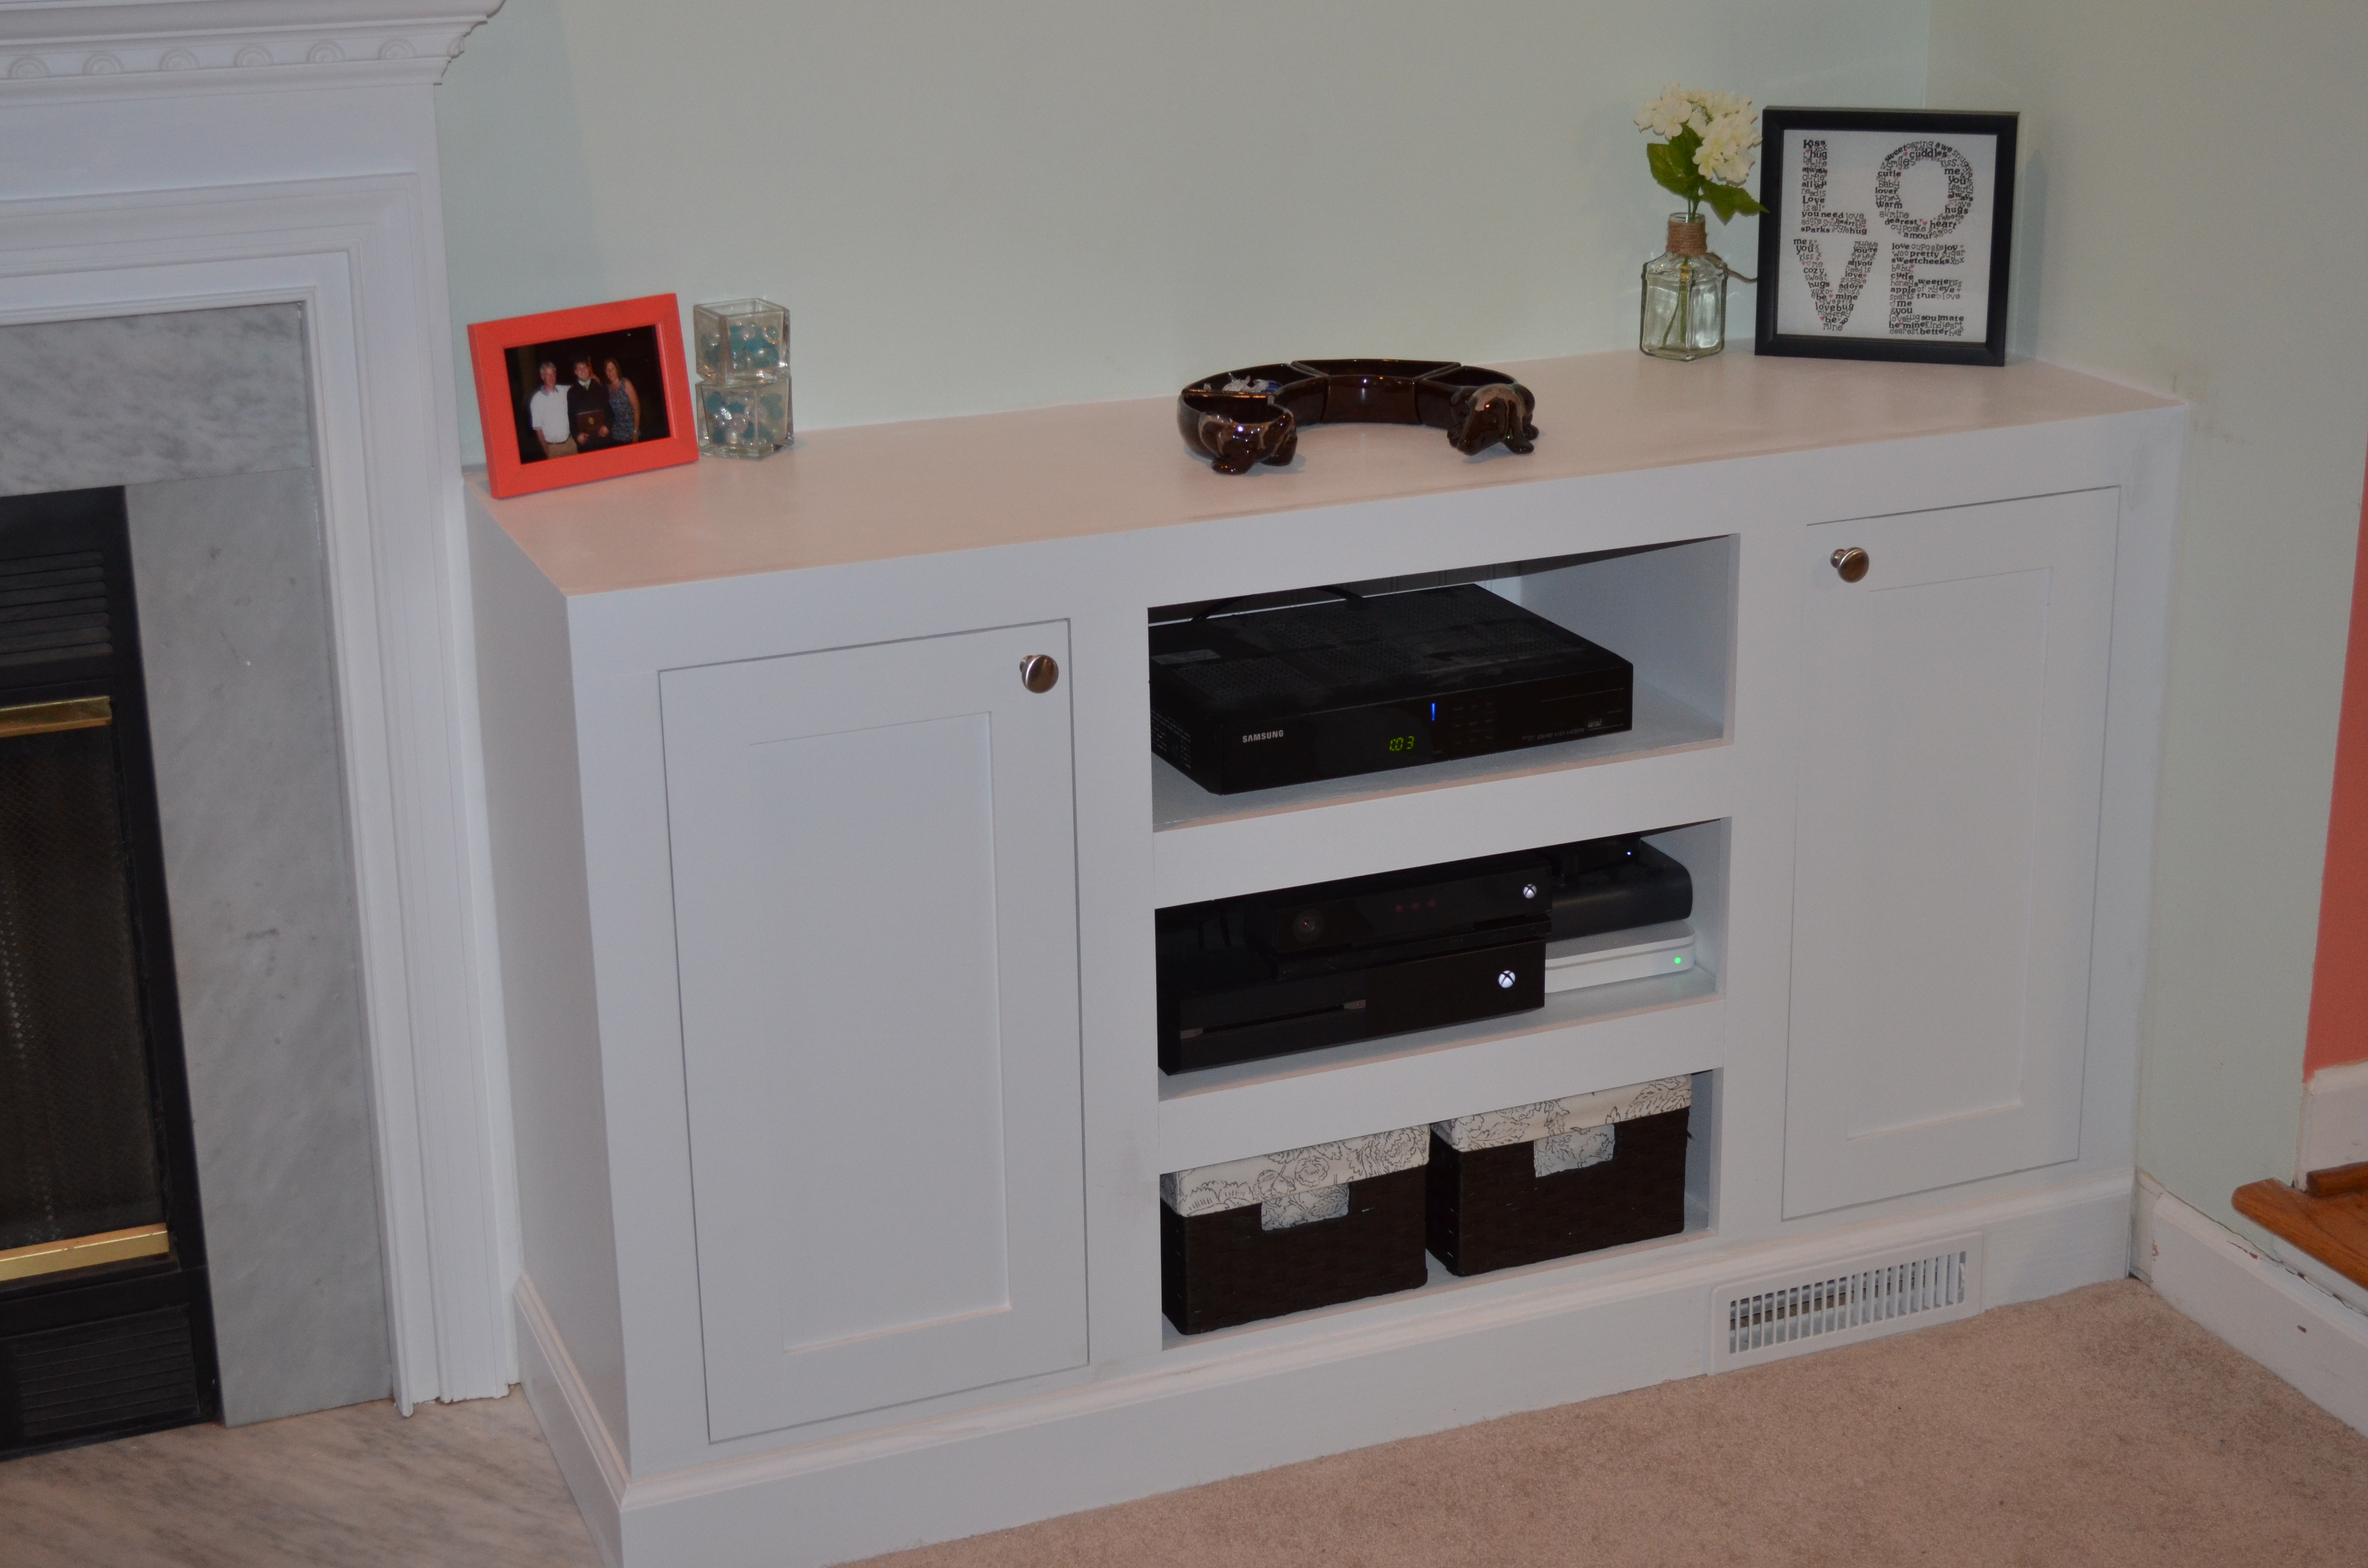
Finished cabinet.
Next we started on the second cabinet, but we’ll add that in another post soon!
Update: Part 3.
Haven’t seen part 1 yet? See it here.