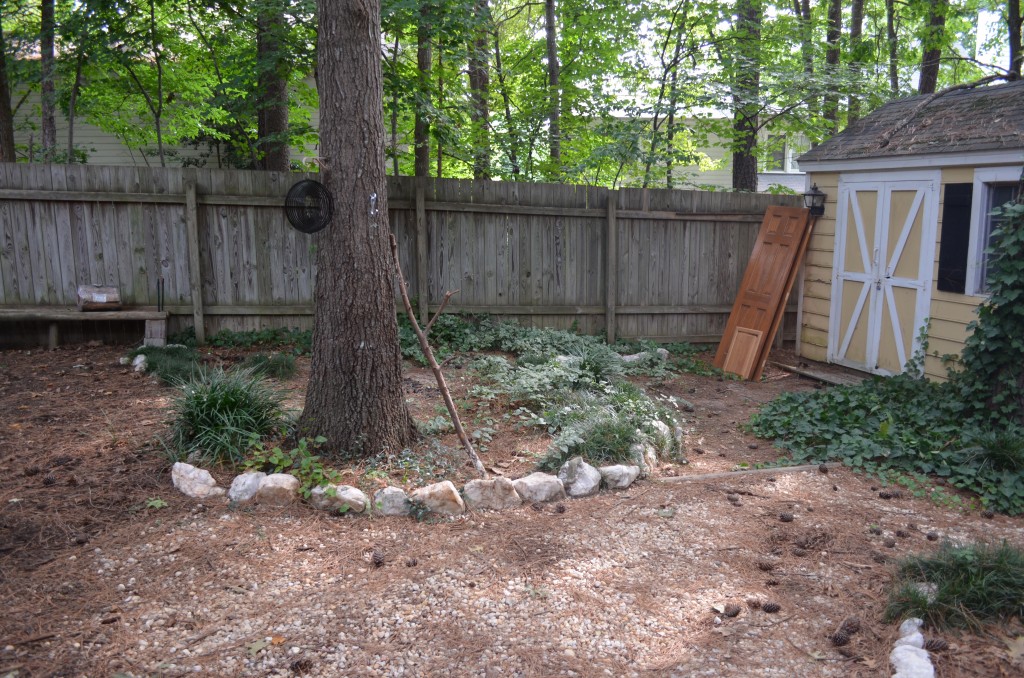
I was looking through Pinterest, as I do on occasion, and came across this cute, simple DIY bench for our backyard. There was already a bench out there, but it was a makeshift one made of cement blocks and old fence posts that the previous owners had left behind. It was an eyesore.
Makeshift Bench – on the right side of the photo, against the fence.
When I came across this post on Pinterest, I thought it wouldn’t be a bad idea to make a new bench, especially if it was as simple and cheap as it stated. I showed Scott, and he agreed; however, he decided to do a little more research and came across another post about creating outdoor furniture. Of course it wasn’t as cheap, or quite as simple as the one I had originally showed him, but we went for it anyway.
The simple bench I had in mind turned into an adirondack bench, two chairs, a fire pit and patio (we decided not to do the patio for financial reasons).
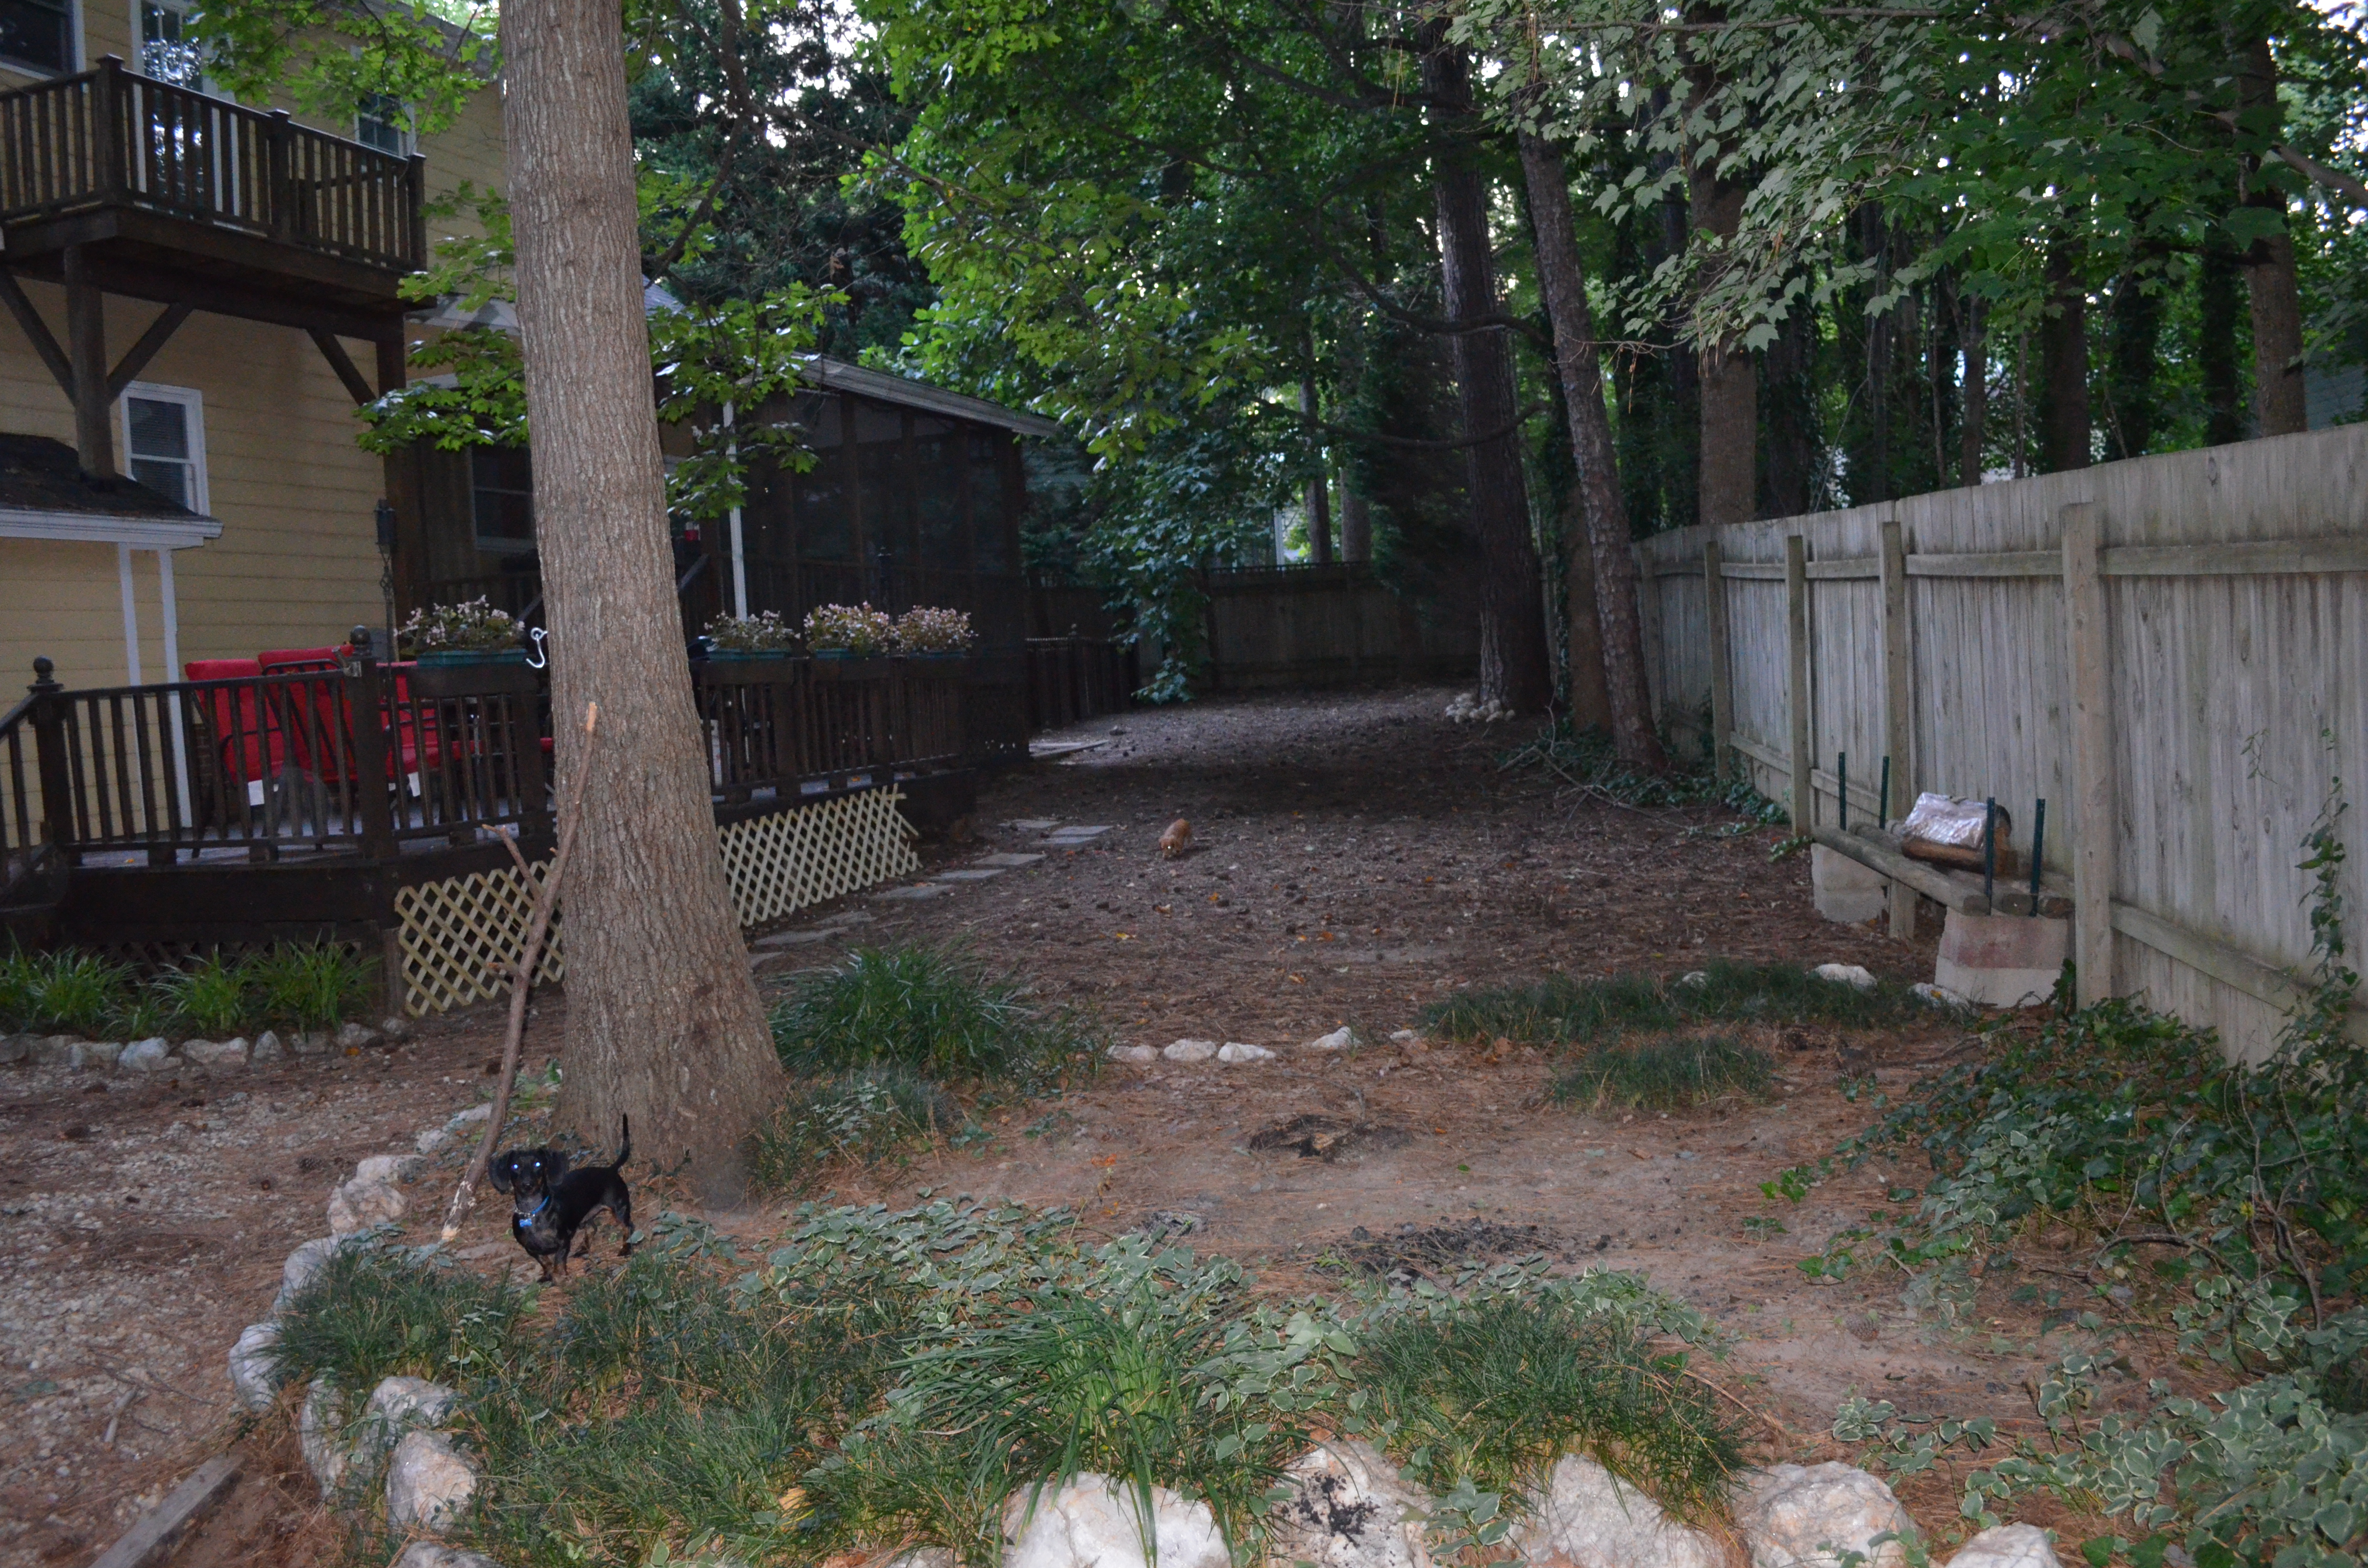
First, we started by clearing out the area. There was a lot of ivy and overgrown, grassy bushes that we decided to get rid of. Originally, we were going to clear the area, level it out and create a patio and DIY fire pit. When we looked into the cost of patio materials, we decided the money would be put to better use elsewhere. So we decided to just make the furniture and purchase a fire pit. We can always add in a patio later on, if we change our minds.
Before we cleared the area (not the greatest image, but we forgot to take one and this is all we had).
The supplies for the bench and both chairs were approximately $100 and they were all relatively simple to make. Scott made all of the cuts and I stained the boards.
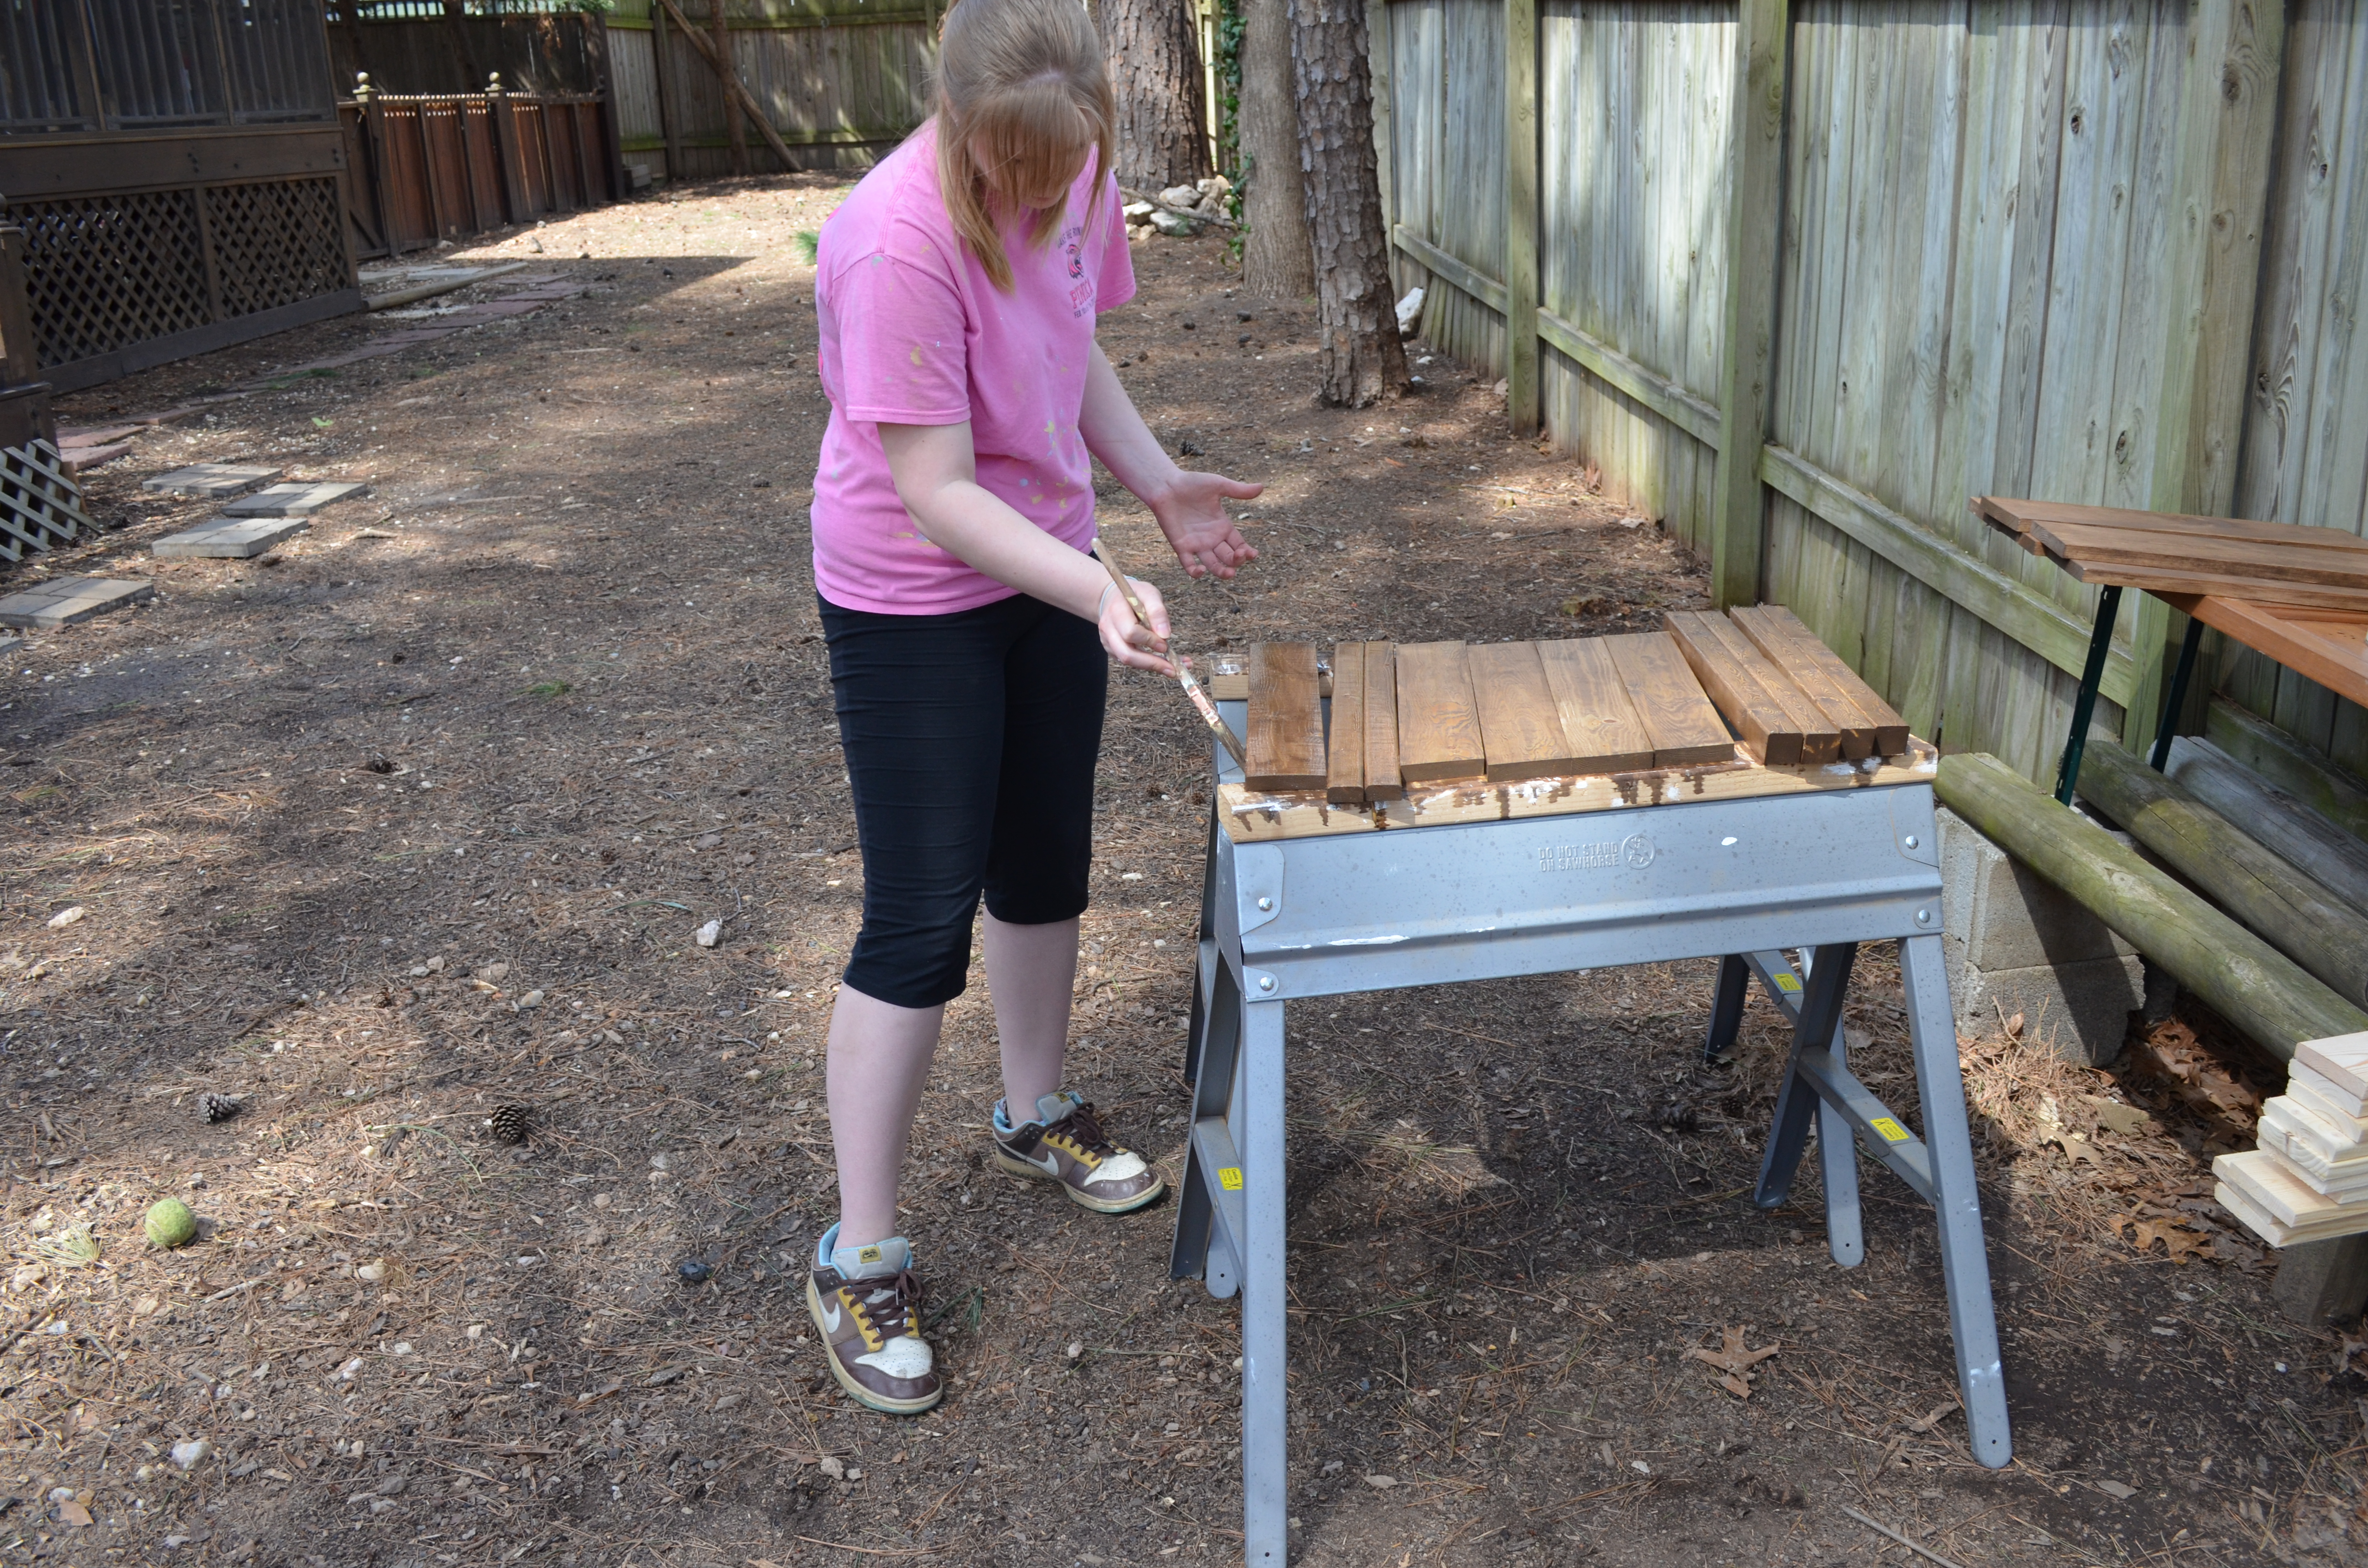
Staining the boards.
Then we just followed the directions from the website. We made a change to the arm width. The website directed us to use 1×3′s, but we decided we wanted larger arms, so we used 1×6′s instead.
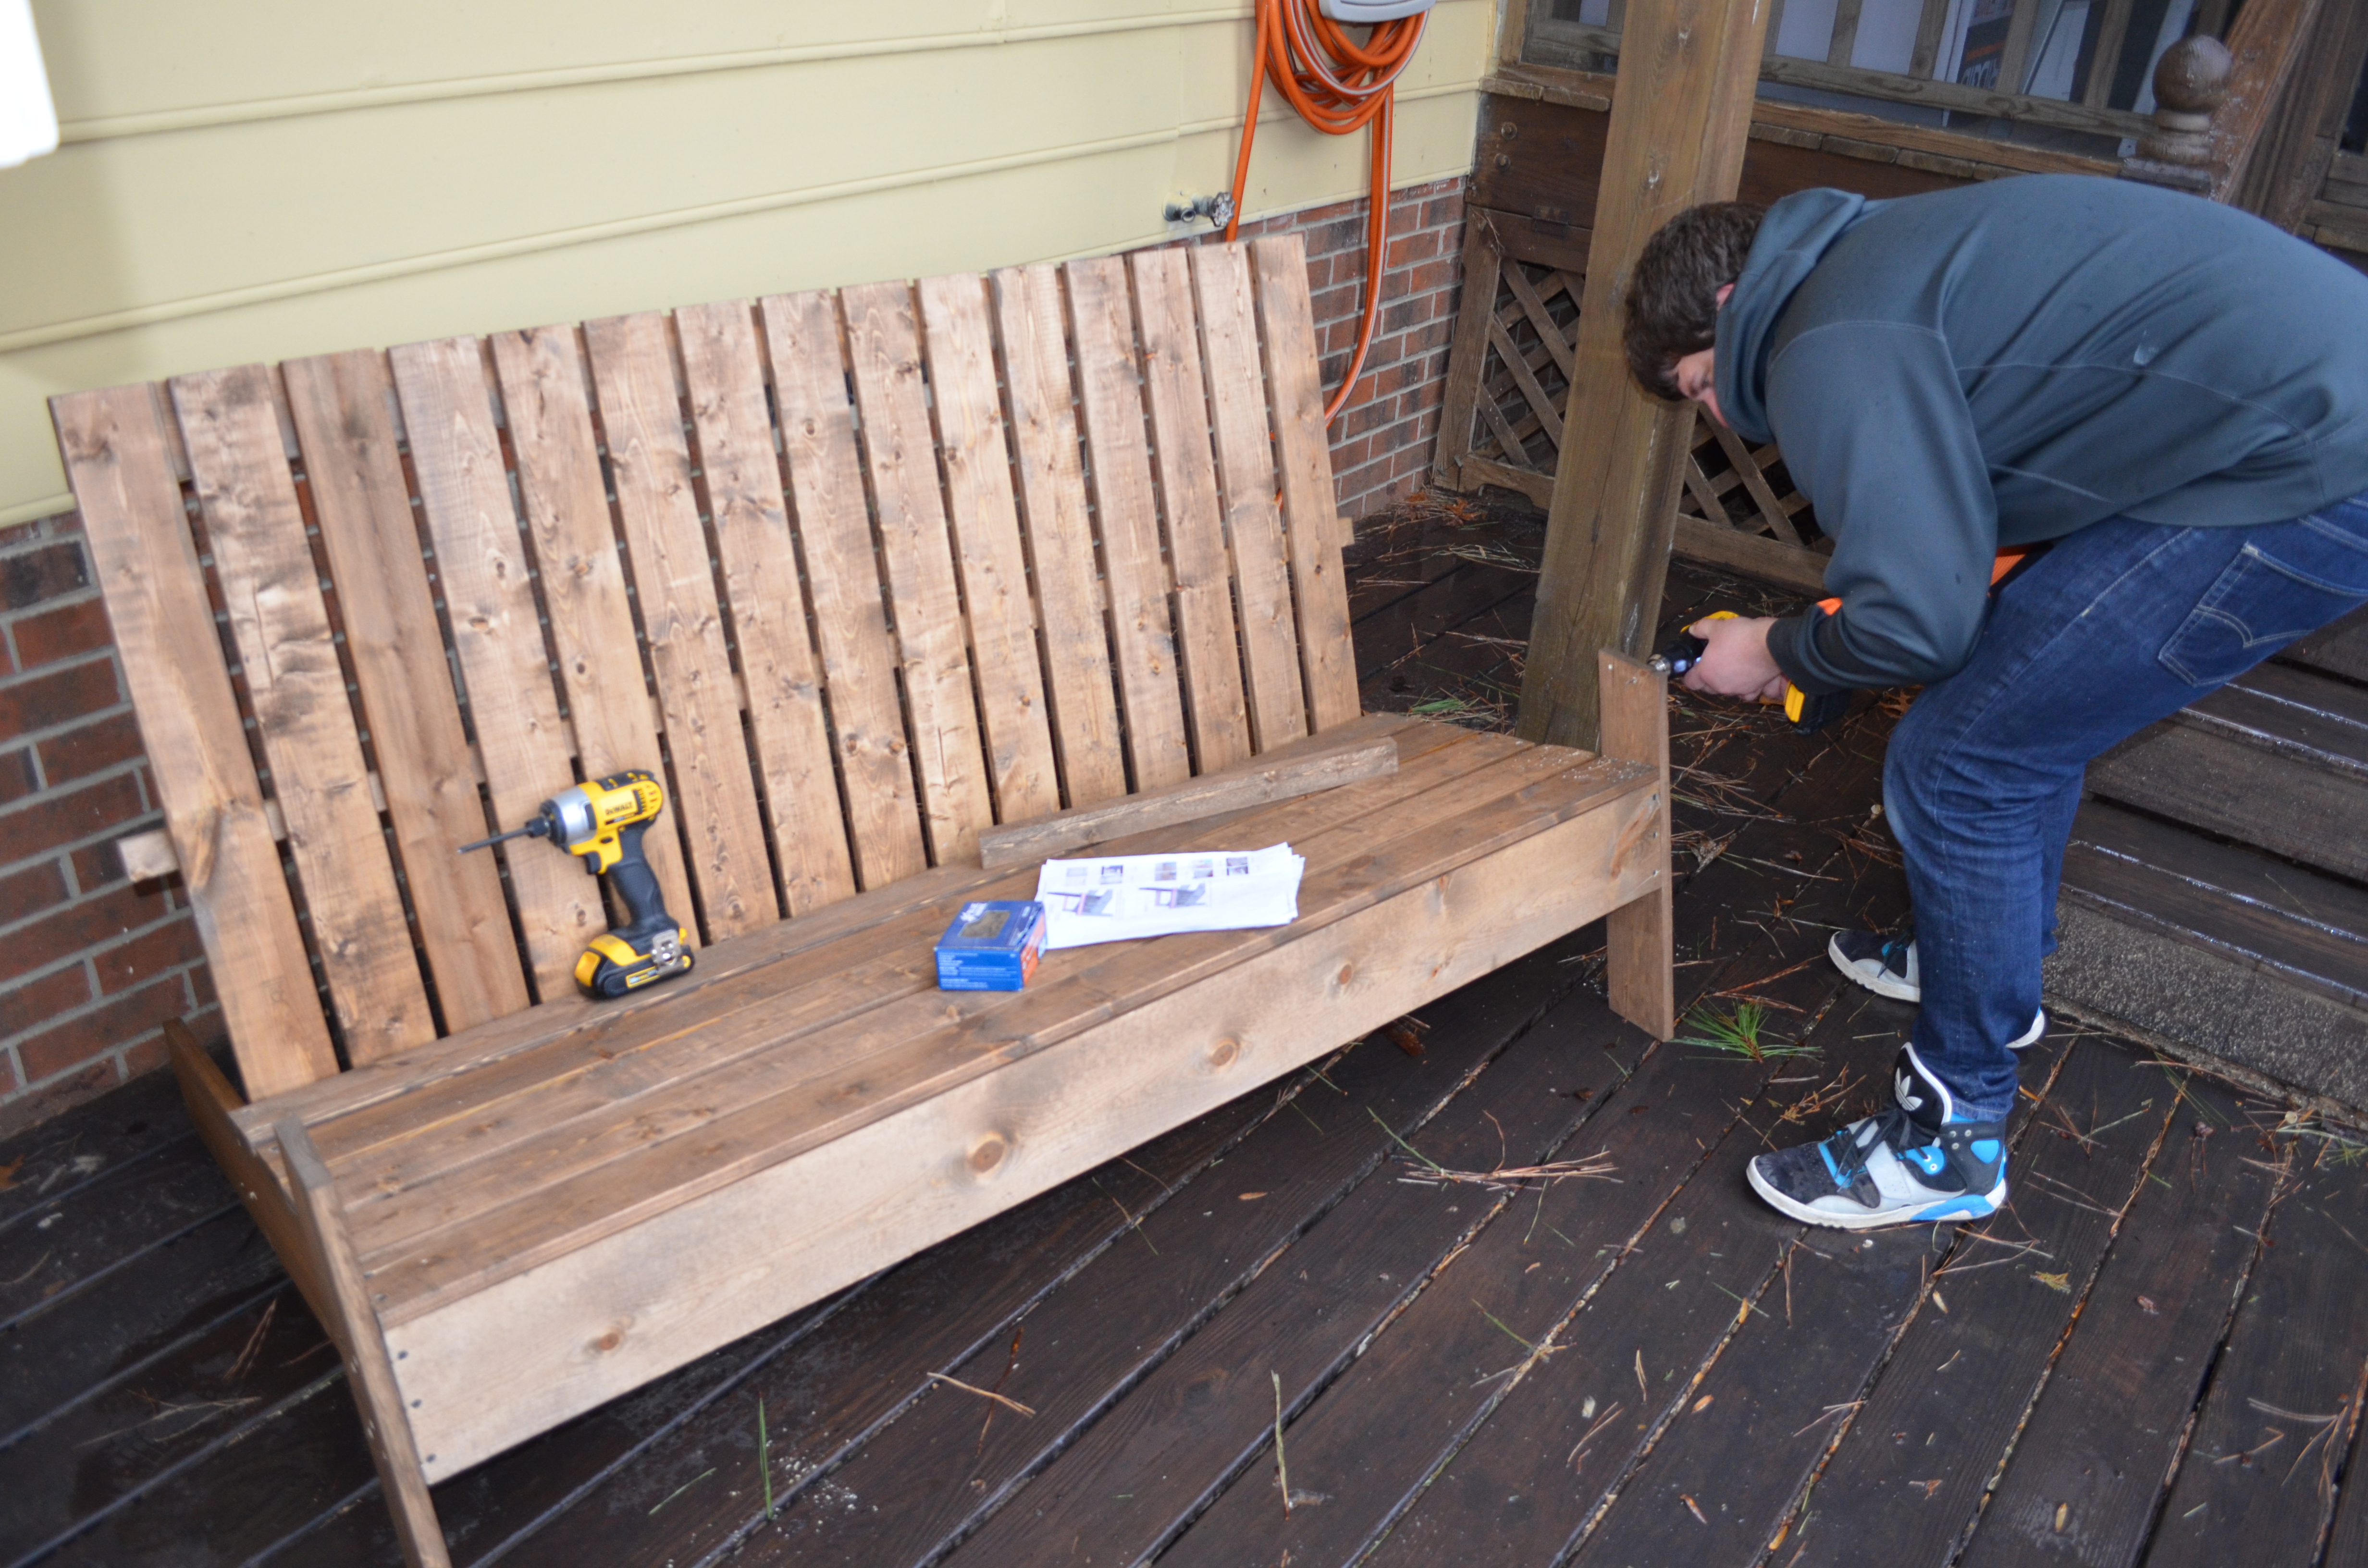
Adding the front legs and drilling for the arms.
Overall, the bench and chairs were really simple to make. The only real issue we ran across is that many of the boards cracked when we screwed them together. Once Scott read the directions again, he realized that we were suppose to pre-drill the holes. When we started doing that, it alleviated the cracking issue, for the most part. The only other issue is that the back support on the bench doesn’t seem to be strong enough. The website says to use a 1×2, but we might go back and replace it with something a little larger, and stronger.
Here’s our finished project! We’re pretty happy with it!
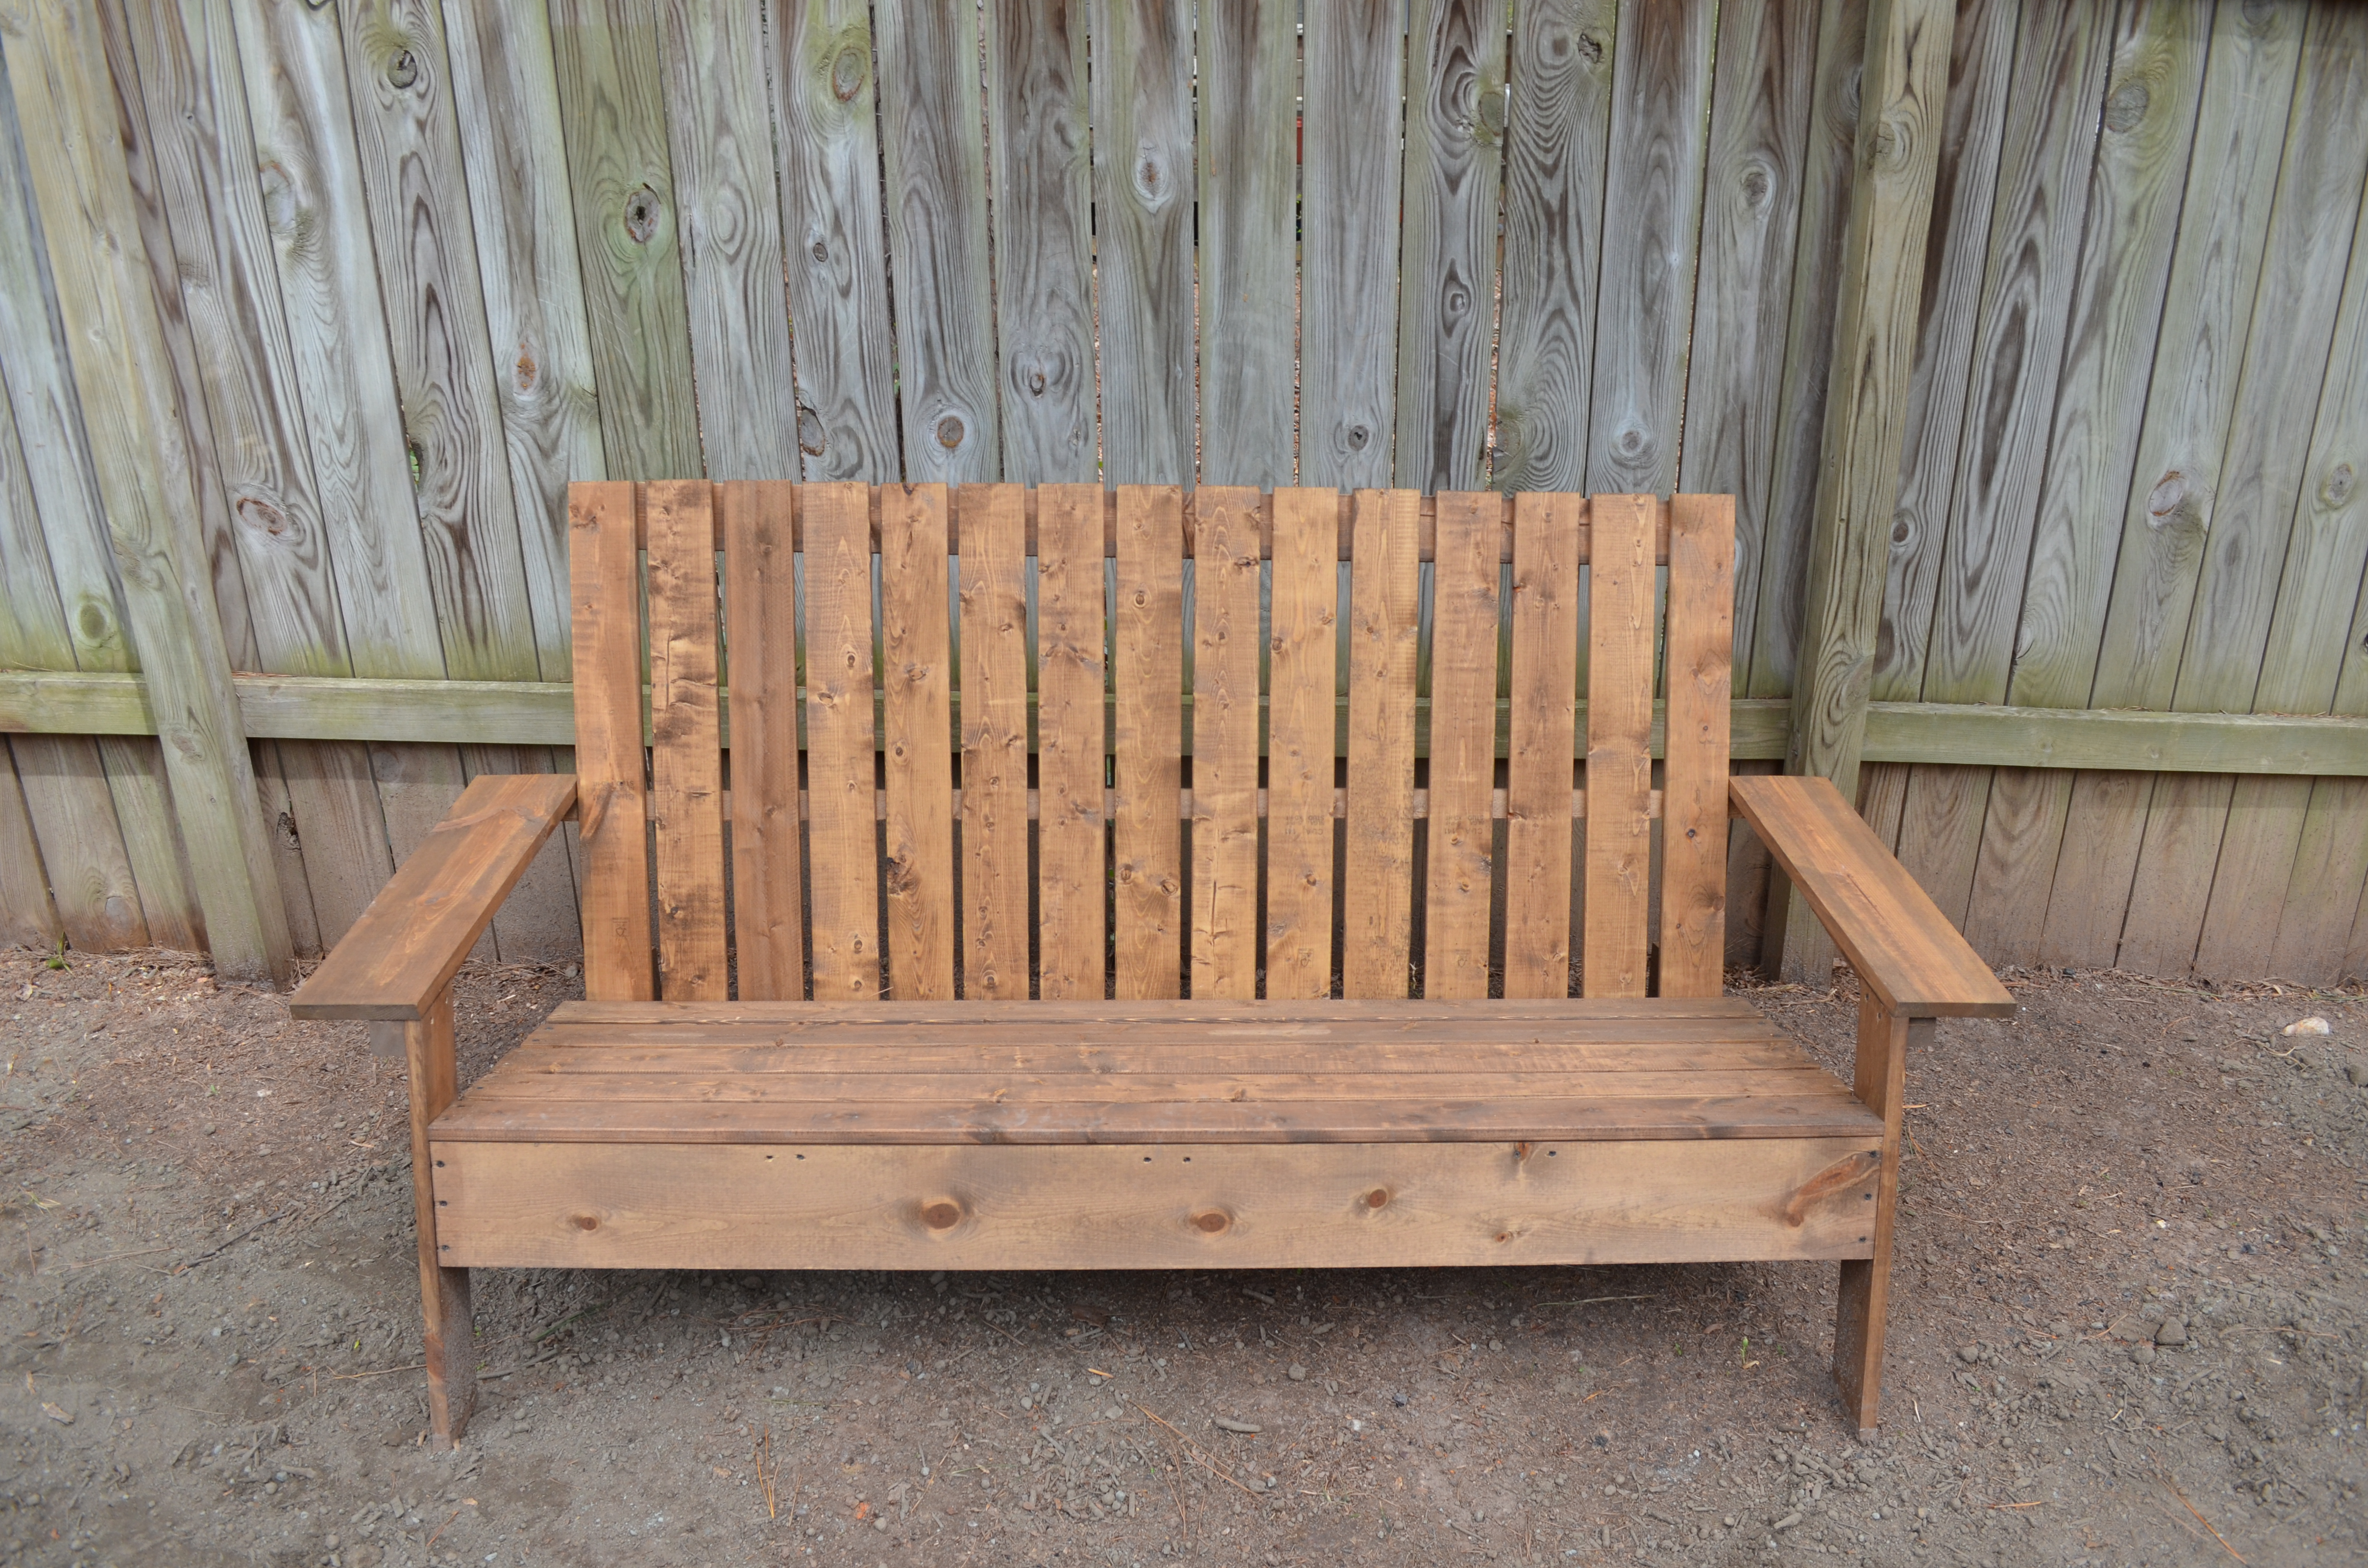
The finished bench.
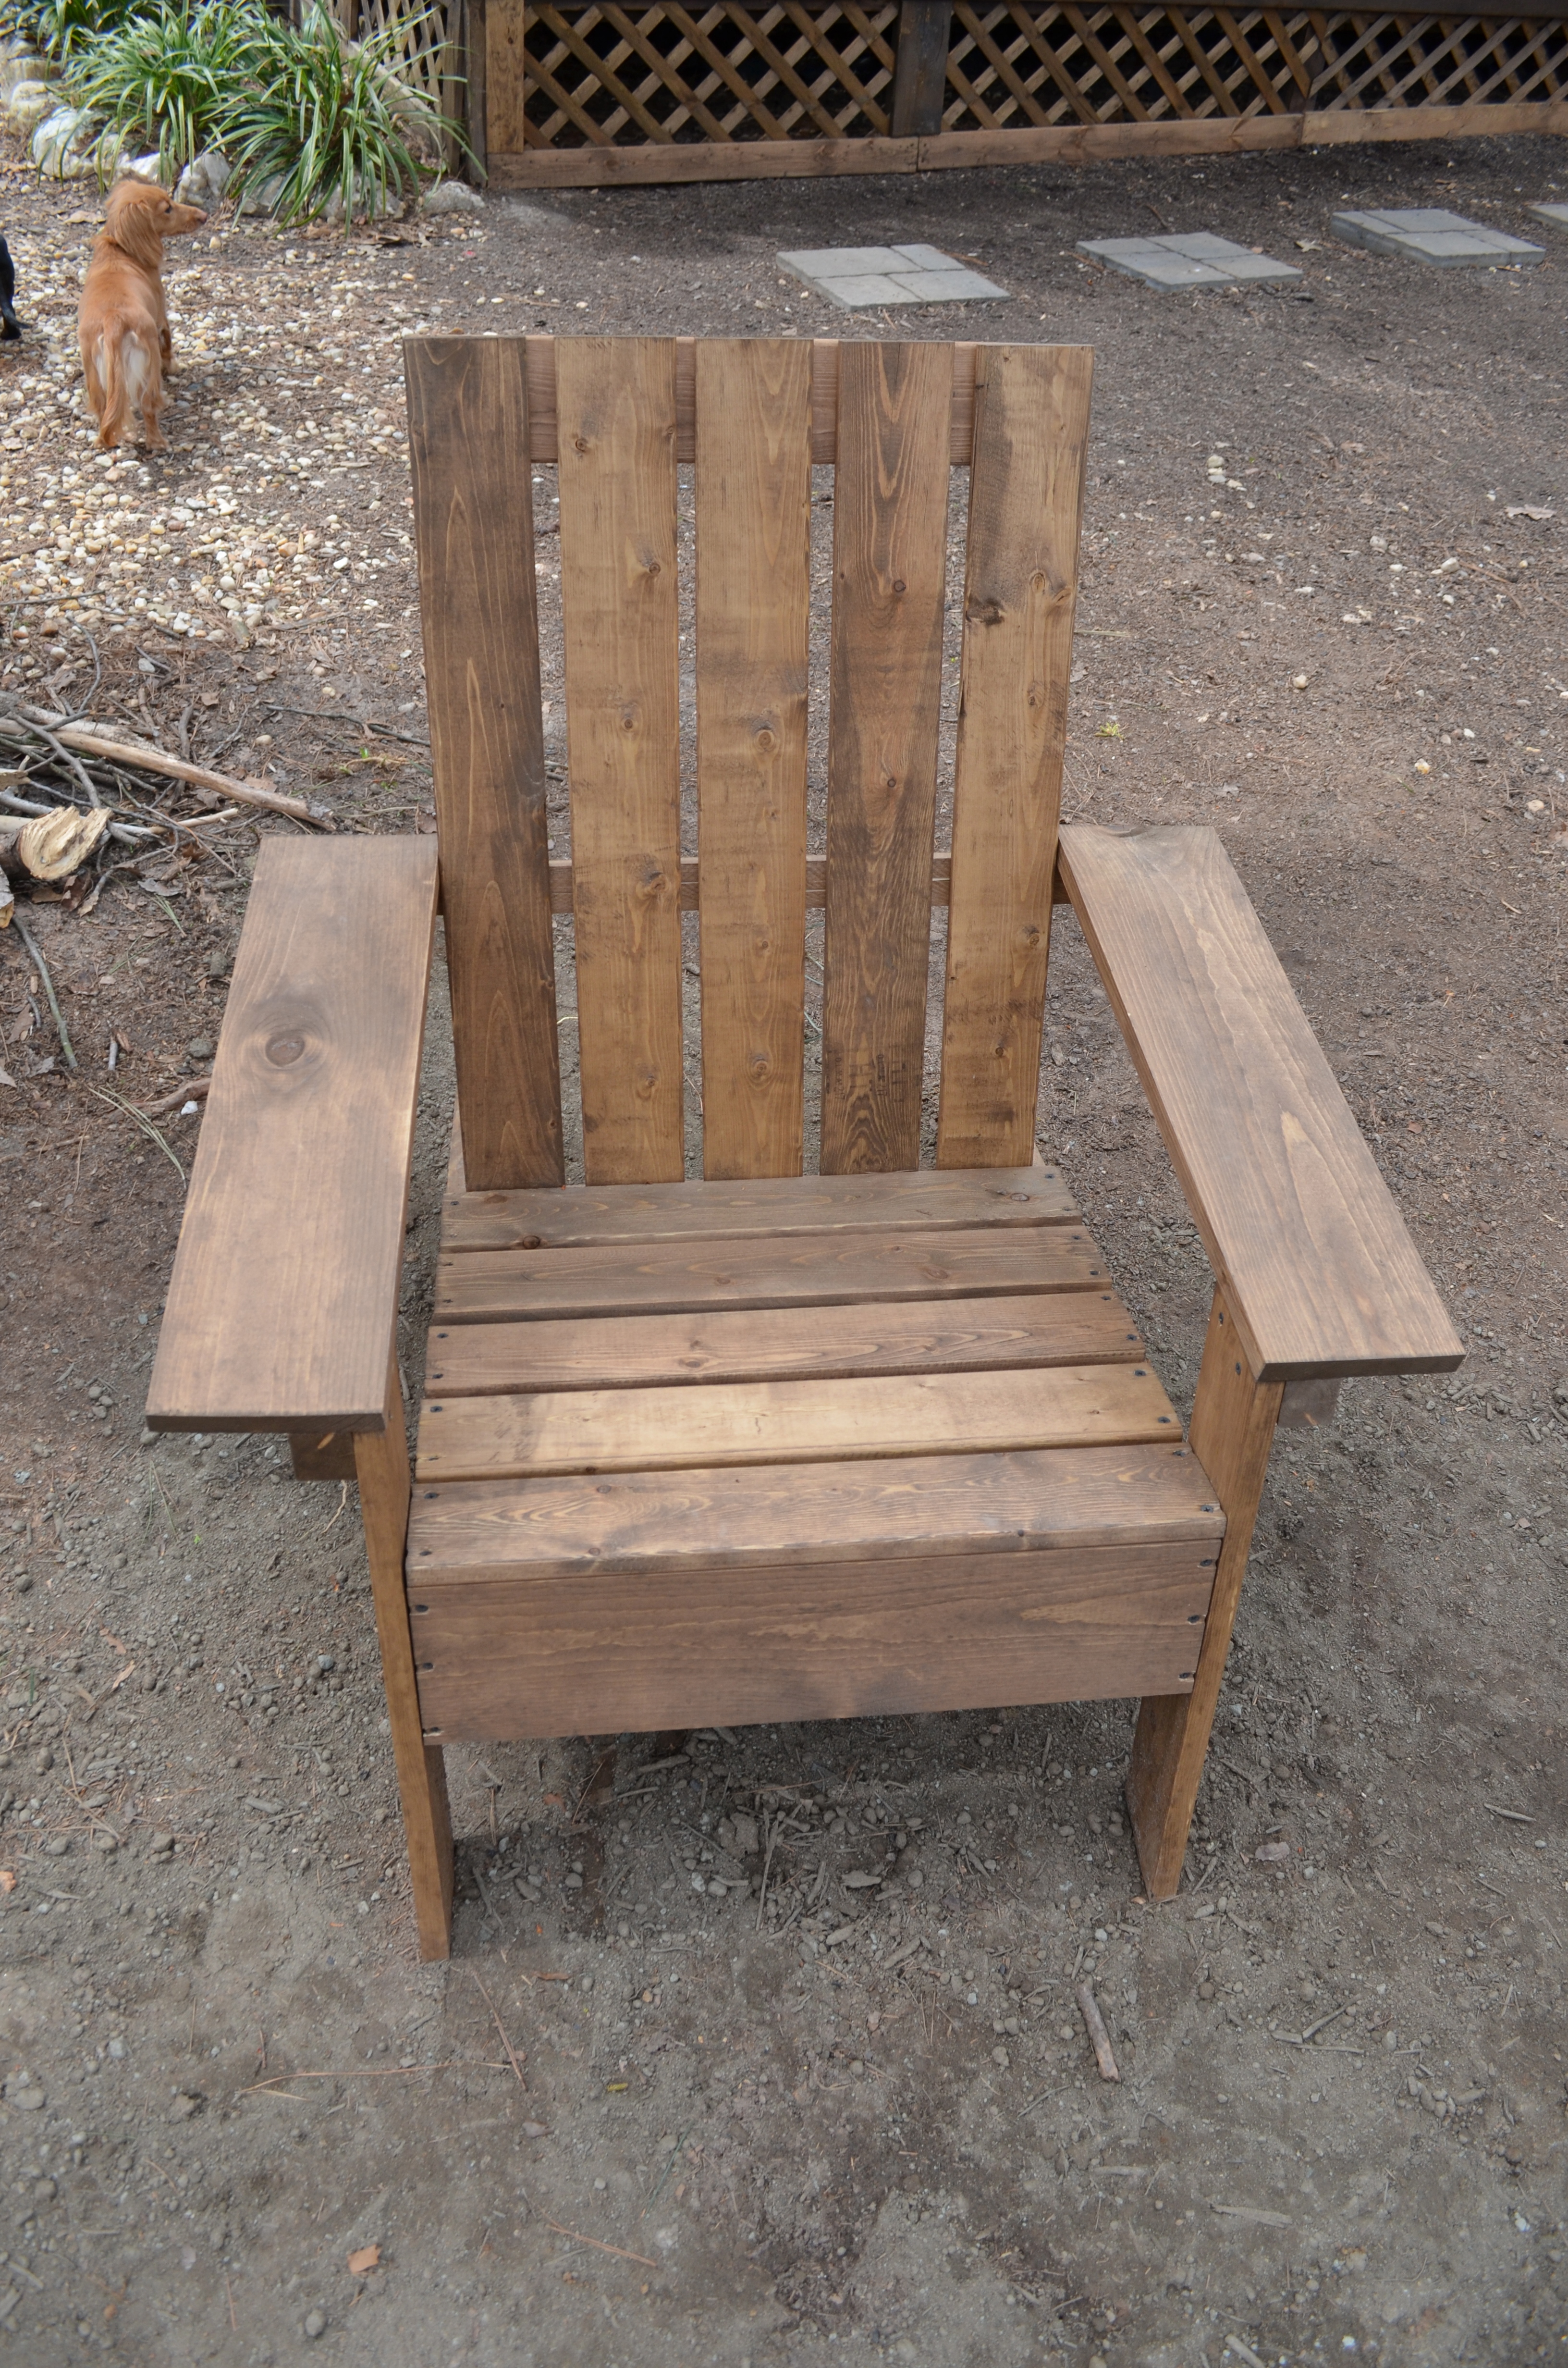
One of the finished chairs.
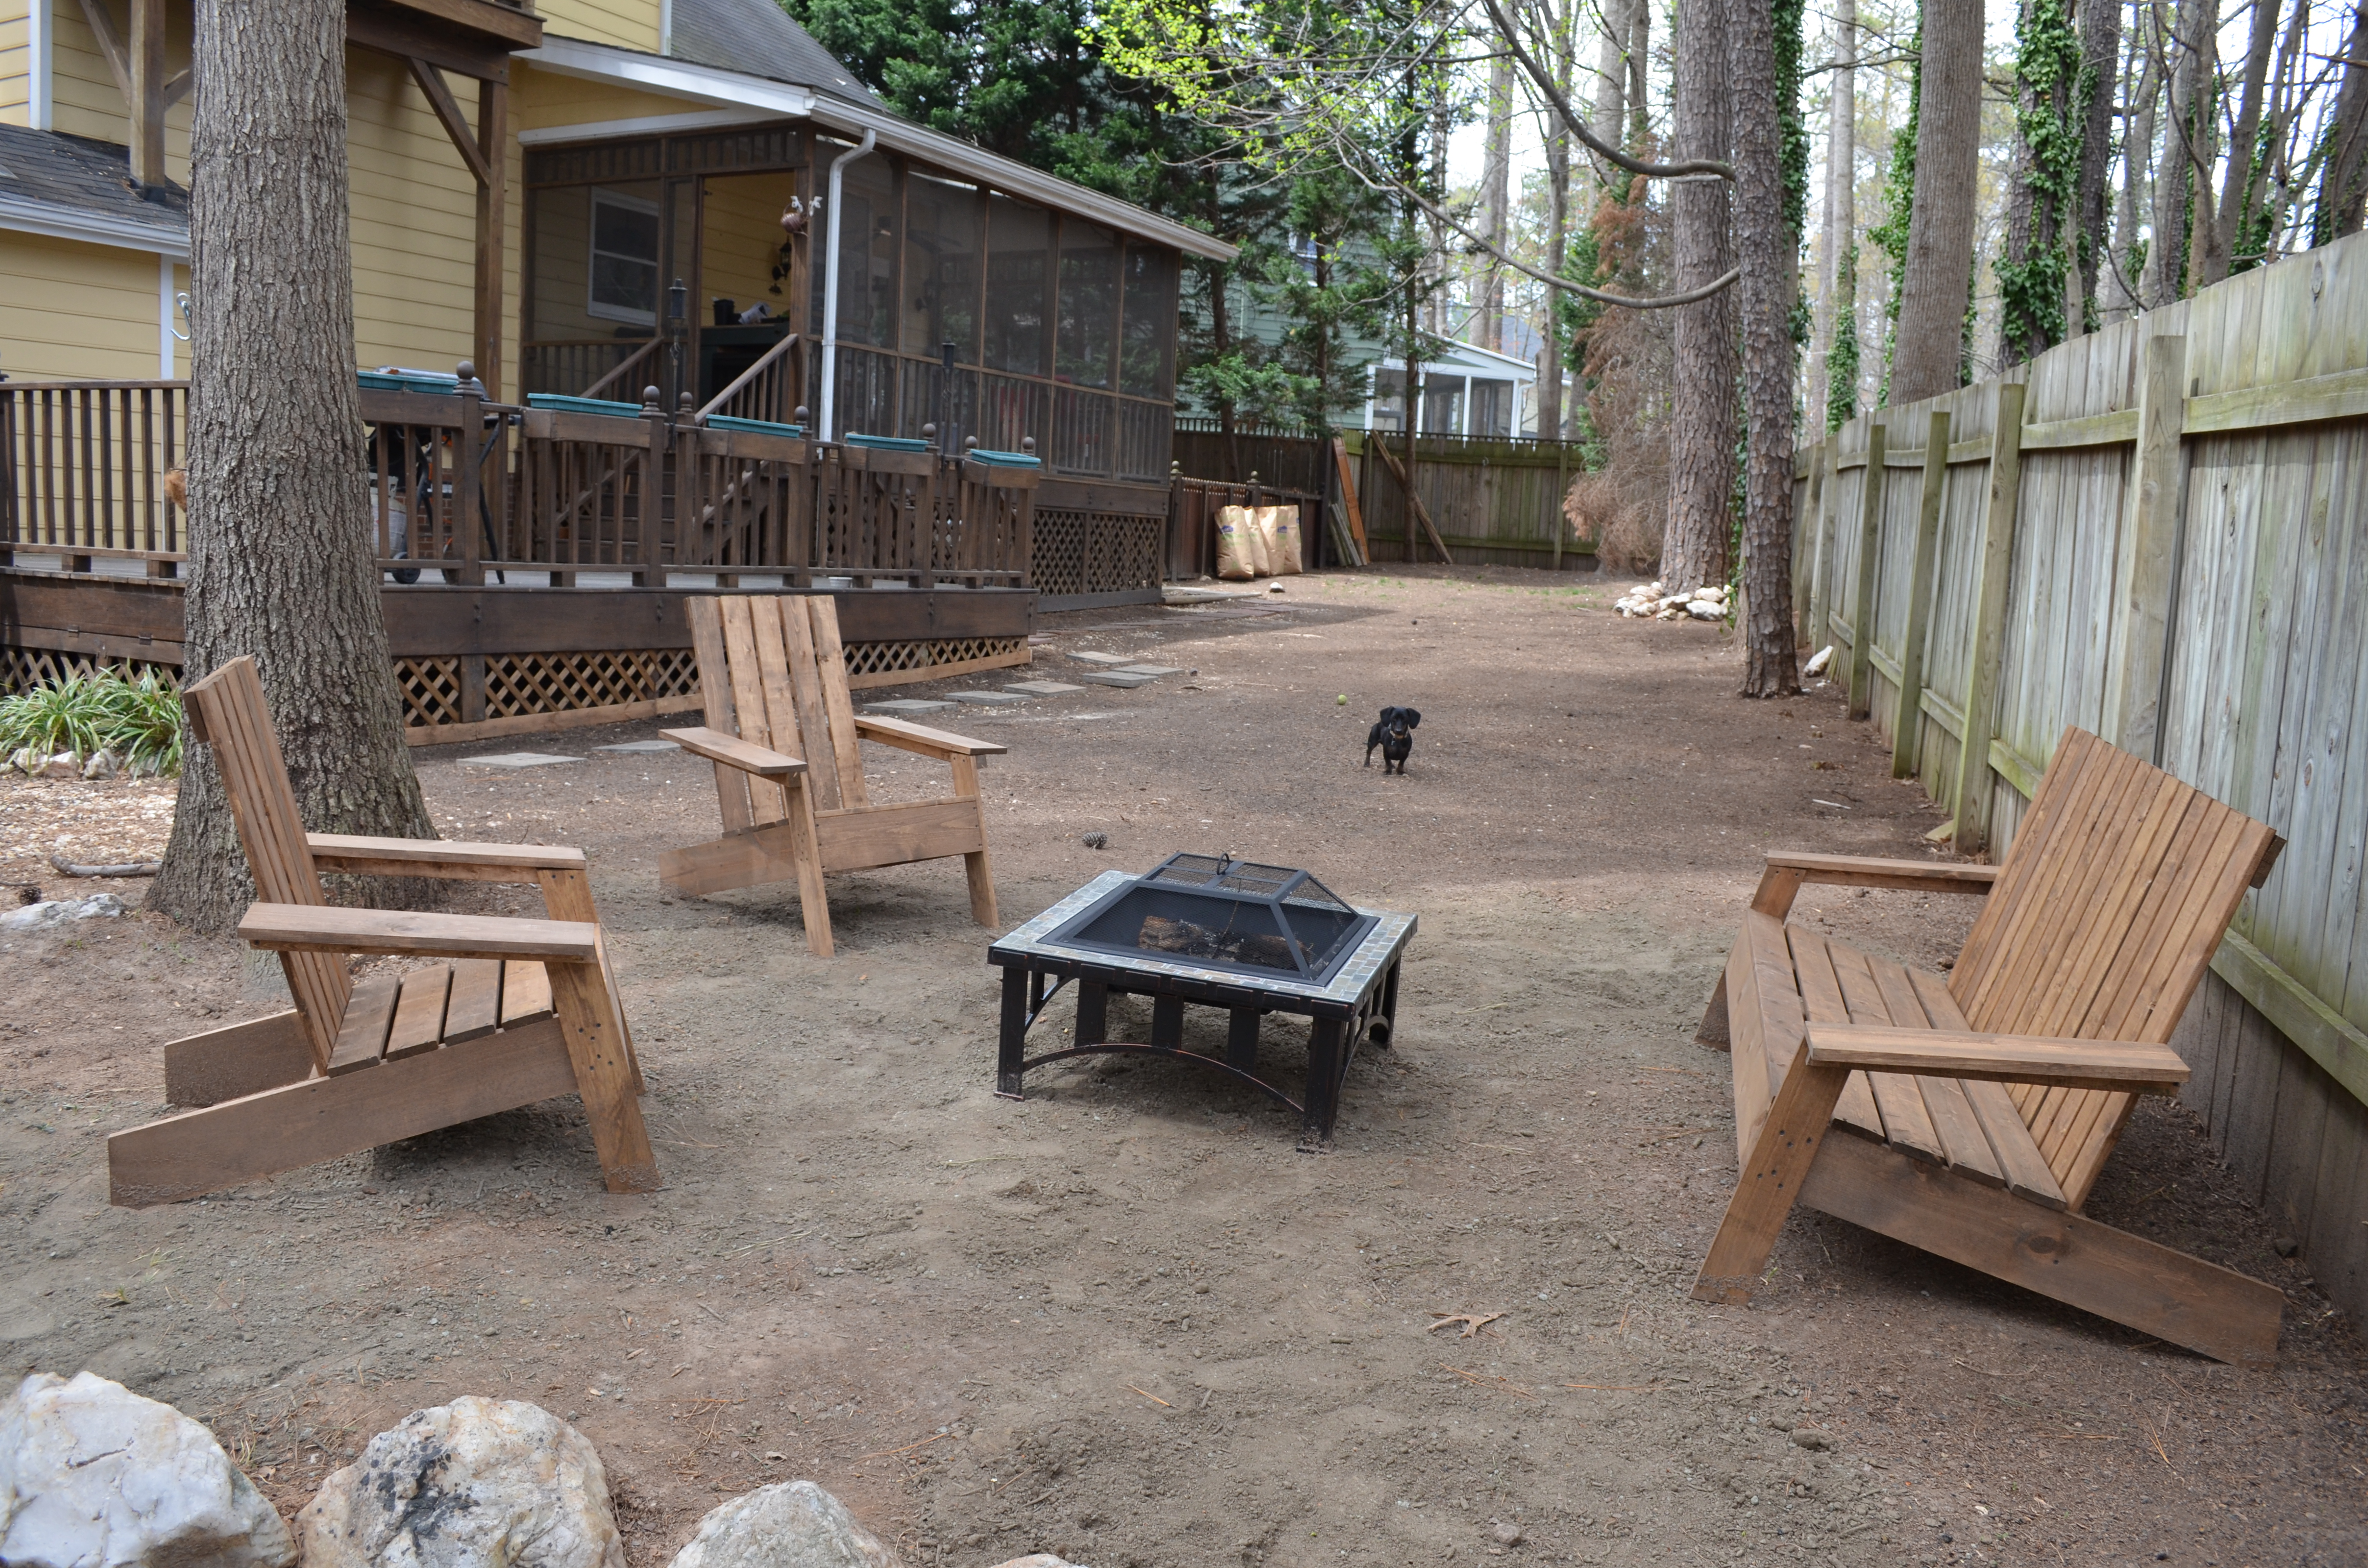
Completed outdoor living area (and Dexter).
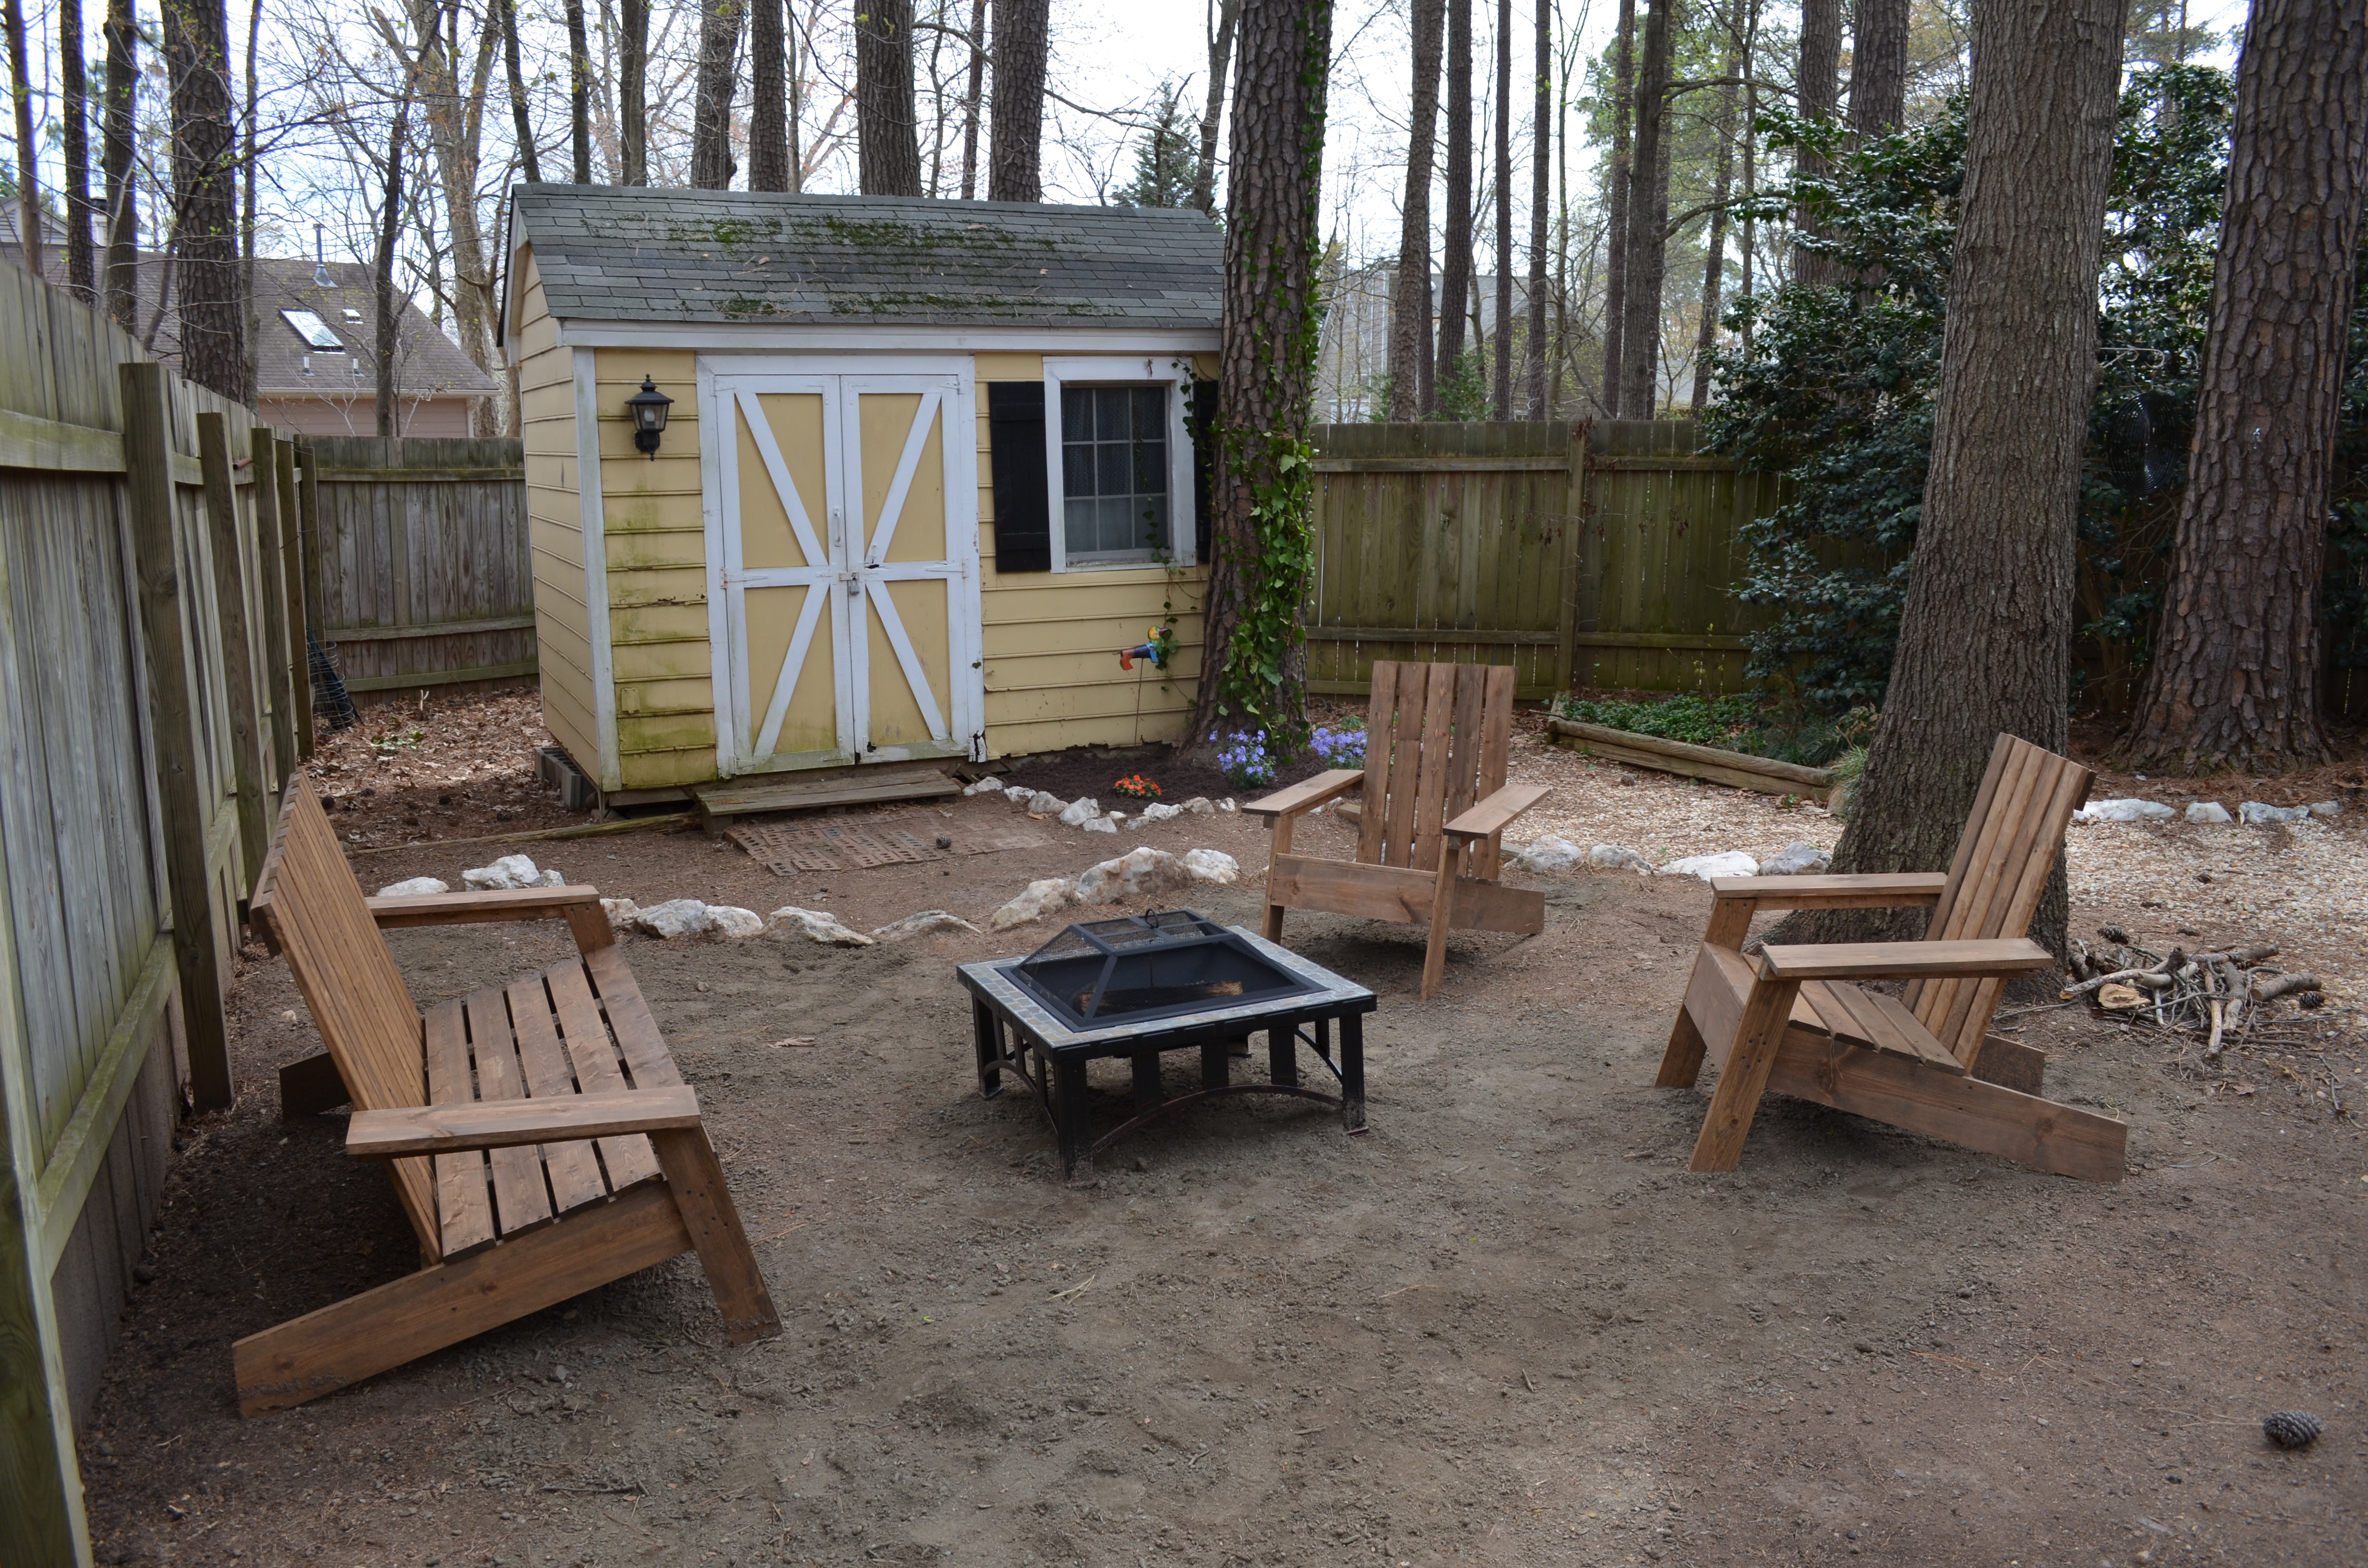
Another view.
What do ya’ll think? A pretty simple project really spruced up the backyard! Now all we need is a little grass…
I love what you’ve been doing! These look great!
Oh I read through your blog again and just a thought, but, maybe you can add a cross section to the back of the bench. You know like a large X.
