As Ashley mentioned in our one-year update, we have begun removing the popcorn ceilings, and smoothing them out. After I finished building the bed, I was trying to come up with a project that took some time and didn’t cost too much money, in order to keep me busy with the house, but also save money for the kitchen and other bigger projects that we want to work on. That landed me on the decision to work on popcorn ceilings, as it was something we talked about a while ago, but we weren’t sure if we were interested in the amount of work required for the fairly small results. However, this seemed like a perfect time to get started, and removing the popcorn ceilings will allow us to add crown moulding easier in the future (which will probably be sooner rather than later). Although it’s been time consuming, it’s been very inexpensive, and hasn’t required much in the way of tools.
Here’s what we needed:
- Homax Popcorn Ceiling Scraper - SOOOOOO much less mess
- Garden Water Sprayer – Wetting the ceiling made it easier to take down the popcorn
- 6-in Drywall Knife – Used for scraping ceiling edges, since the popcorn ceiling scraper doesn’t get up close to walls, and for fixing ceilings with joint compound afterwards
- Shop-Vac – Getting rid of the dust
- Vacuum Drywall Sander - Sanding the ceilings to even them out, attaches to vacuum for less dust
- Paint Brushes
- Plastic drop cloths to keep dust off of everything for easier cleanup
- Joint compound – Repairing the ceilings
- Paint – Repainting the ceilings once the popcorn is gone and they’re all fixed
It was great that we had most of the tools that we needed to do the job. The only things we really needed to buy were the popcorn scraper and the drywall sander, and they were fairly inexpensive, especially since those two tools should be all we need to buy to finish every room in the house.
Ashley mentioned that we started removing popcorn ceilings in the last post, and at that point we were still in the middle of completing the first room, which we decided would be the master bathroom. At the time of this post, we’ve now finished all the upstairs rooms, with the exception of the upstairs hallway (since we don’t have a tall enough ladder to reach the area above the stairs).
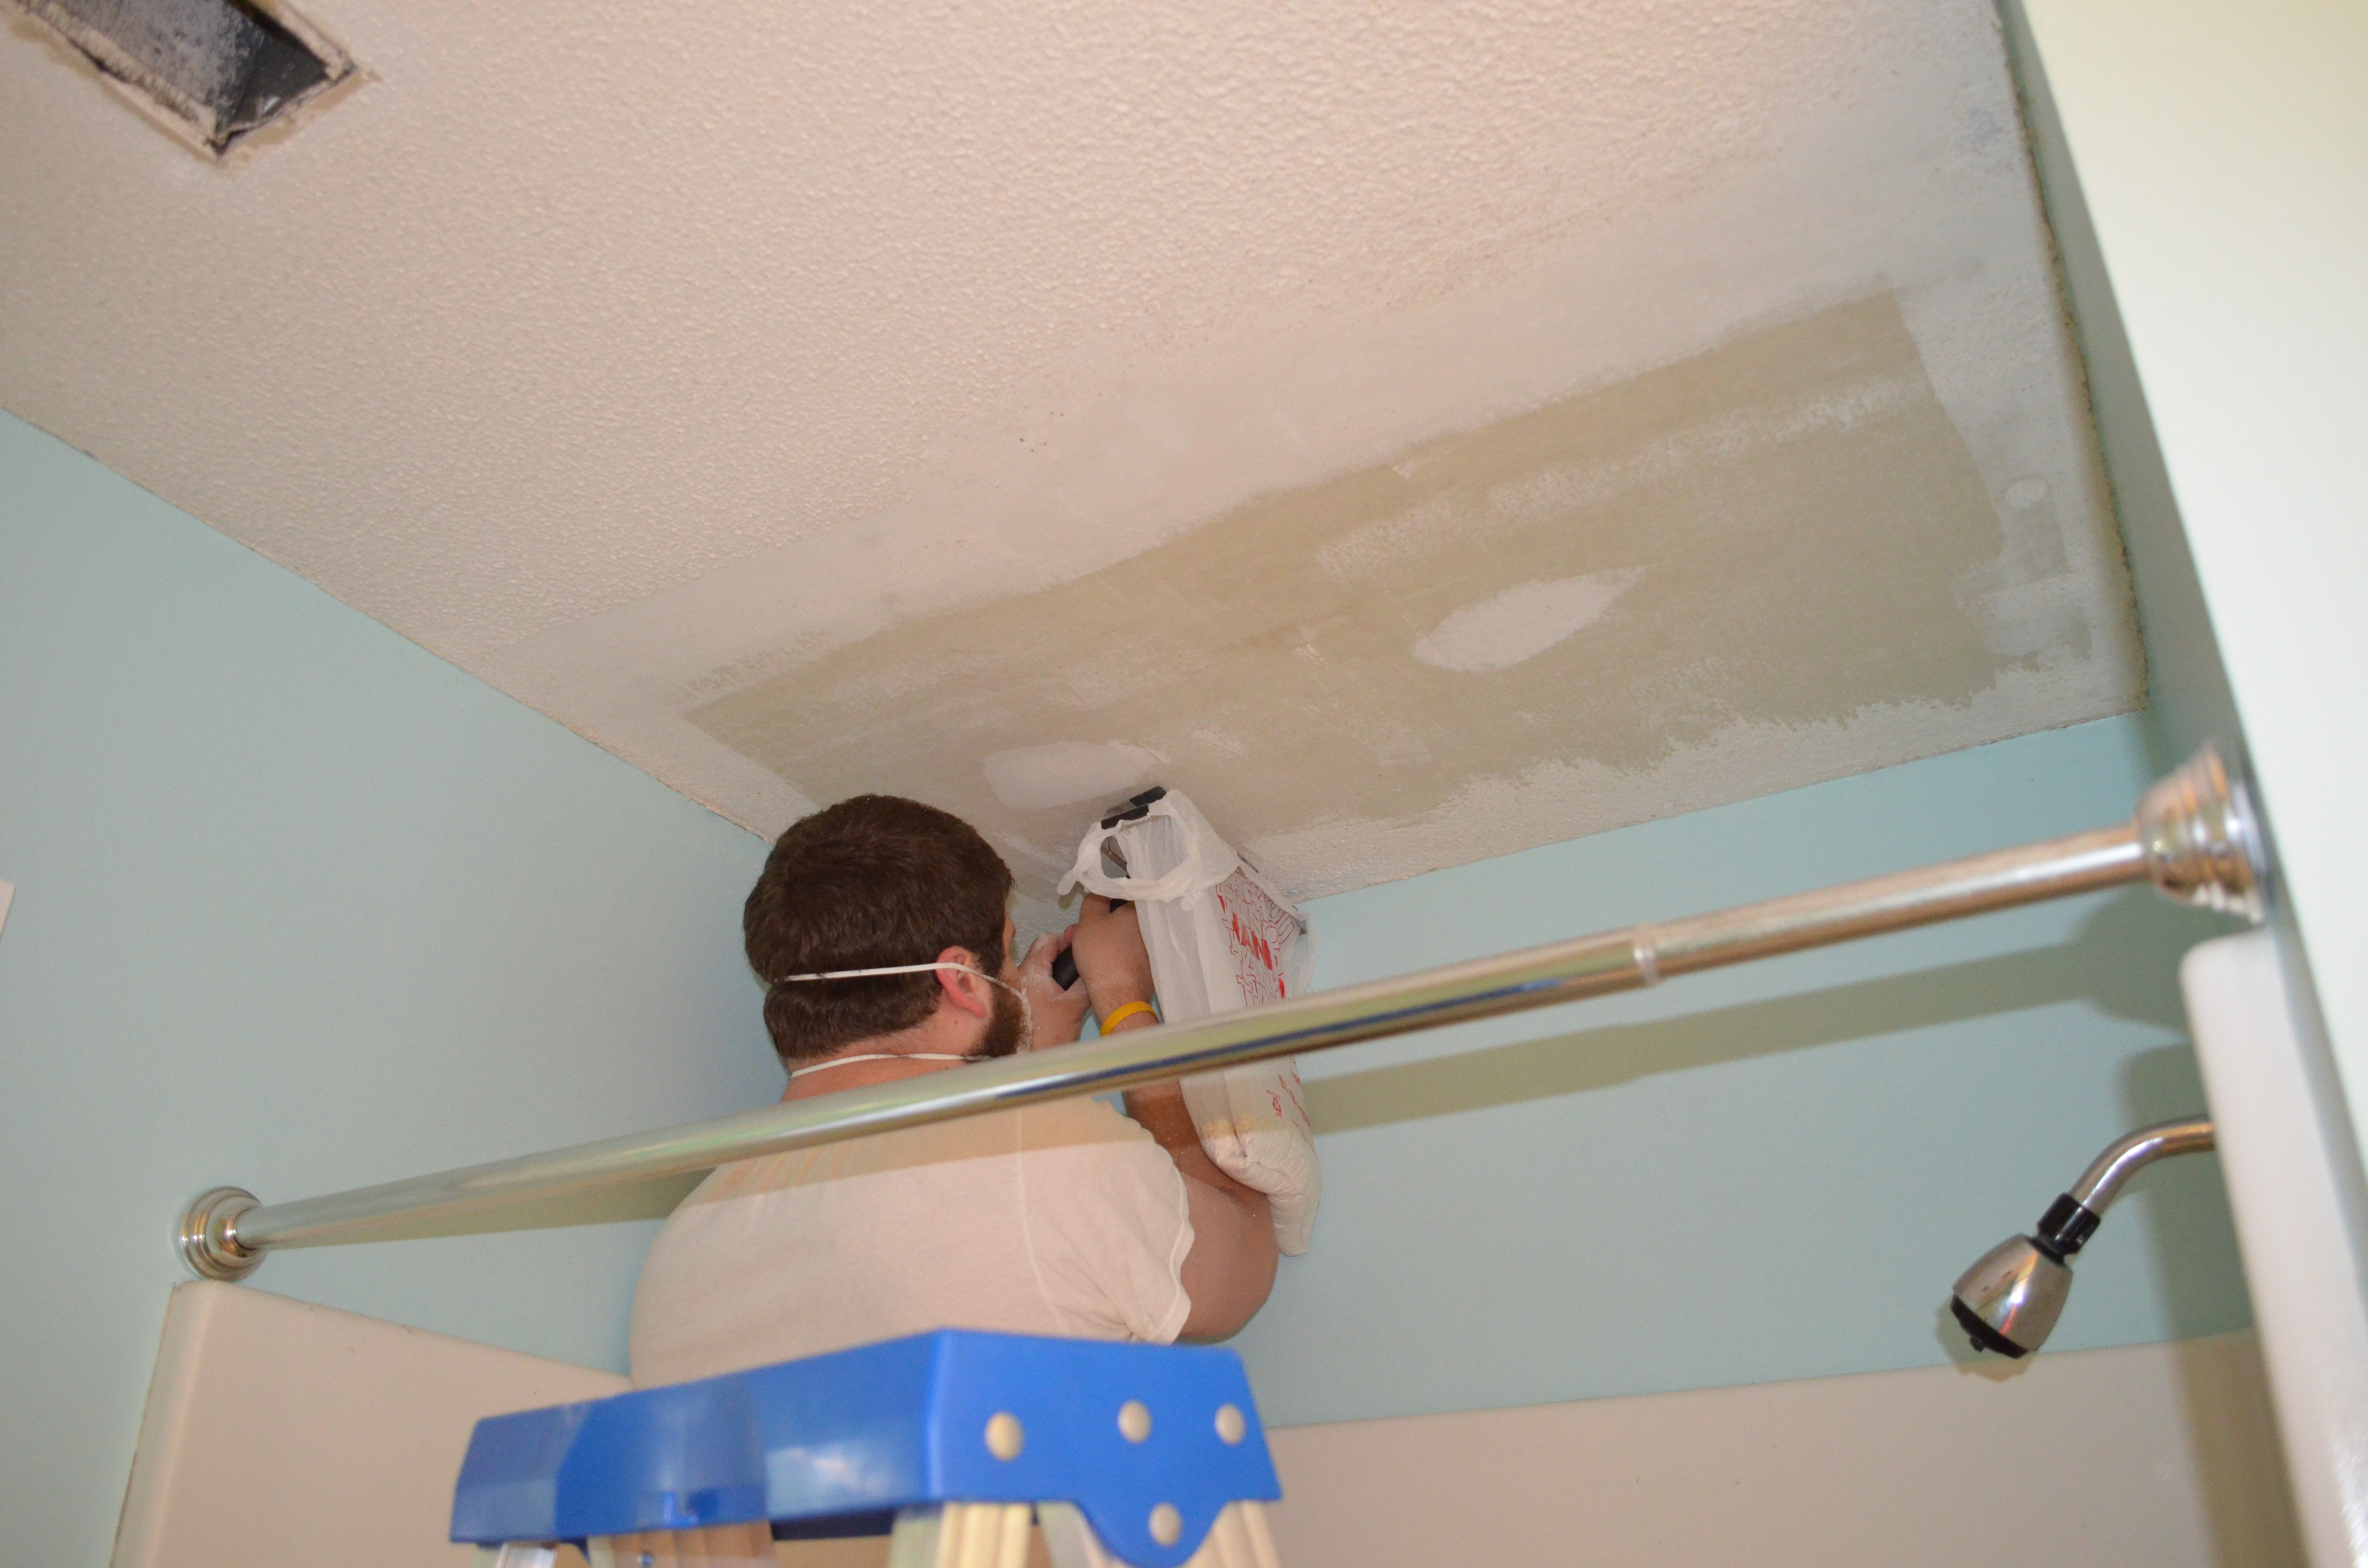
Beginning the removal of popcorn ceilings.
We ran into a few problems, especially in the bathroom, that made some of this take even longer than I expected. In the end, the bathroom took about a month to finish completely (note that we mainly did work on the weekends and a few week nights – after we ran into the problems with the bathroom, we lost a lot of motivation, which really slowed us down). The other two rooms were done in under a week each. After scraping the bathroom ceiling, it was kind of a mess… the edges in between the ceiling and the walls especially. Since all the corners were taped, as we were scraping, a lot of the tape was getting torn up. So that didn’t look so great. On top of that, an area that looked like an old wet stain, which I originally thought was from condensation in the bathroom from the shower, turned out to be a current leak in the roof. That ended up postponing a lot of our work, since I didn’t want to paint the ceiling only to have it get stained again from the leak.
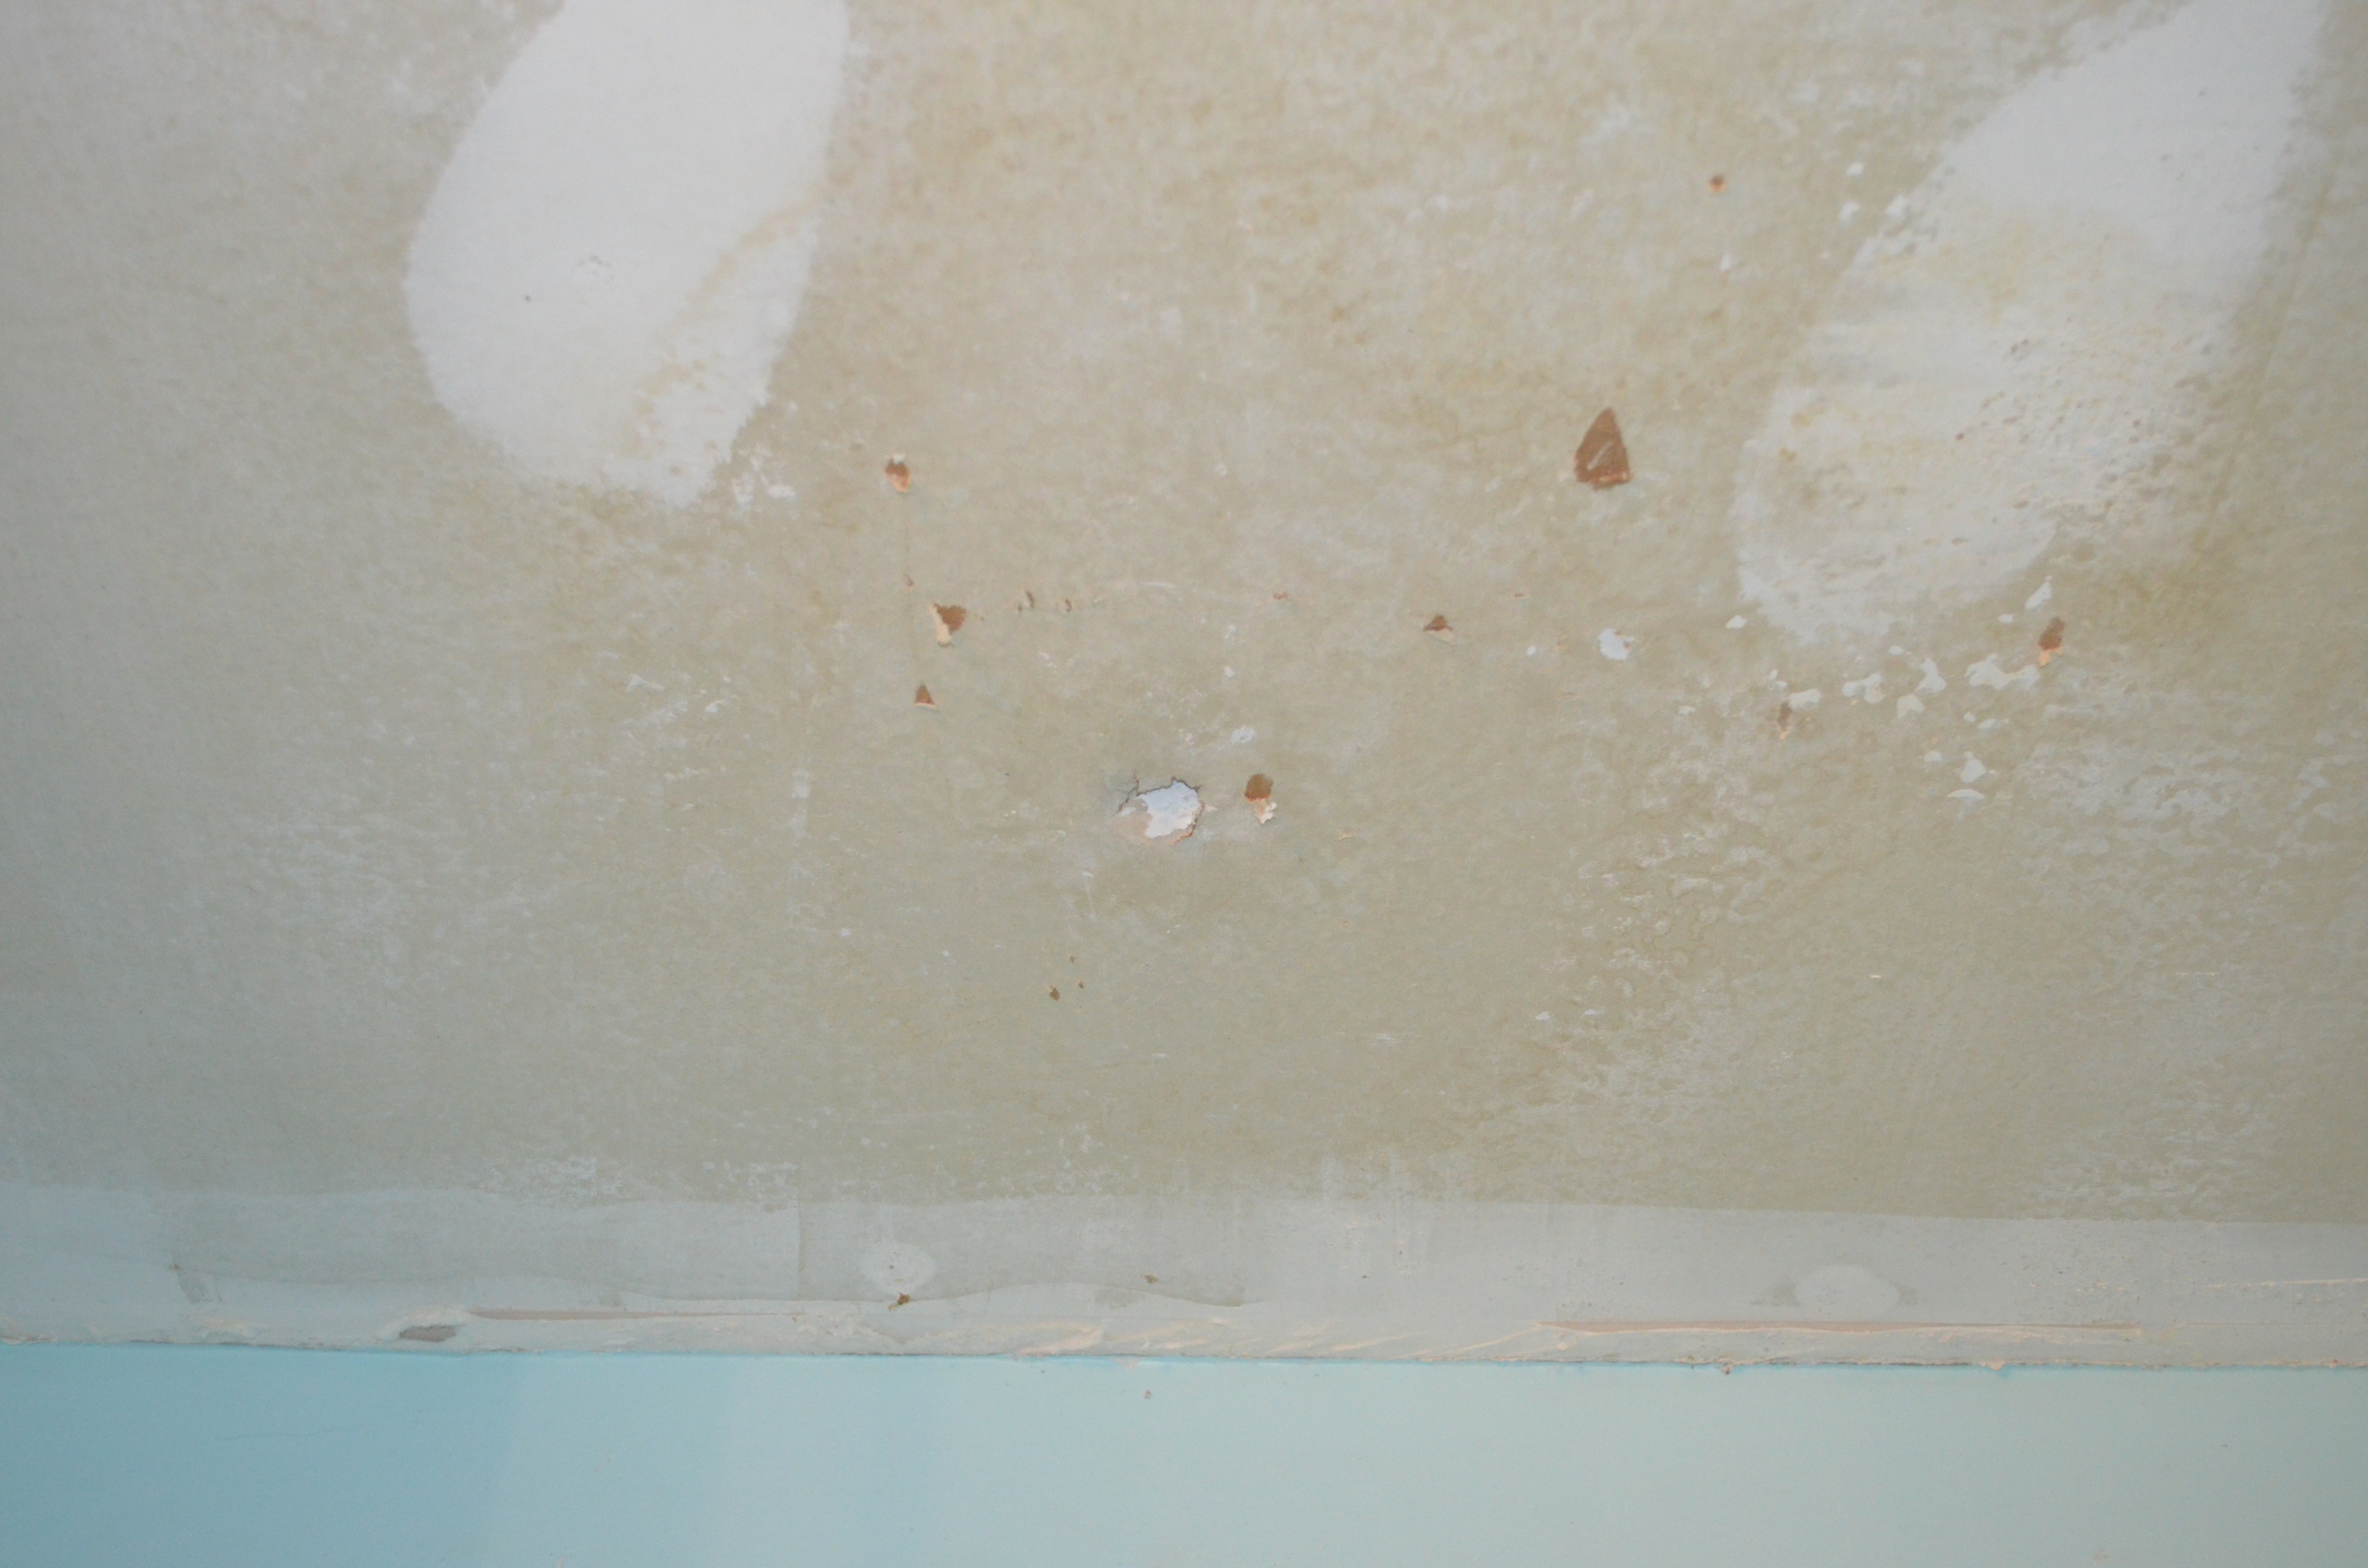
The hole that I put my finger through when noticing the leak.
Unfortunately, after spending a week of trying to get up onto the roof to fix it without a tall enough ladder, it came to the point where we could either pay to have it repaired, or go and buy a ladder tall enough to get on the highest part of our roof. Instead, I decided I’d put a bucket up in the attic, as it seemed like it only leaks on very specific occasions, and we’re hoping to replace the entire roof within the next year anyways. As long as the bucket holds up for a little while, we should be fine.
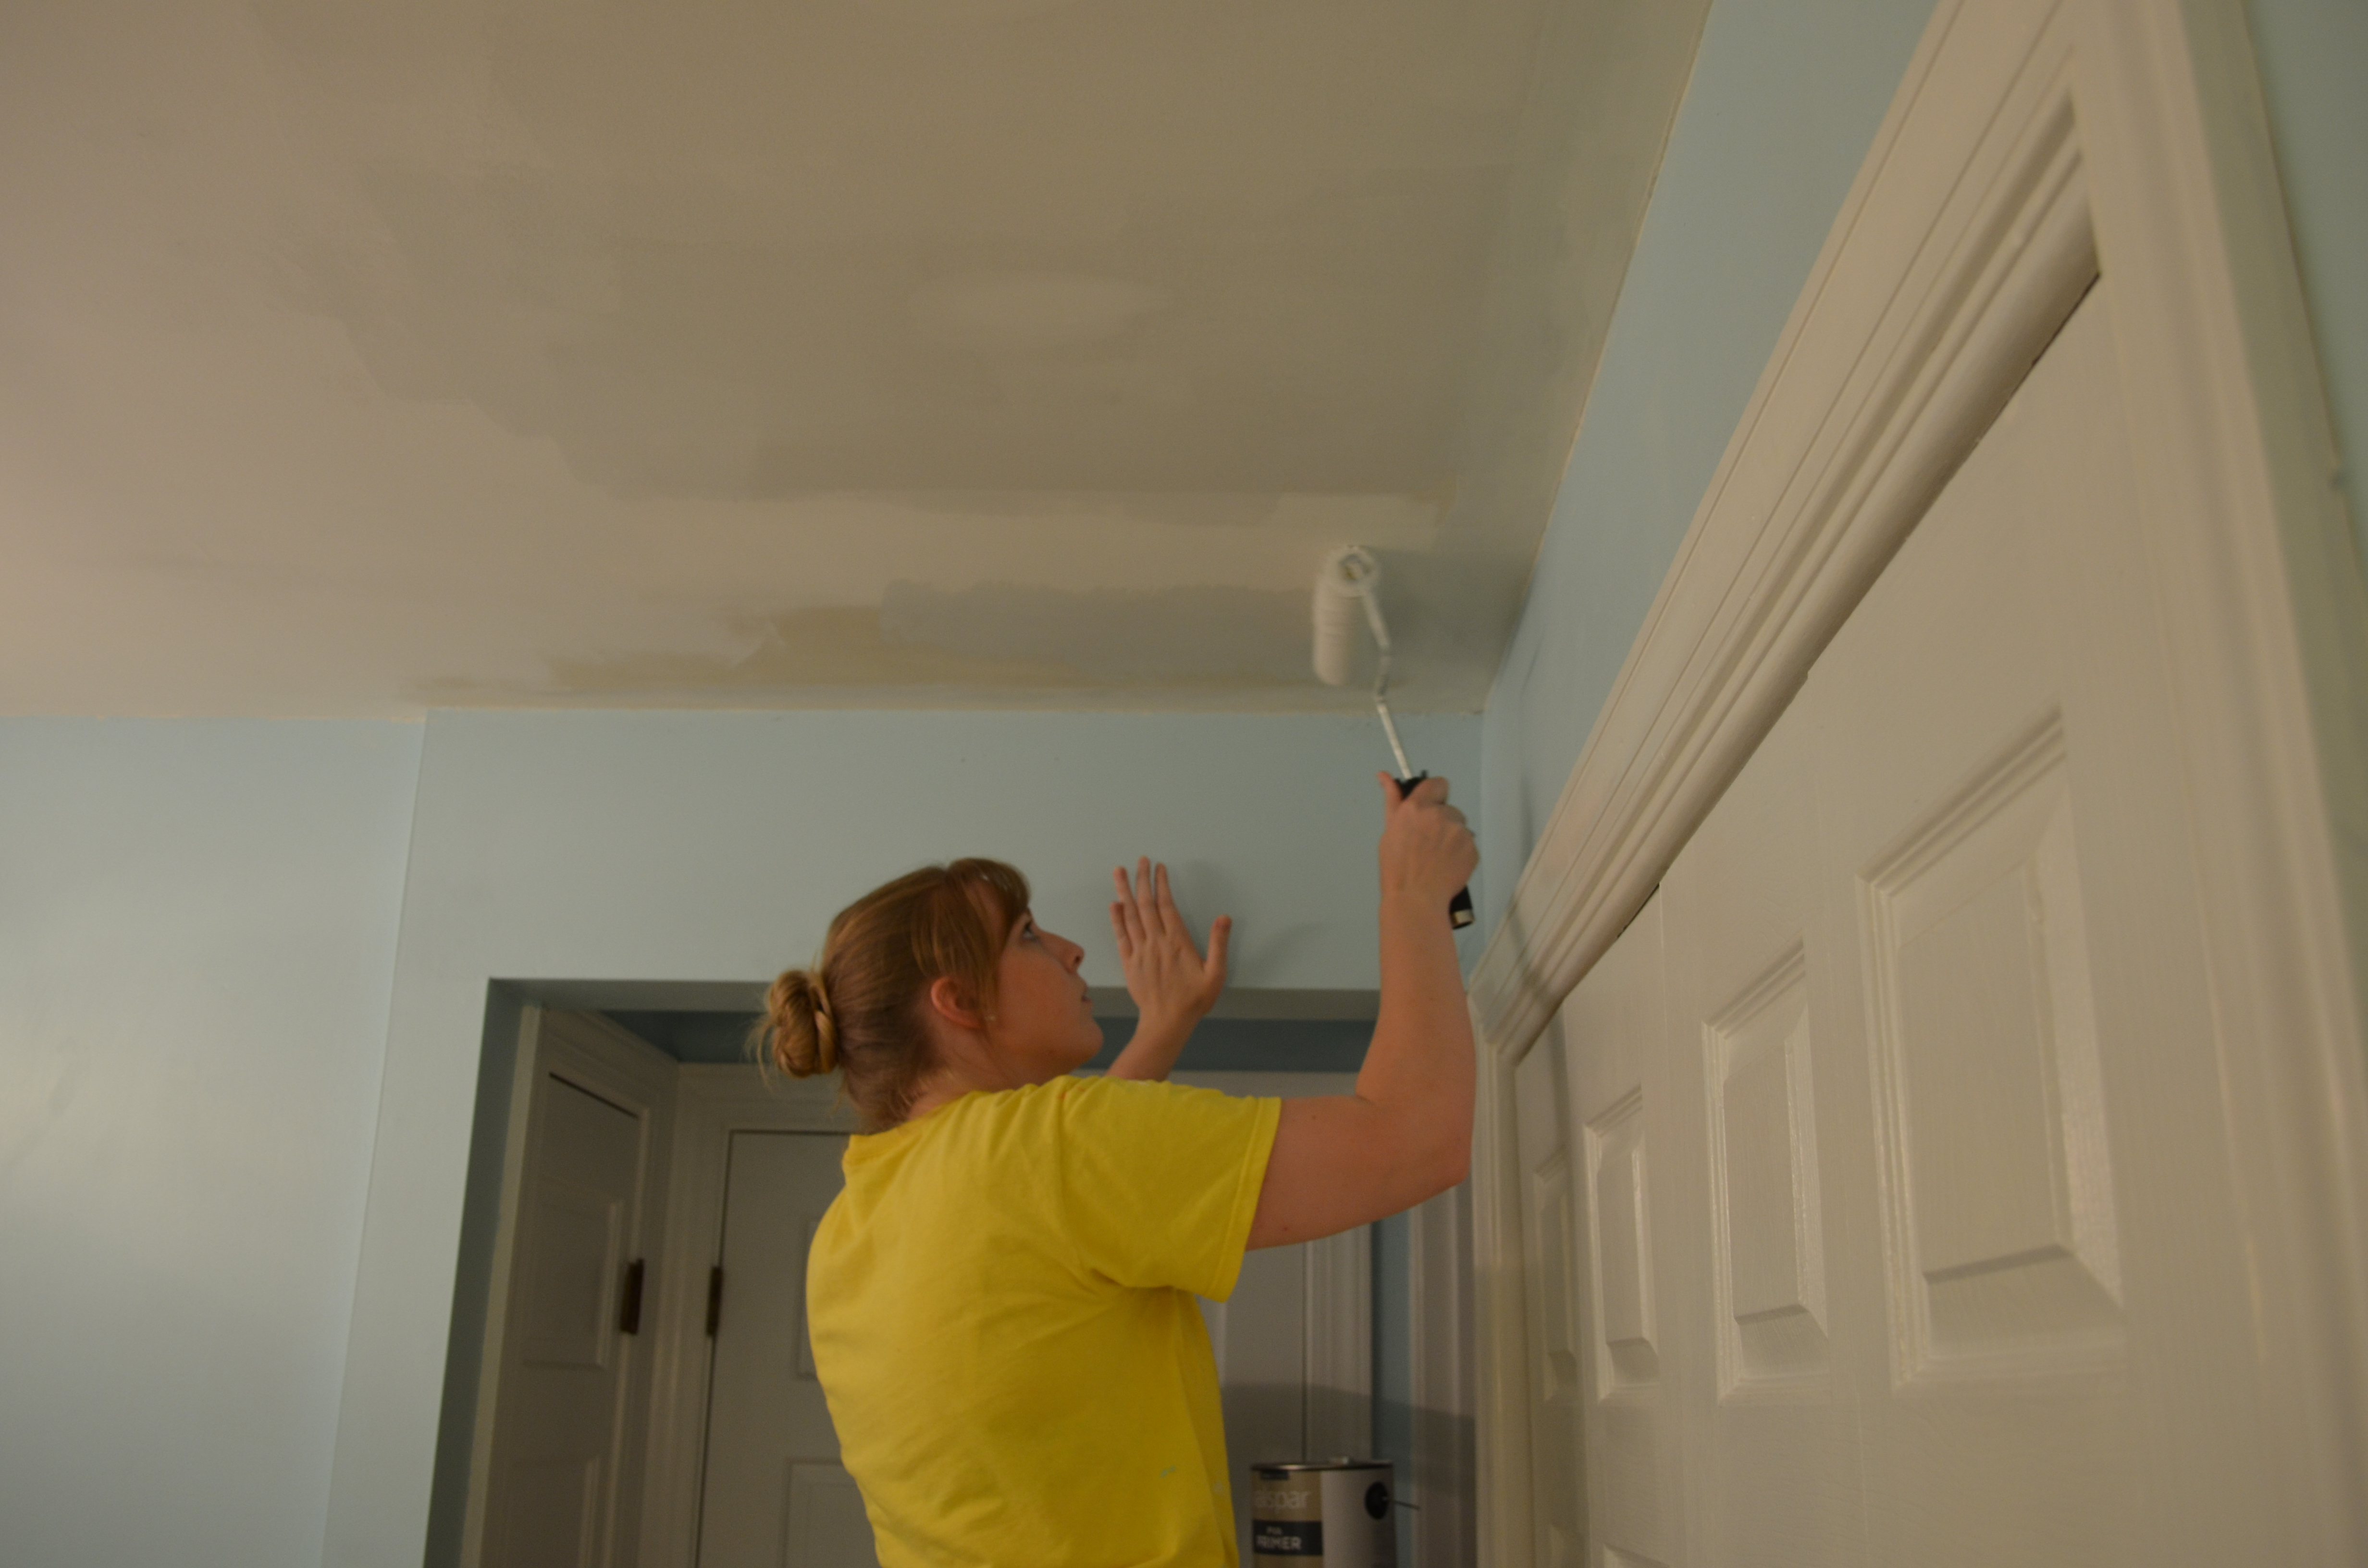
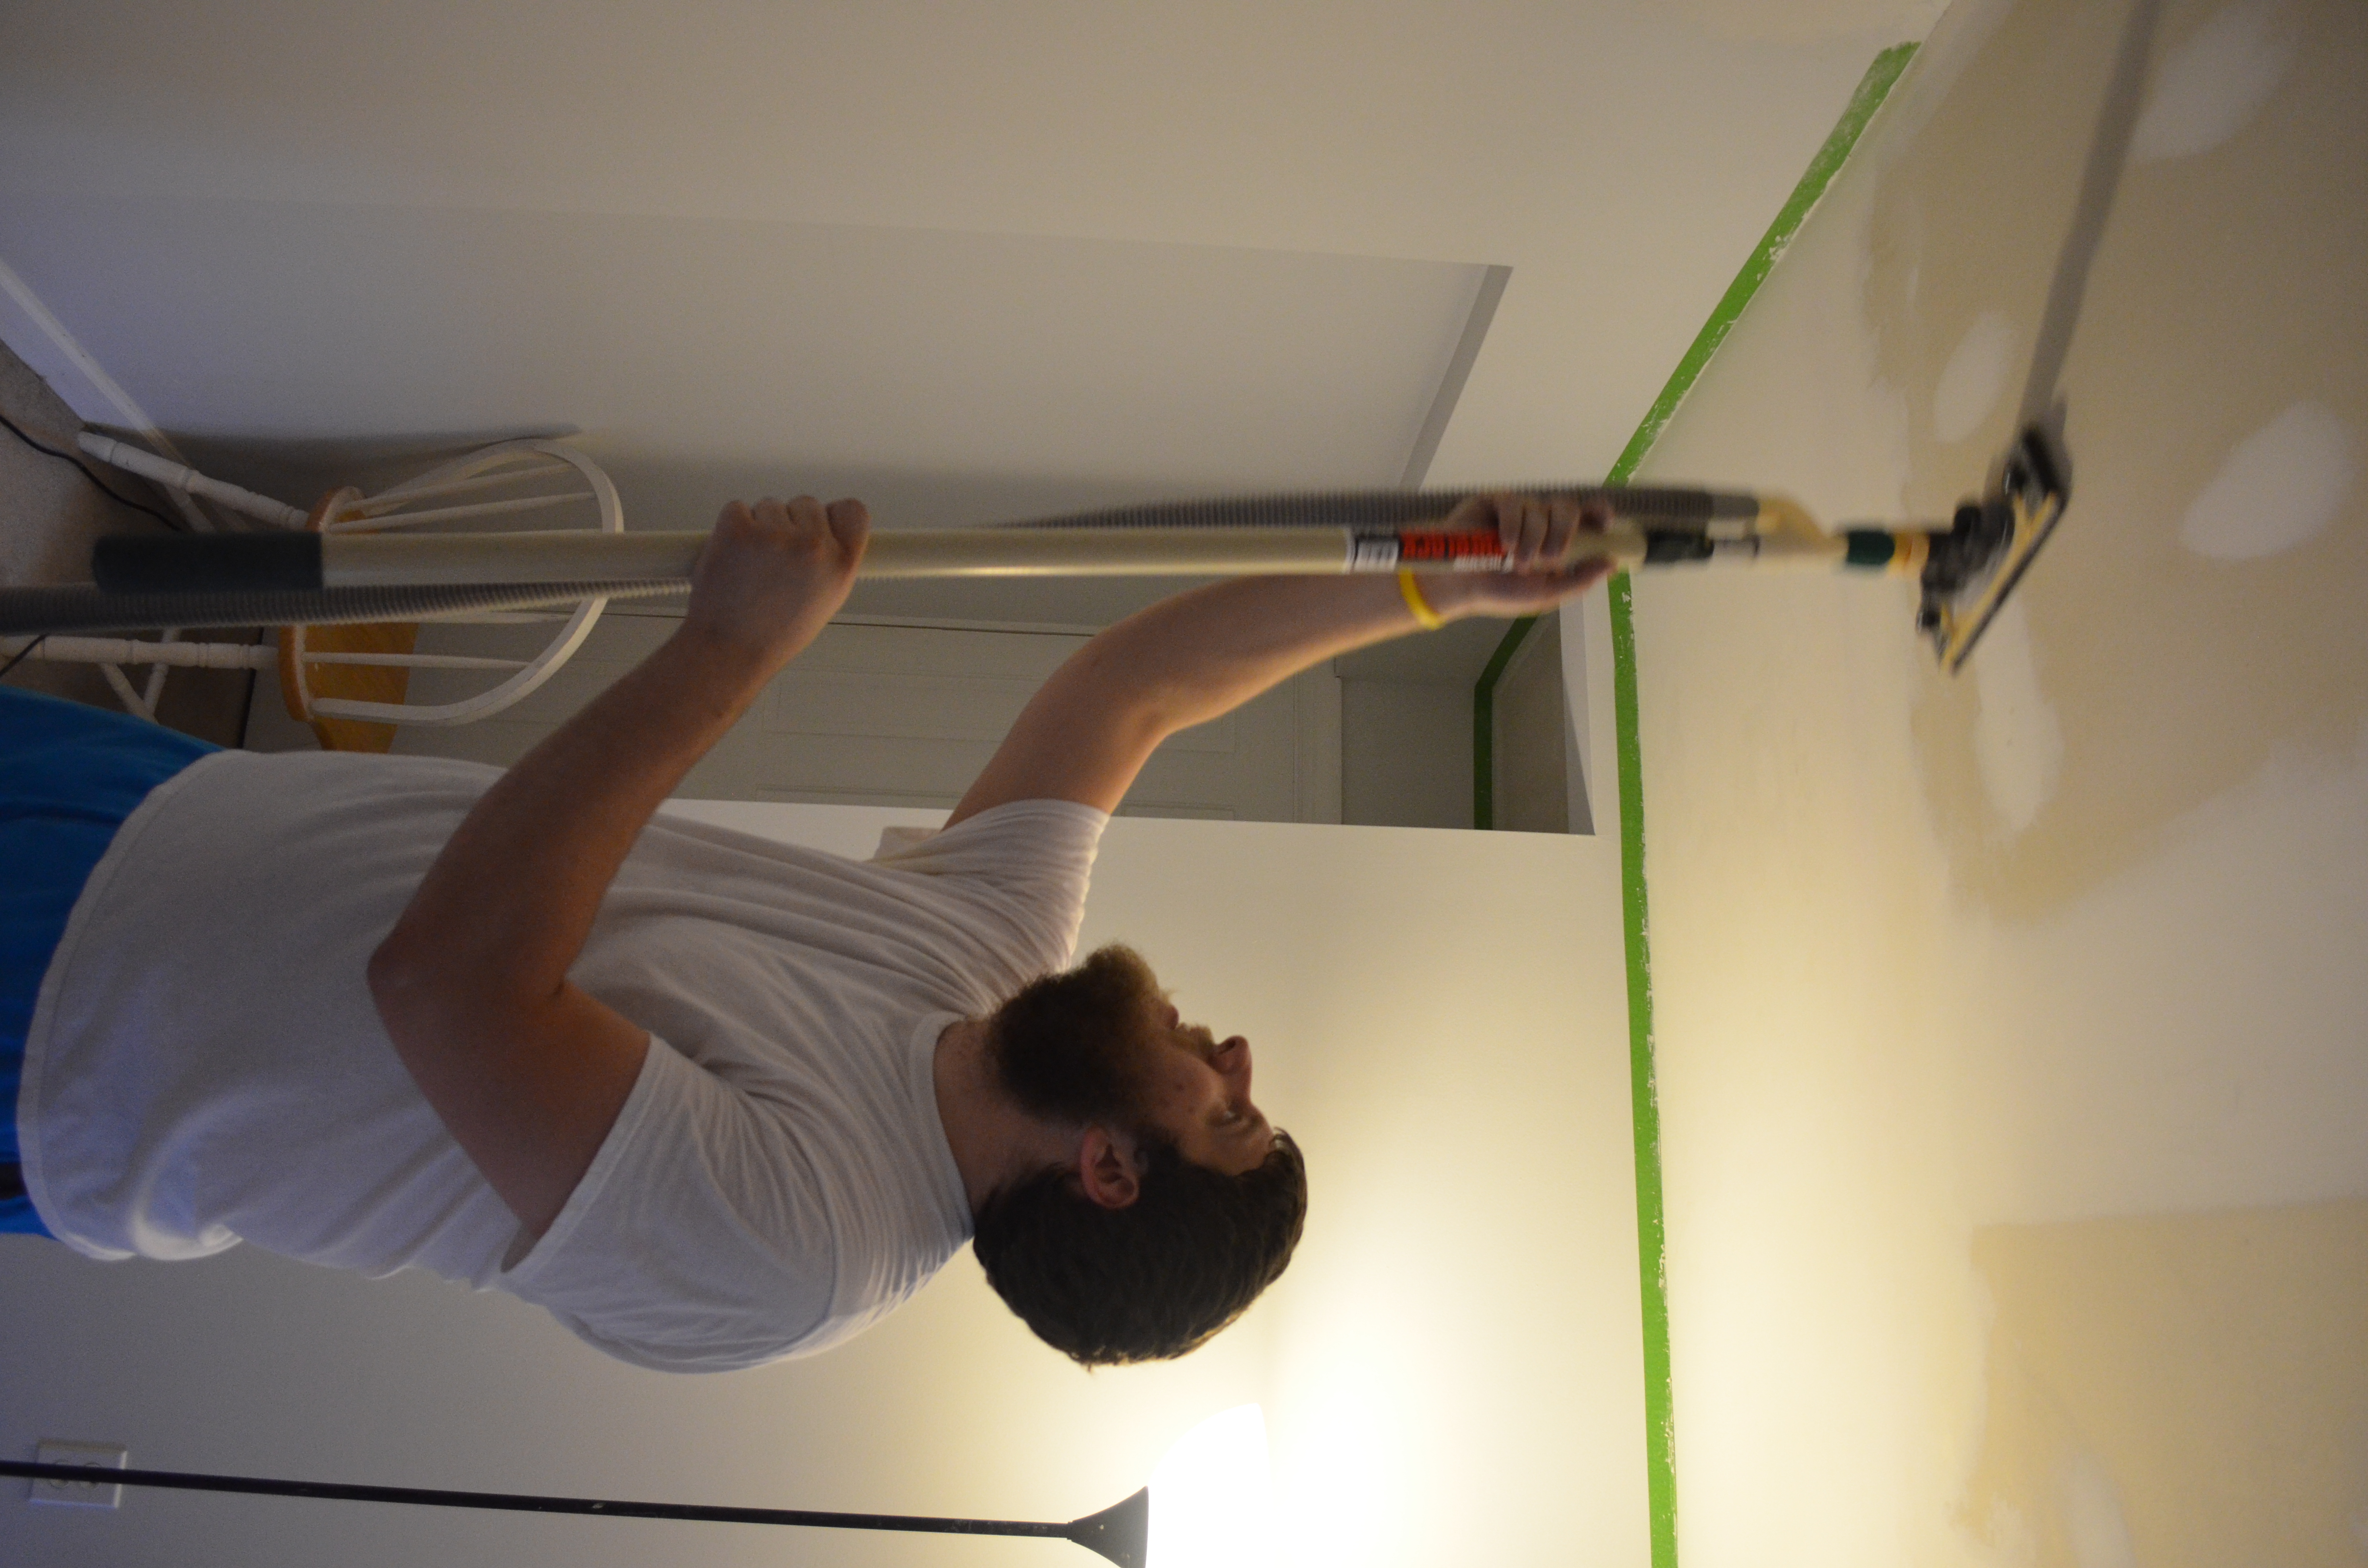
Priming the ceiling.
Once we fixed that up, we went ahead and started priming it. For the most part the primer looked ok, but there were still areas that had some pretty big cracks or weren’t level. So I went back and taped some areas and we added joint compound to fix it up. After that dried and we sanded it down, we re-primed that area and waited. After it was dry, I went back with paint and painted the whole thing, since Ashley was at work. Sadly, it wasn’t until I was about halfway through that I realized the $10 gallon of paint I was using was just awful. We bought cheap paint since we figured it was just the ceiling, and it turns out that was a mistake. We ended up going back over it after getting some new paint, and it turned out a little better. It’s still the worst of the three rooms because the first coat was so bad, but it’s still better than the popcorn ceilings!
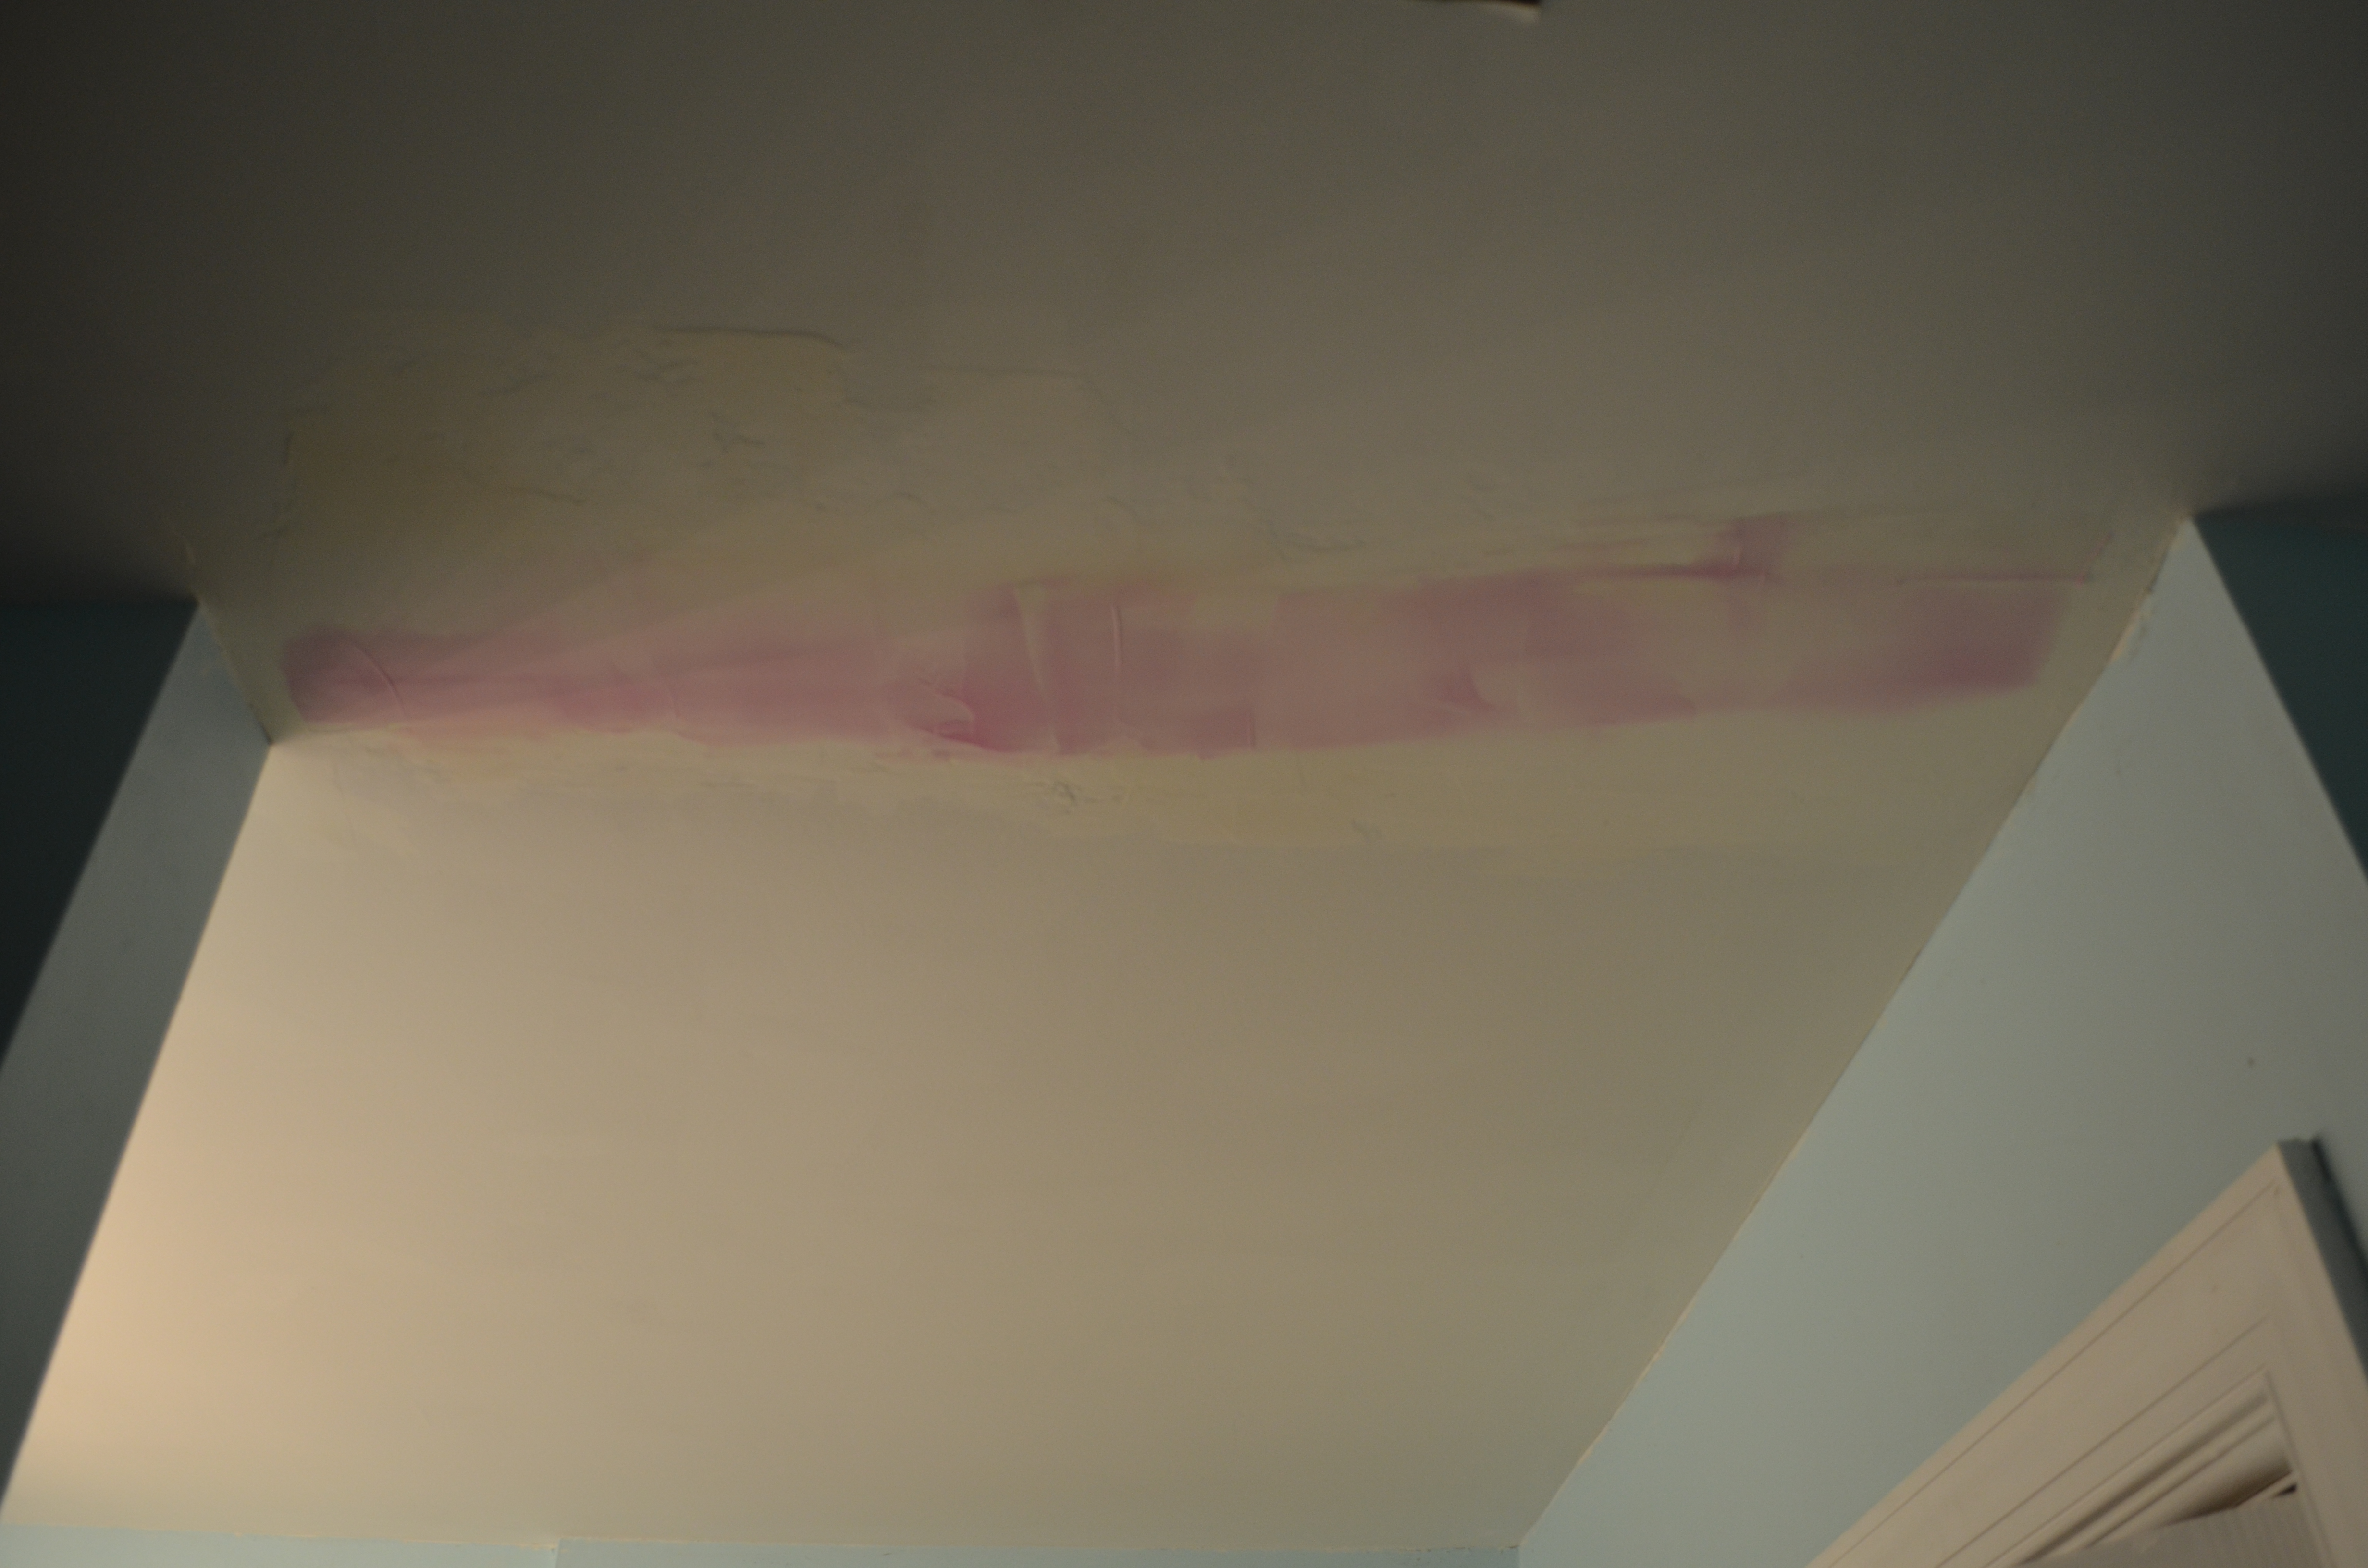
Fixing the crack we noticed after priming.
After a two-week long break, we moved onto the upstairs guest bedroom. That process went much faster! In the process of doing the bathroom we decided that we’re going to forget about trying to repair the edges perfectly, since we want to add crown moulding anyways, which will cover them up. We finished that room much faster, as the ceiling below the popcorn was pretty flat, so there wasn’t a ton to repair once we uncovered it.
Guest bedroom after removing the popcorn ceiling.
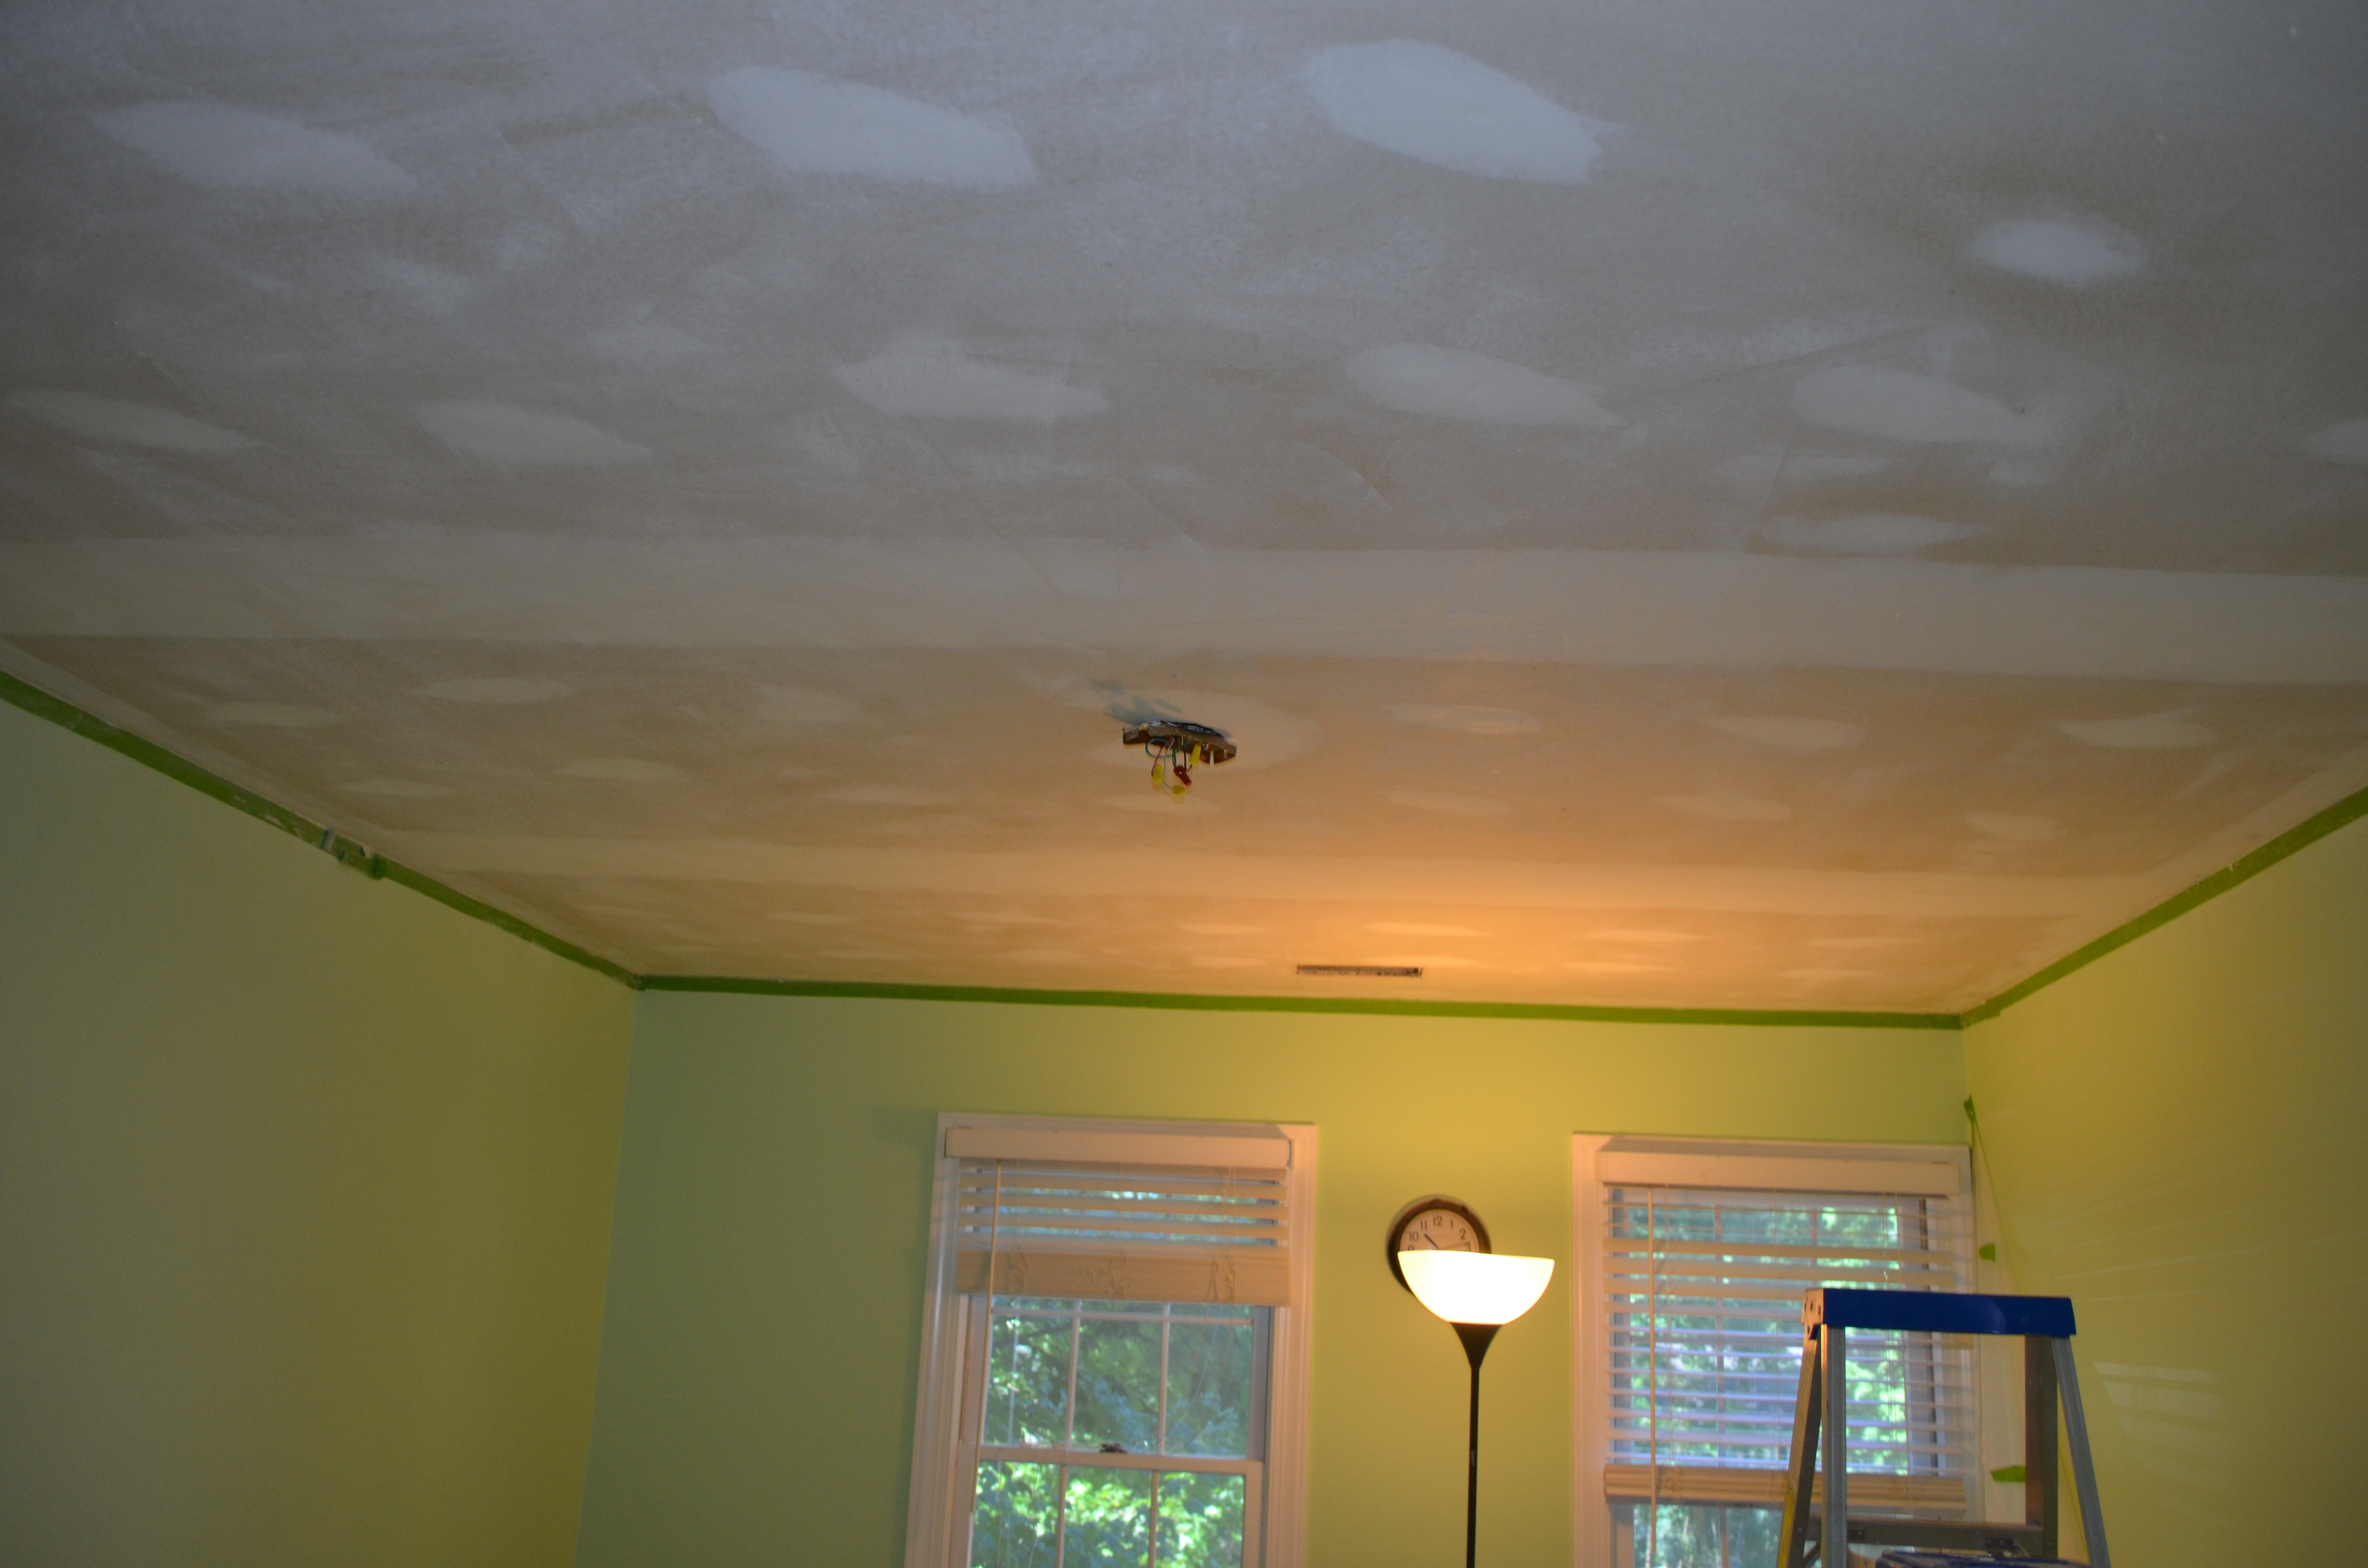
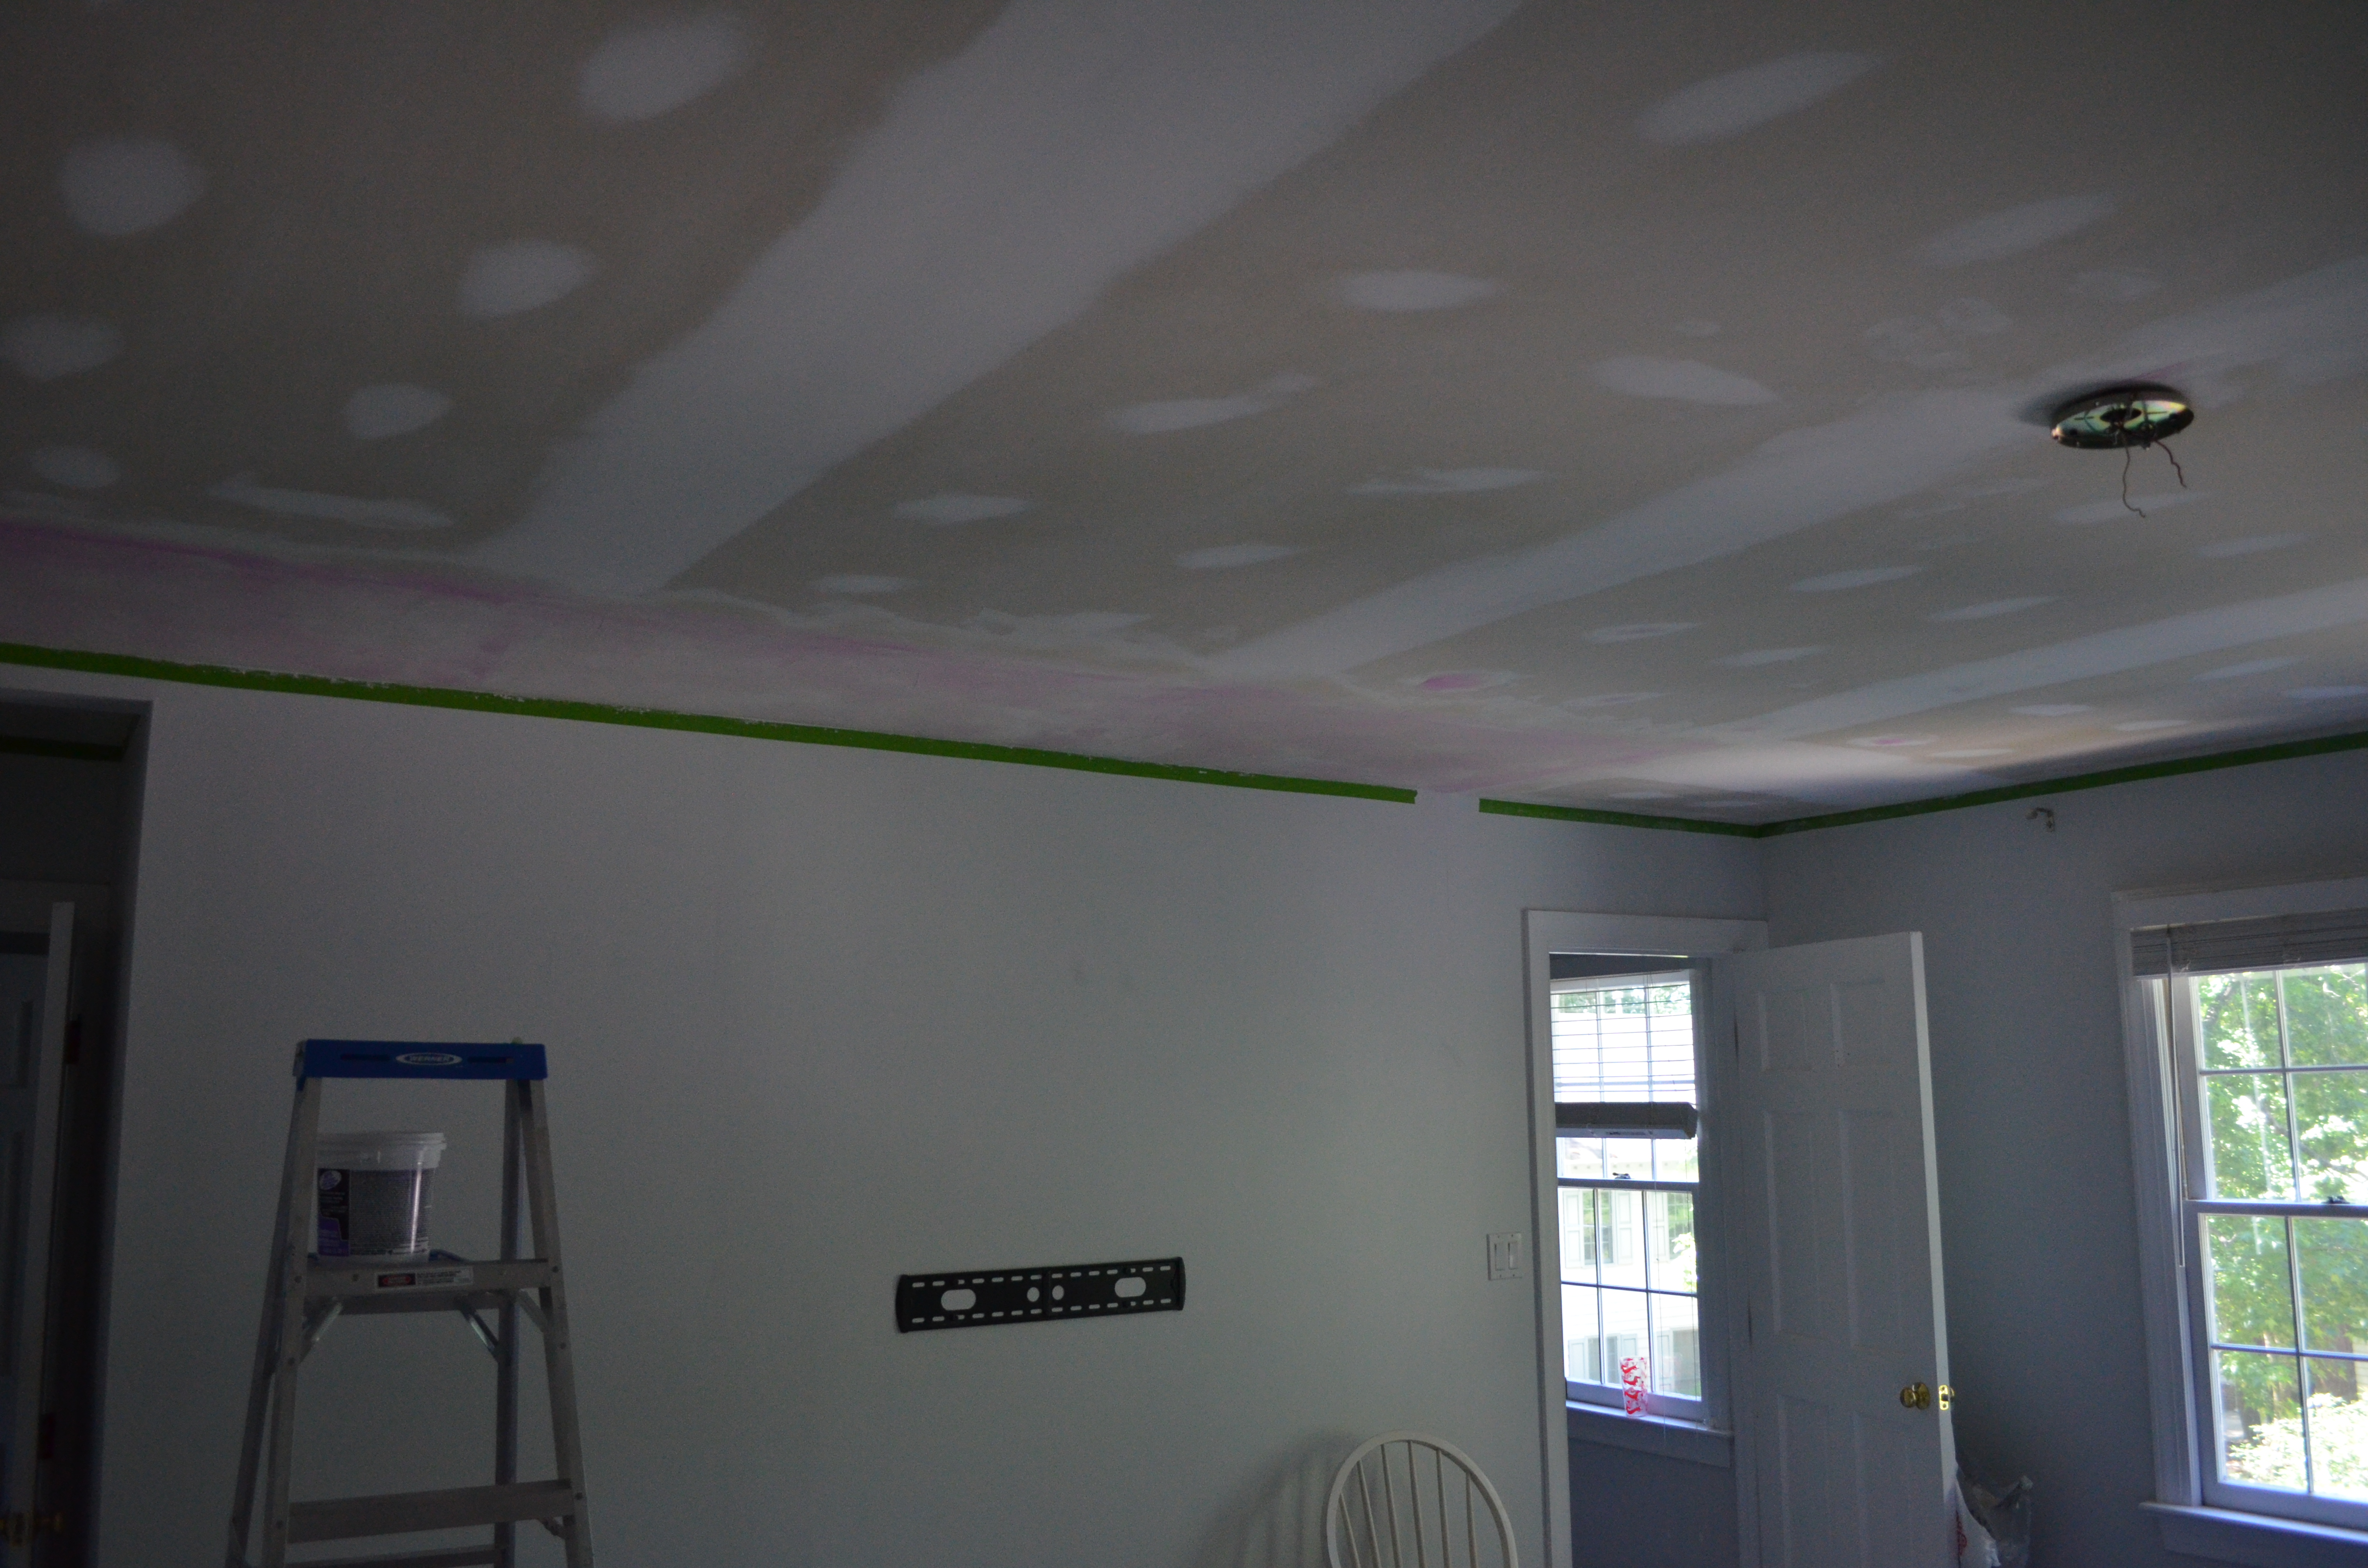
After we finished the guest bedroom, we waited until July 4 weekend to start on the master, so we had the extra day to finish the room over the weekend. I was a little over-ambitious in thinking we could get all the dust removed by the end of the first day, so we could sleep in our bed. Instead, we slept in the guest room over the course of the next three days, mainly because of one bigger issue that we ran into in our room that we hadn’t dealt with anywhere else yet. When we bought the house, we were told the closet had originally been in front of the bed, but it was removed and new closets were built into the eaves of the roof to make the master, as well as the closets, bigger. Apparently when the ceilings were repaired, different popcorn was used, and it was significantly harder to remove. You can see the difference in the old/new popcorn in the picture below (left hand corner).
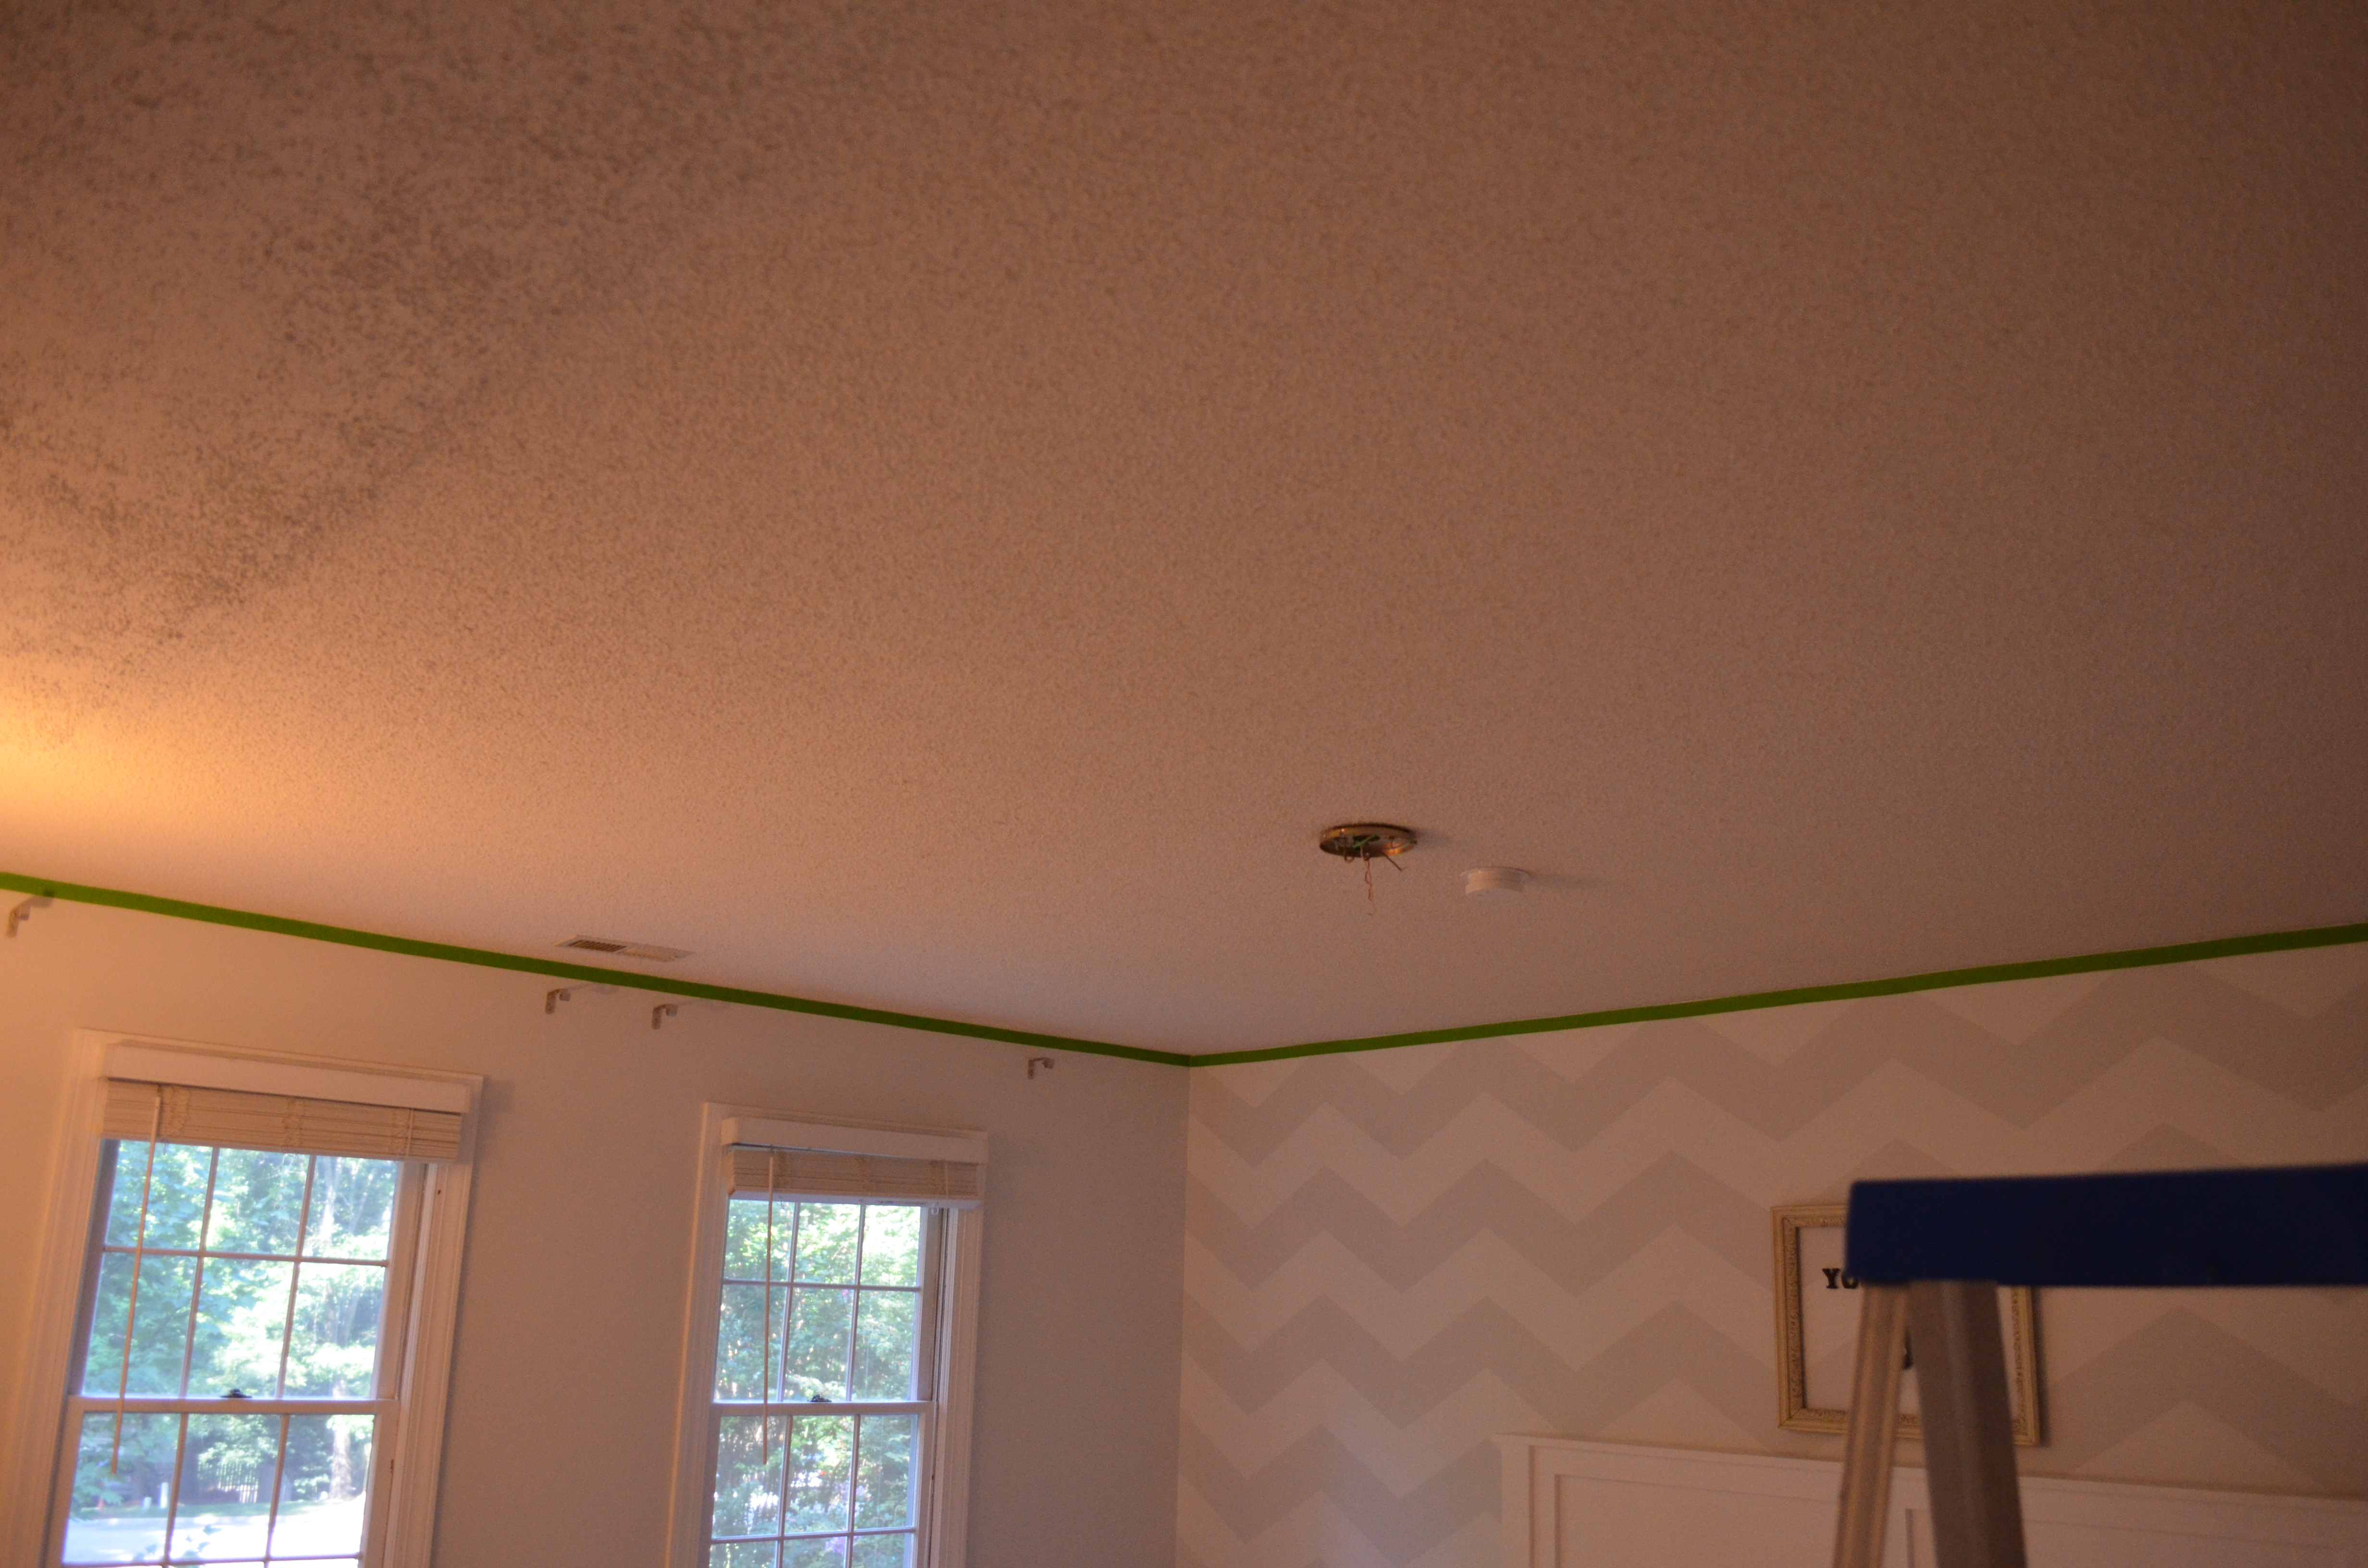
Before we started on our room.
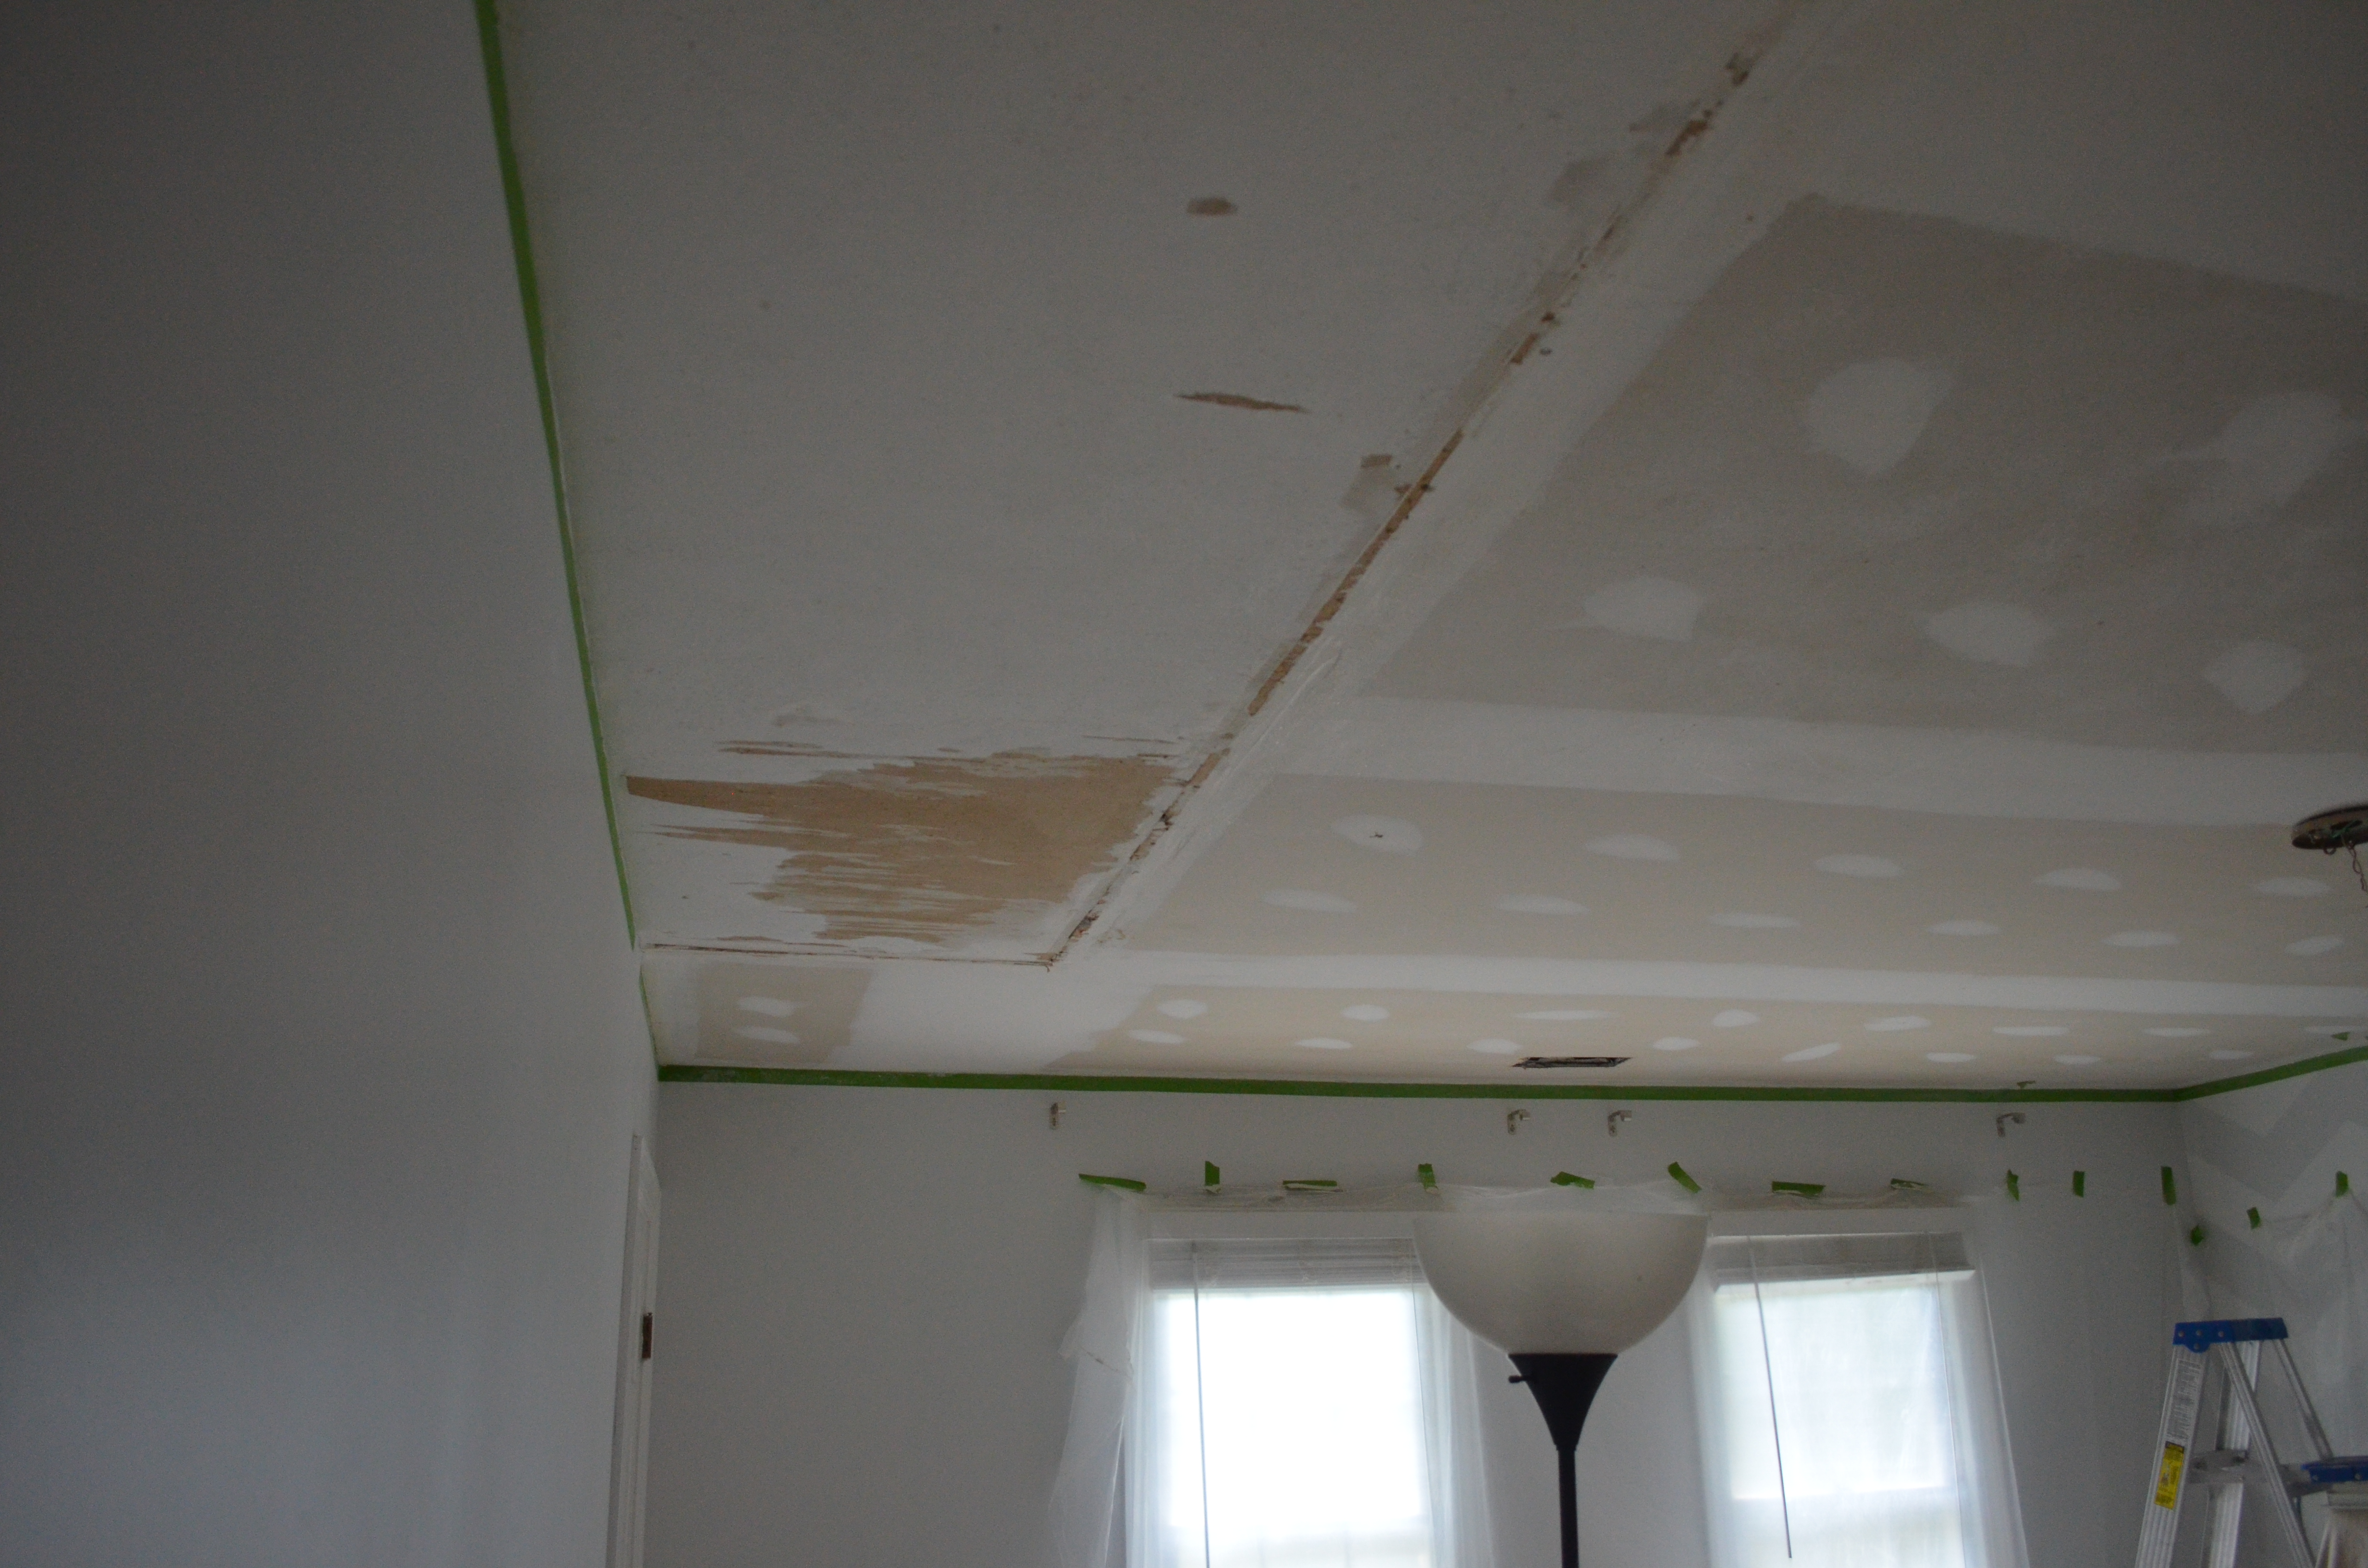
Due to the hard to remove popcorn, we ended up tearing up a bunch of the drywall, and needed to repair about 1/5 of the ceiling to make it flat again after we removed the ceiling. We went through a lot of joint compound and sanding, but in the end, we flattened the ceiling.
After removing popcorn in the old closet area.
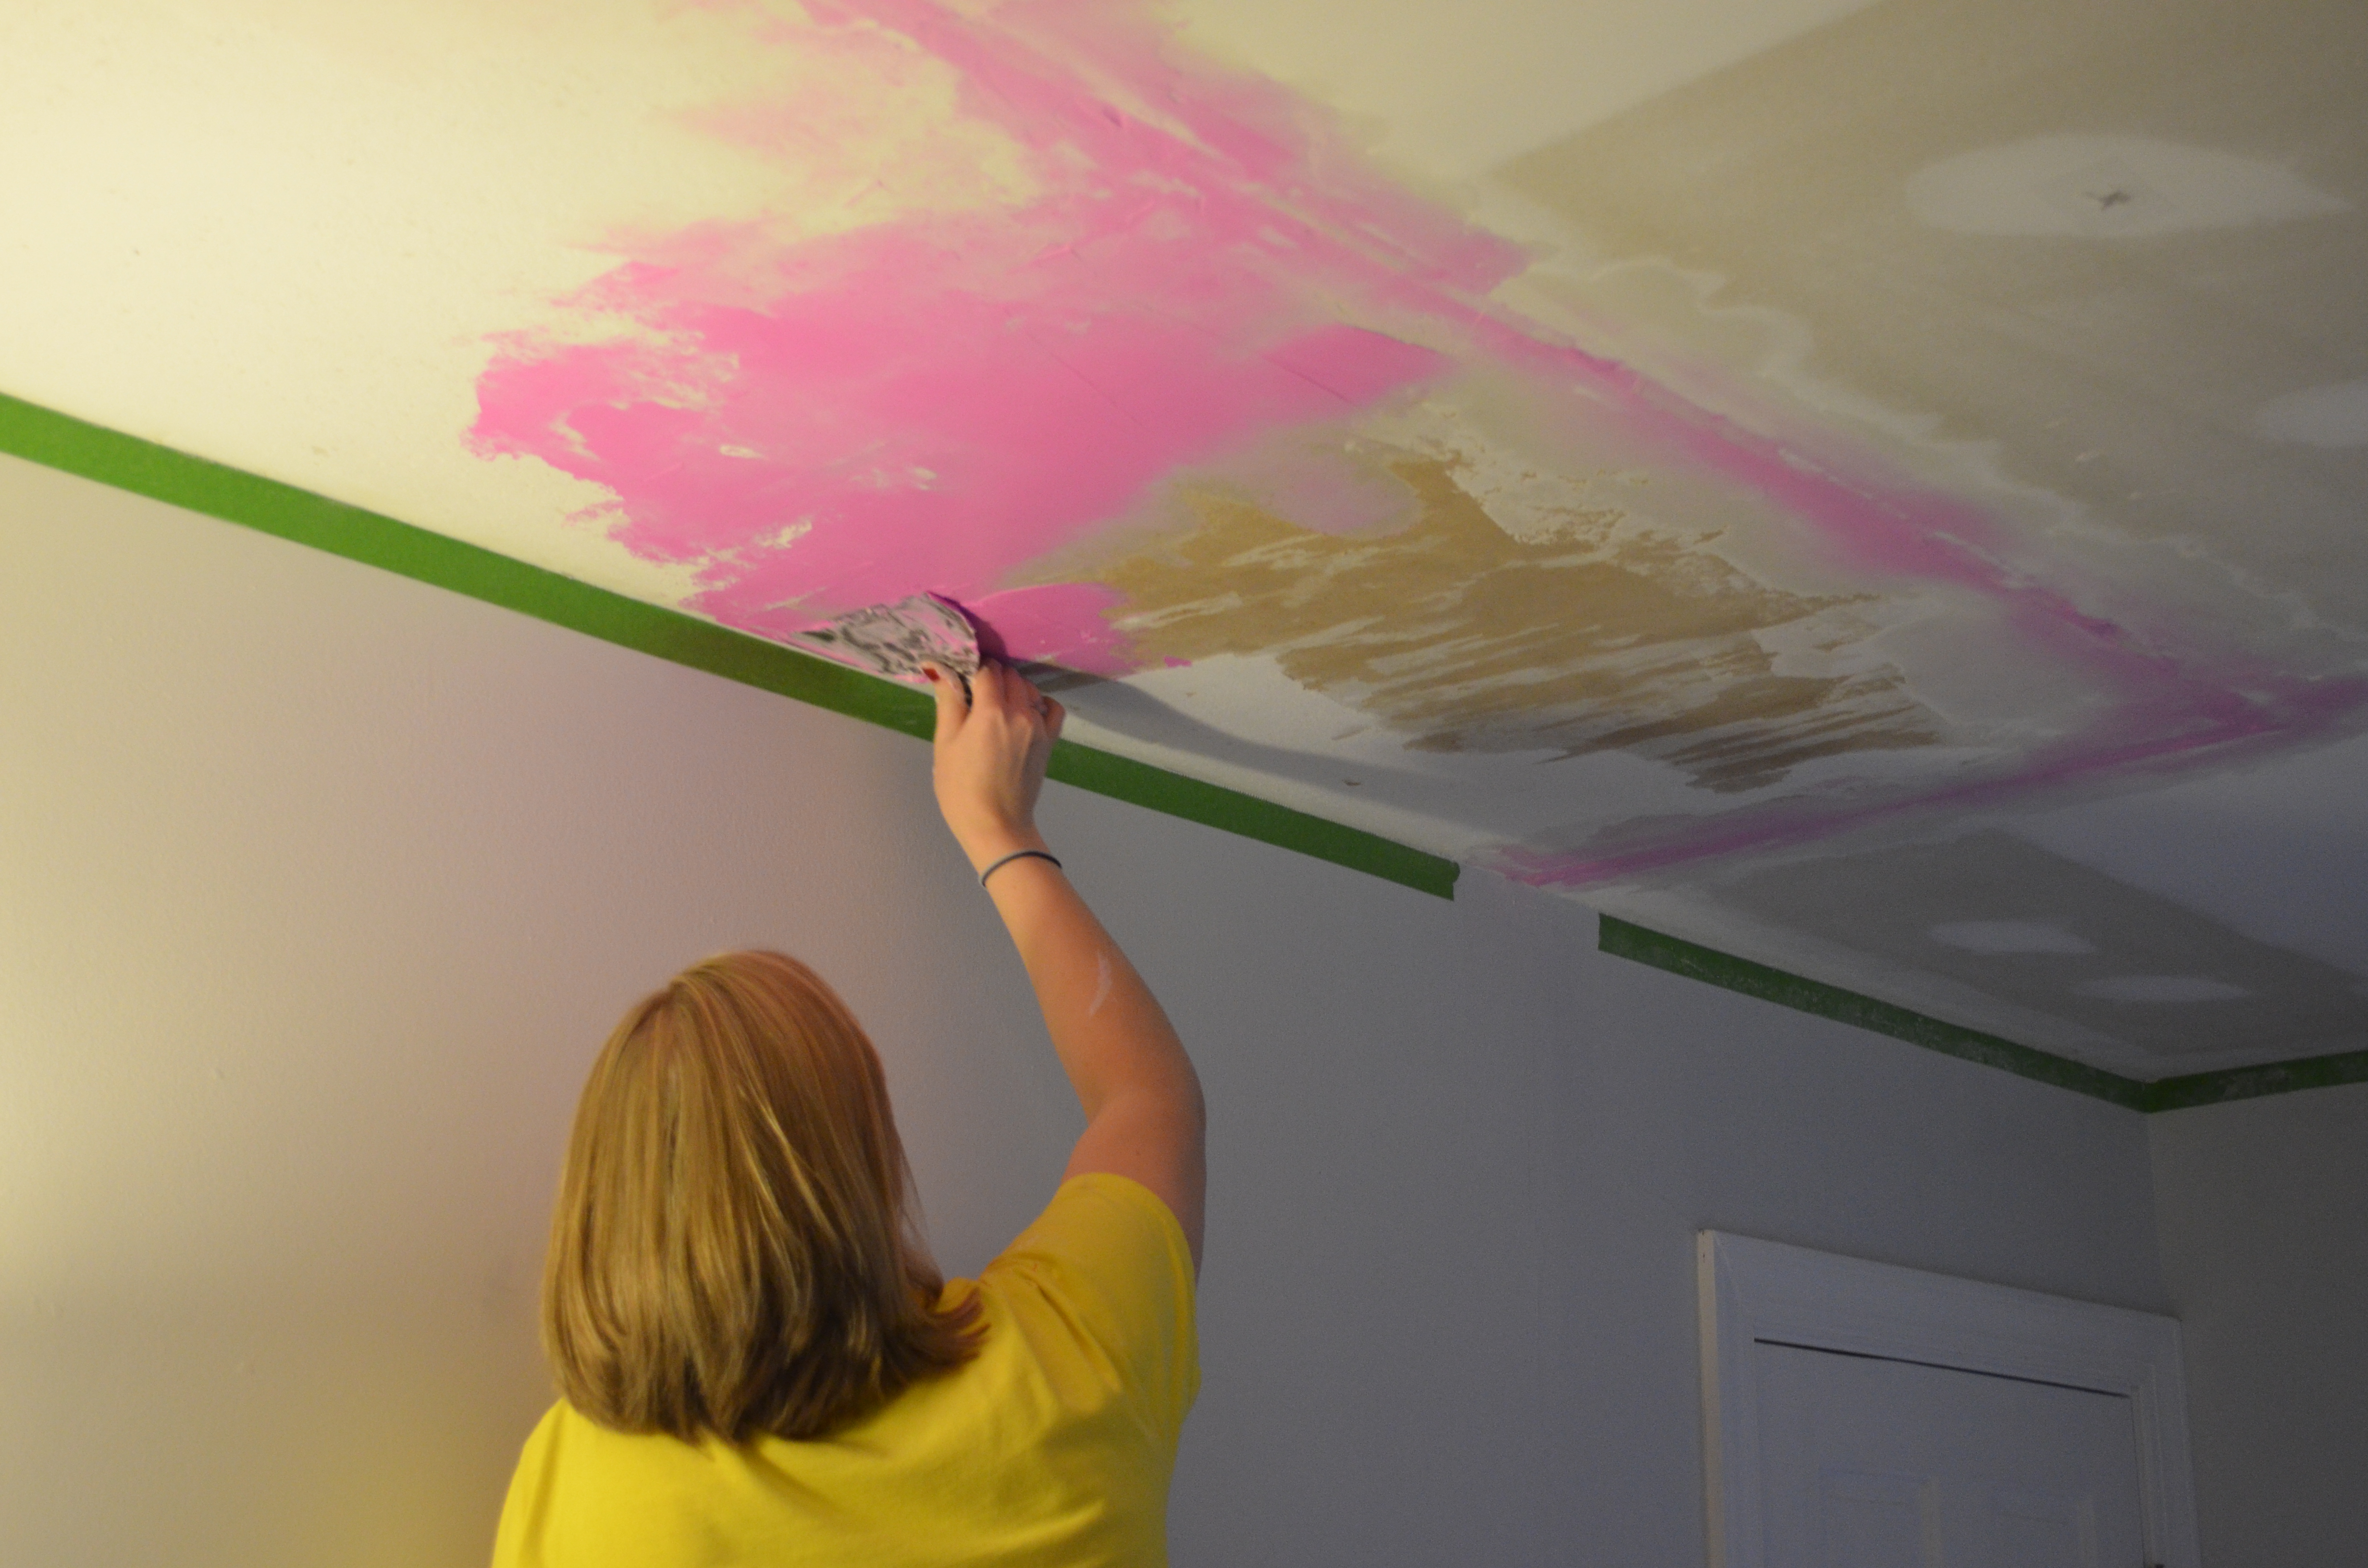
Adding a ton of joint compound.
Once the ceiling was finally covered in joint compound.
Tons of sanding went into this room to get the ceilings even again.
Once we fixed that area, it was again a fairly simple process to go through and prime and paint the ceiling. For now we’re taking a break, and before we do any more popcorn ceilings we may end up finishing the bathroom and doing crown moulding in the rooms that we’ve finished. I think once we add the moulding, this whole process will have been made worth it, since there will be a fairly noticeable difference once that’s in.
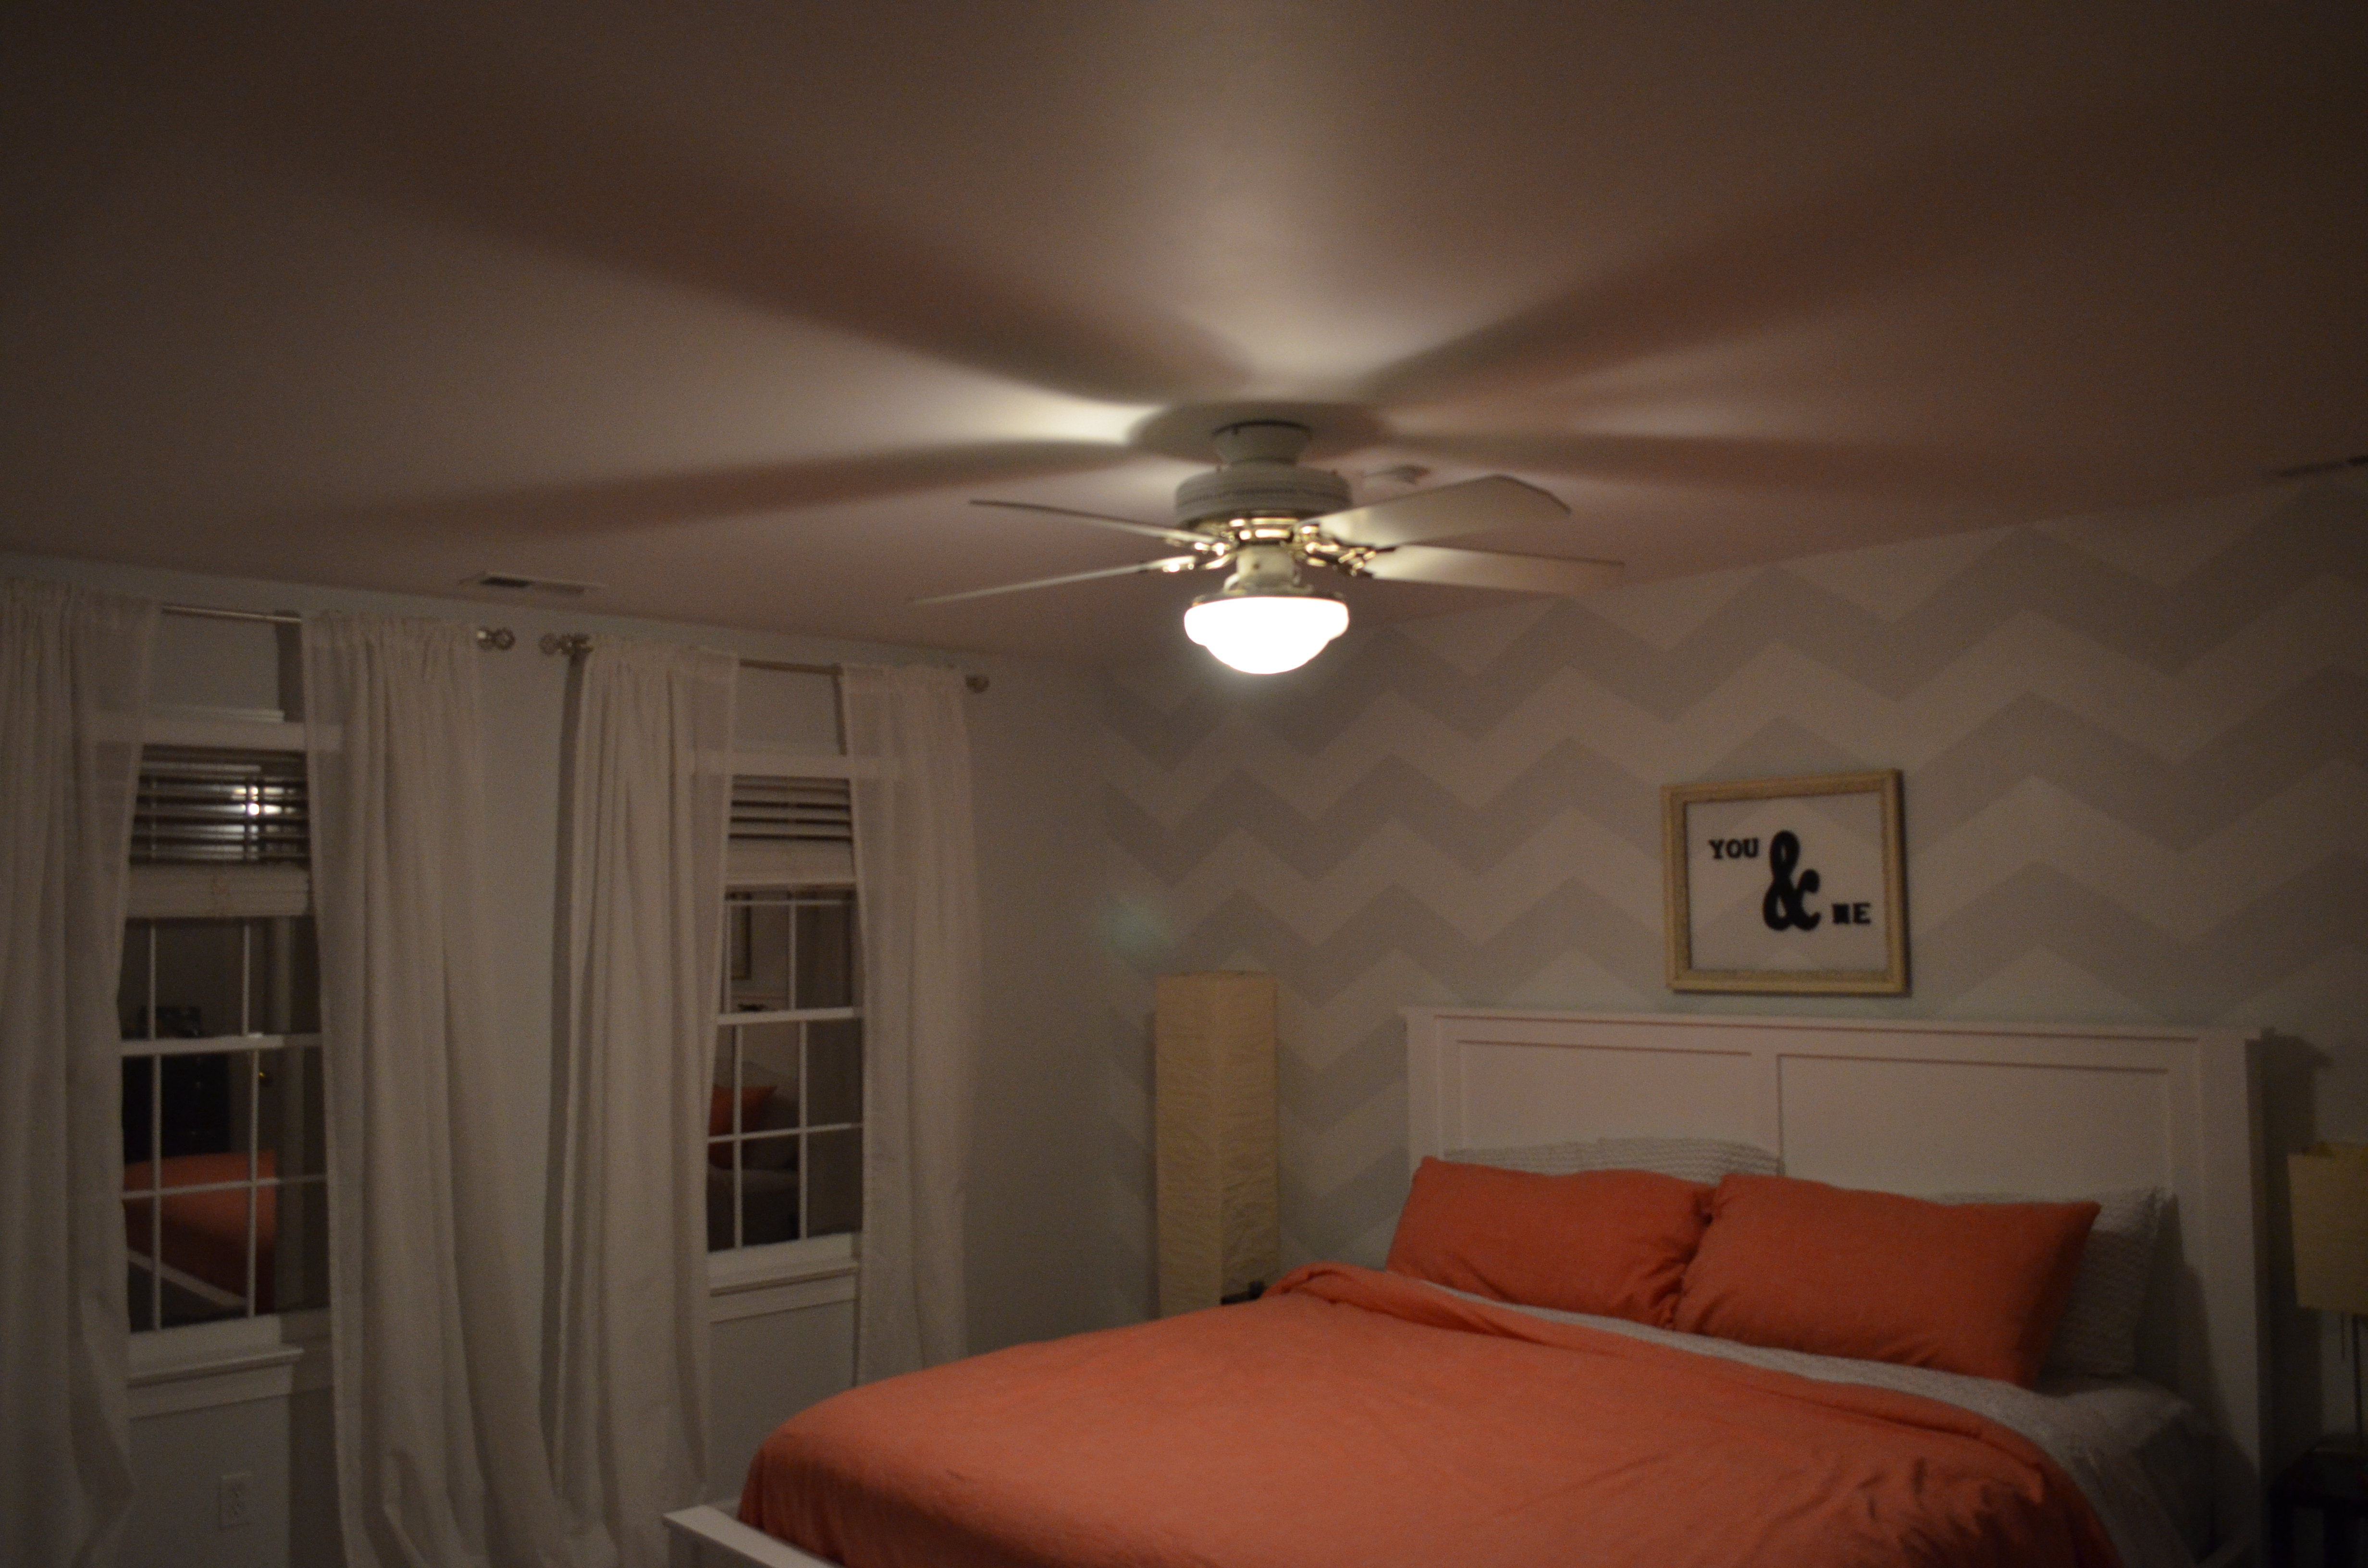
Finally flat, painted ceilings in our master bedroom.