Well, it’s been another long gap since our last post. After our last post, I was just getting ready to start on this project, but I couldn’t post it until after Christmas since it was a surprise.
Ashley had been wanting a bigger desk and better storage for her craft room, and it had come up a few times while we were in Lowe’s and walking by cabinets. I even considered just getting some builder grade cabinets from Lowe’s, but I was surprised at how expensive they were, and how little options I had with them. They were the wrong height, the wrong depth, and they didn’t have enough drawers to make it very useful. They also cost a lot more if I wanted to get them as wide as I was planning on.
So, my next choice was obviously to build them. I did some research on desks, and drew up some sketches of what I wanted them to look like, how deep I wanted the drawers, etc. and set off to start building. I decided to build the cabinets out of 3/4″ plywood, with a 1/4″ plywood back, and birch face frame.
To get started, I routed out either side of the first cabinet with a 1/4″ router bit, as well as the bottom piece to be able to slide in the 1/4″ plywood.
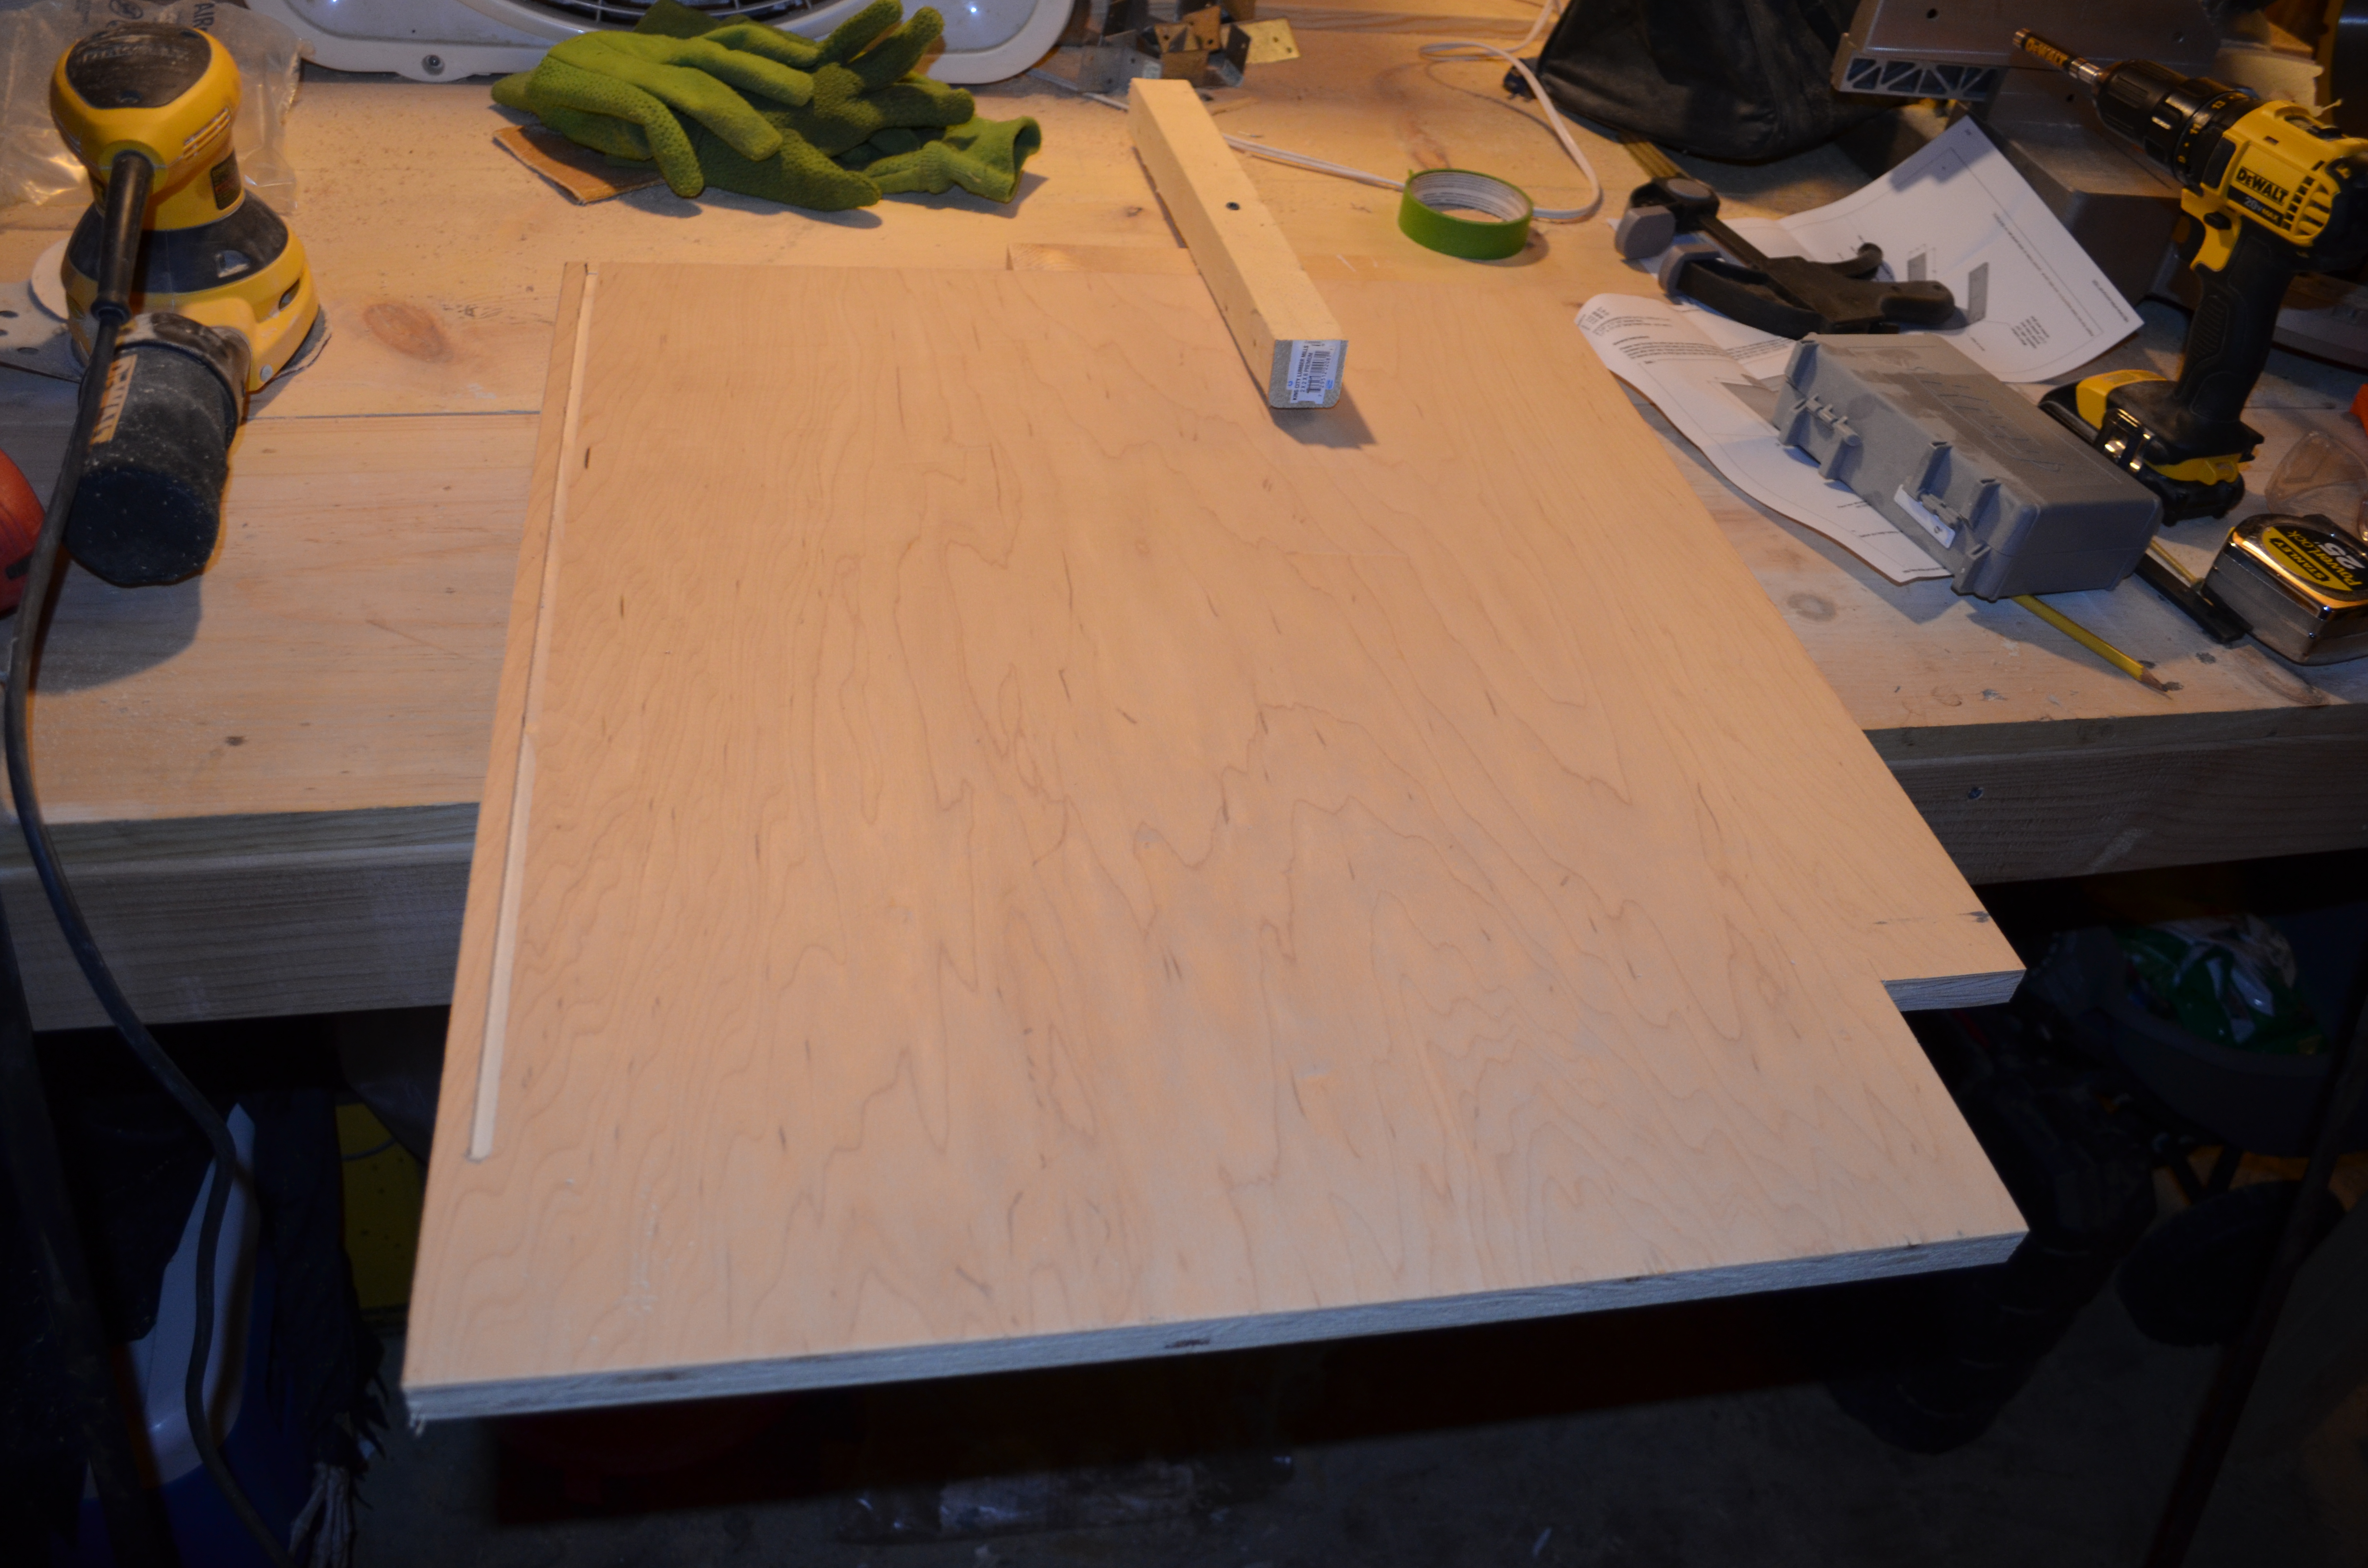
Each piece of plywood was routed out to fit the backing.
Once that was finished. I went ahead and drilled a bunch of pocket holes, and then connected the two sides with the bottom, and then built the platform for the cabinet by adding the toe kick and back strip. Once that was finished, I added the top front strip for support, and built the face frame to fit the area.
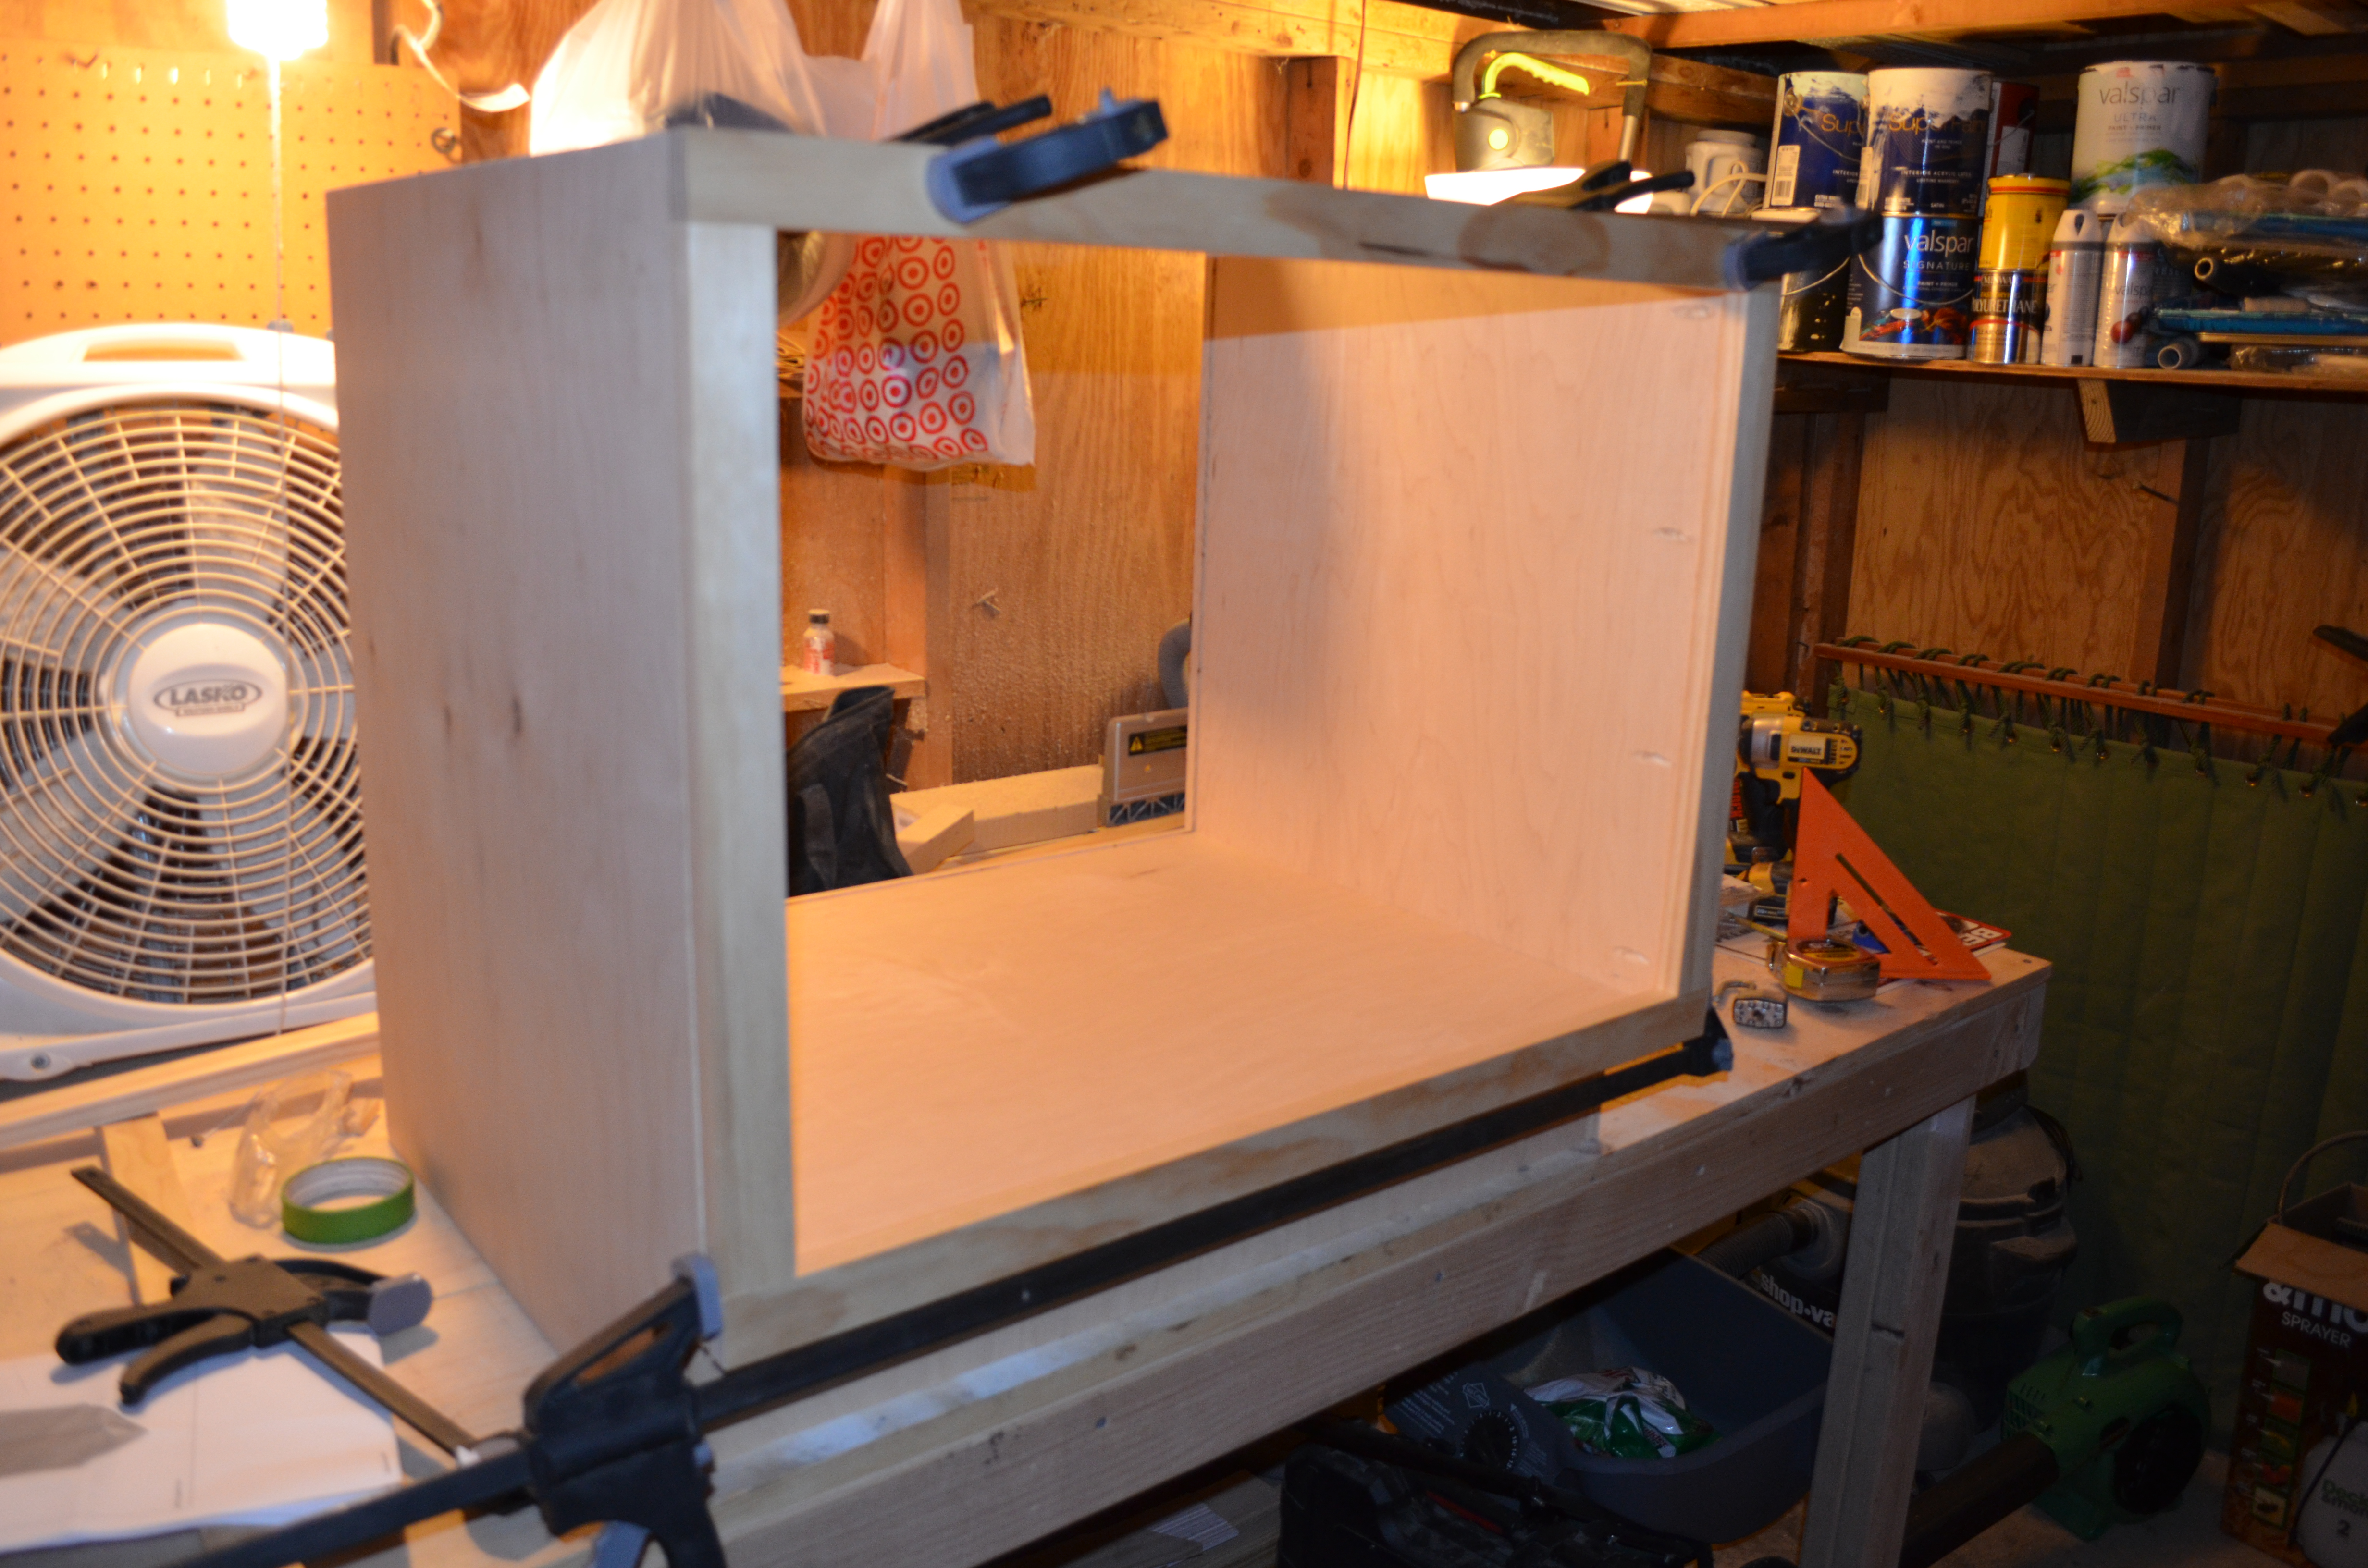
Aligned the face frame with the cabinet to attach.
I then cut the back piece of 1/4″ plywood, and slid it down into the slots I had cut out. Once that was finished, I cut a final top strip and routed it out to place it over the back, to hold it in place.
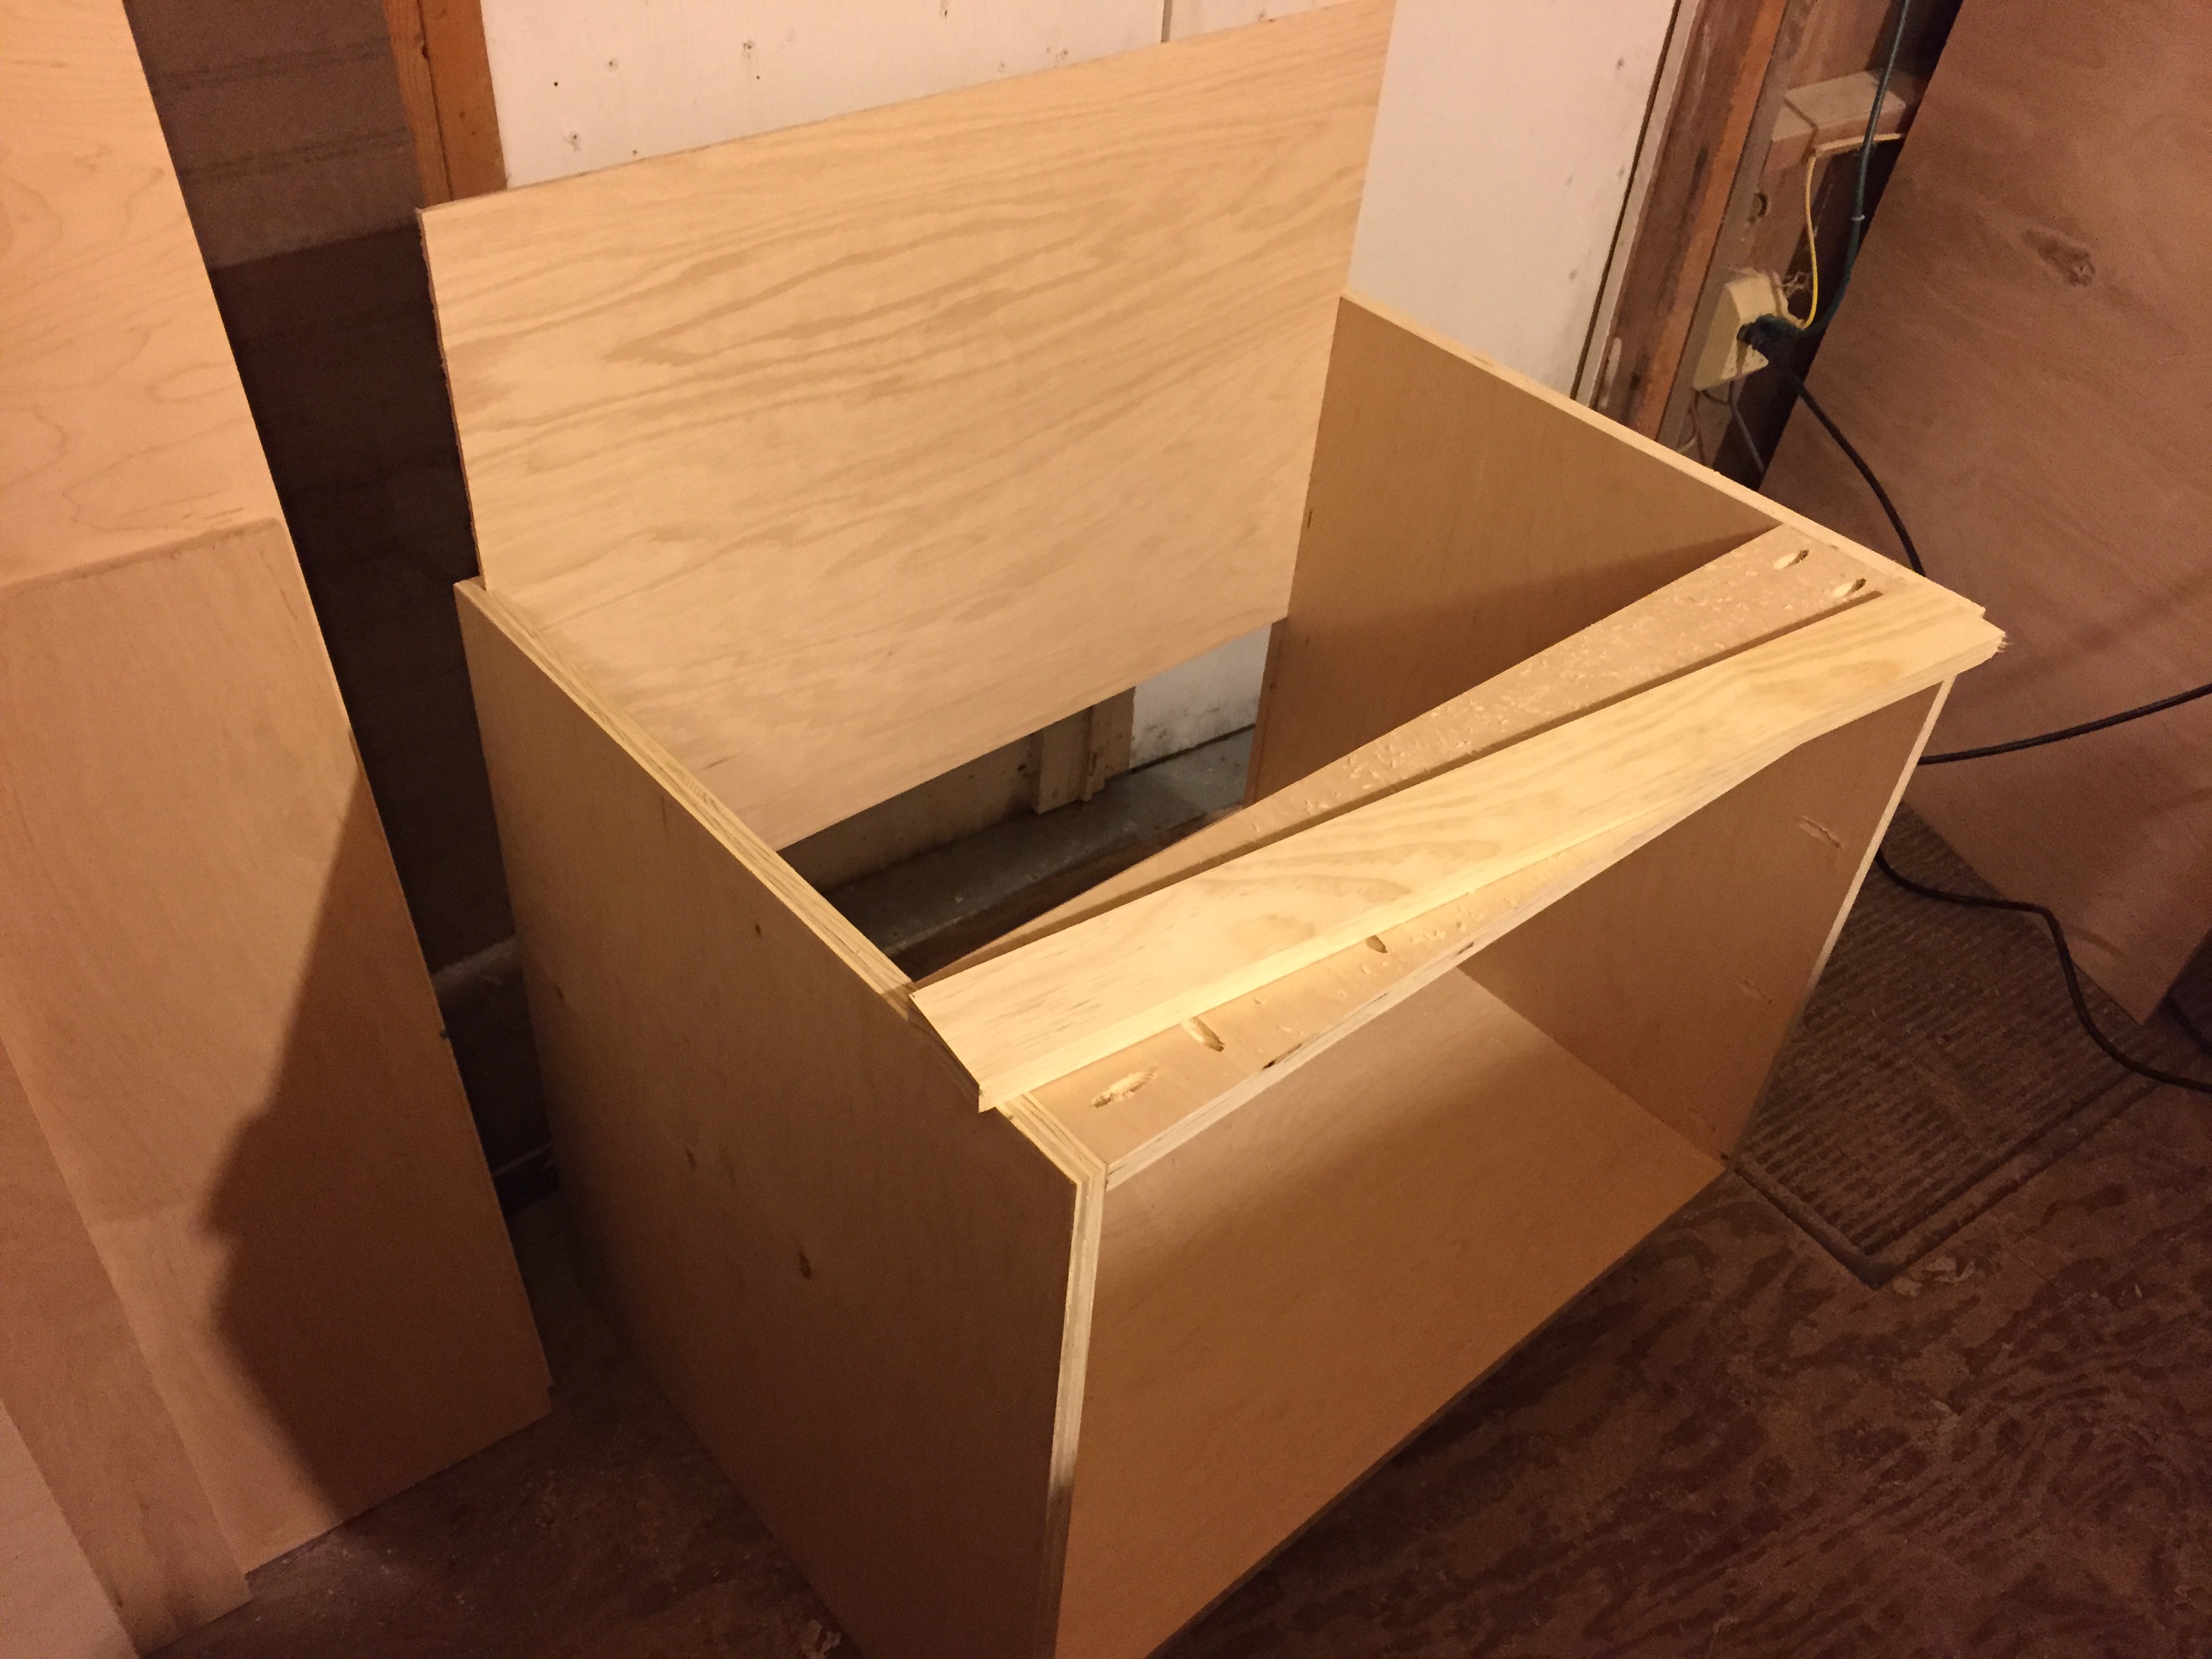
Sliding in the back of the cabinet.
Now that the cabinet box was complete, I had to build the drawer boxes out, which I had decided would be made out of 1×3′s. I then routed out each 1×3 to, again, slide in a sheet of 1/4″ plywood for the drawer bottom. I designed the drawers to be just over 24″ wide, so that Ashley could fit 2 sheets wide of 12″ x 12″ paper, which meant I also needed to make sure the 1/4″ plywood would hold the weight of that paper. I pressed pretty hard once the plywood was slid in and the glue had dried, and I could tell that it would be fine.
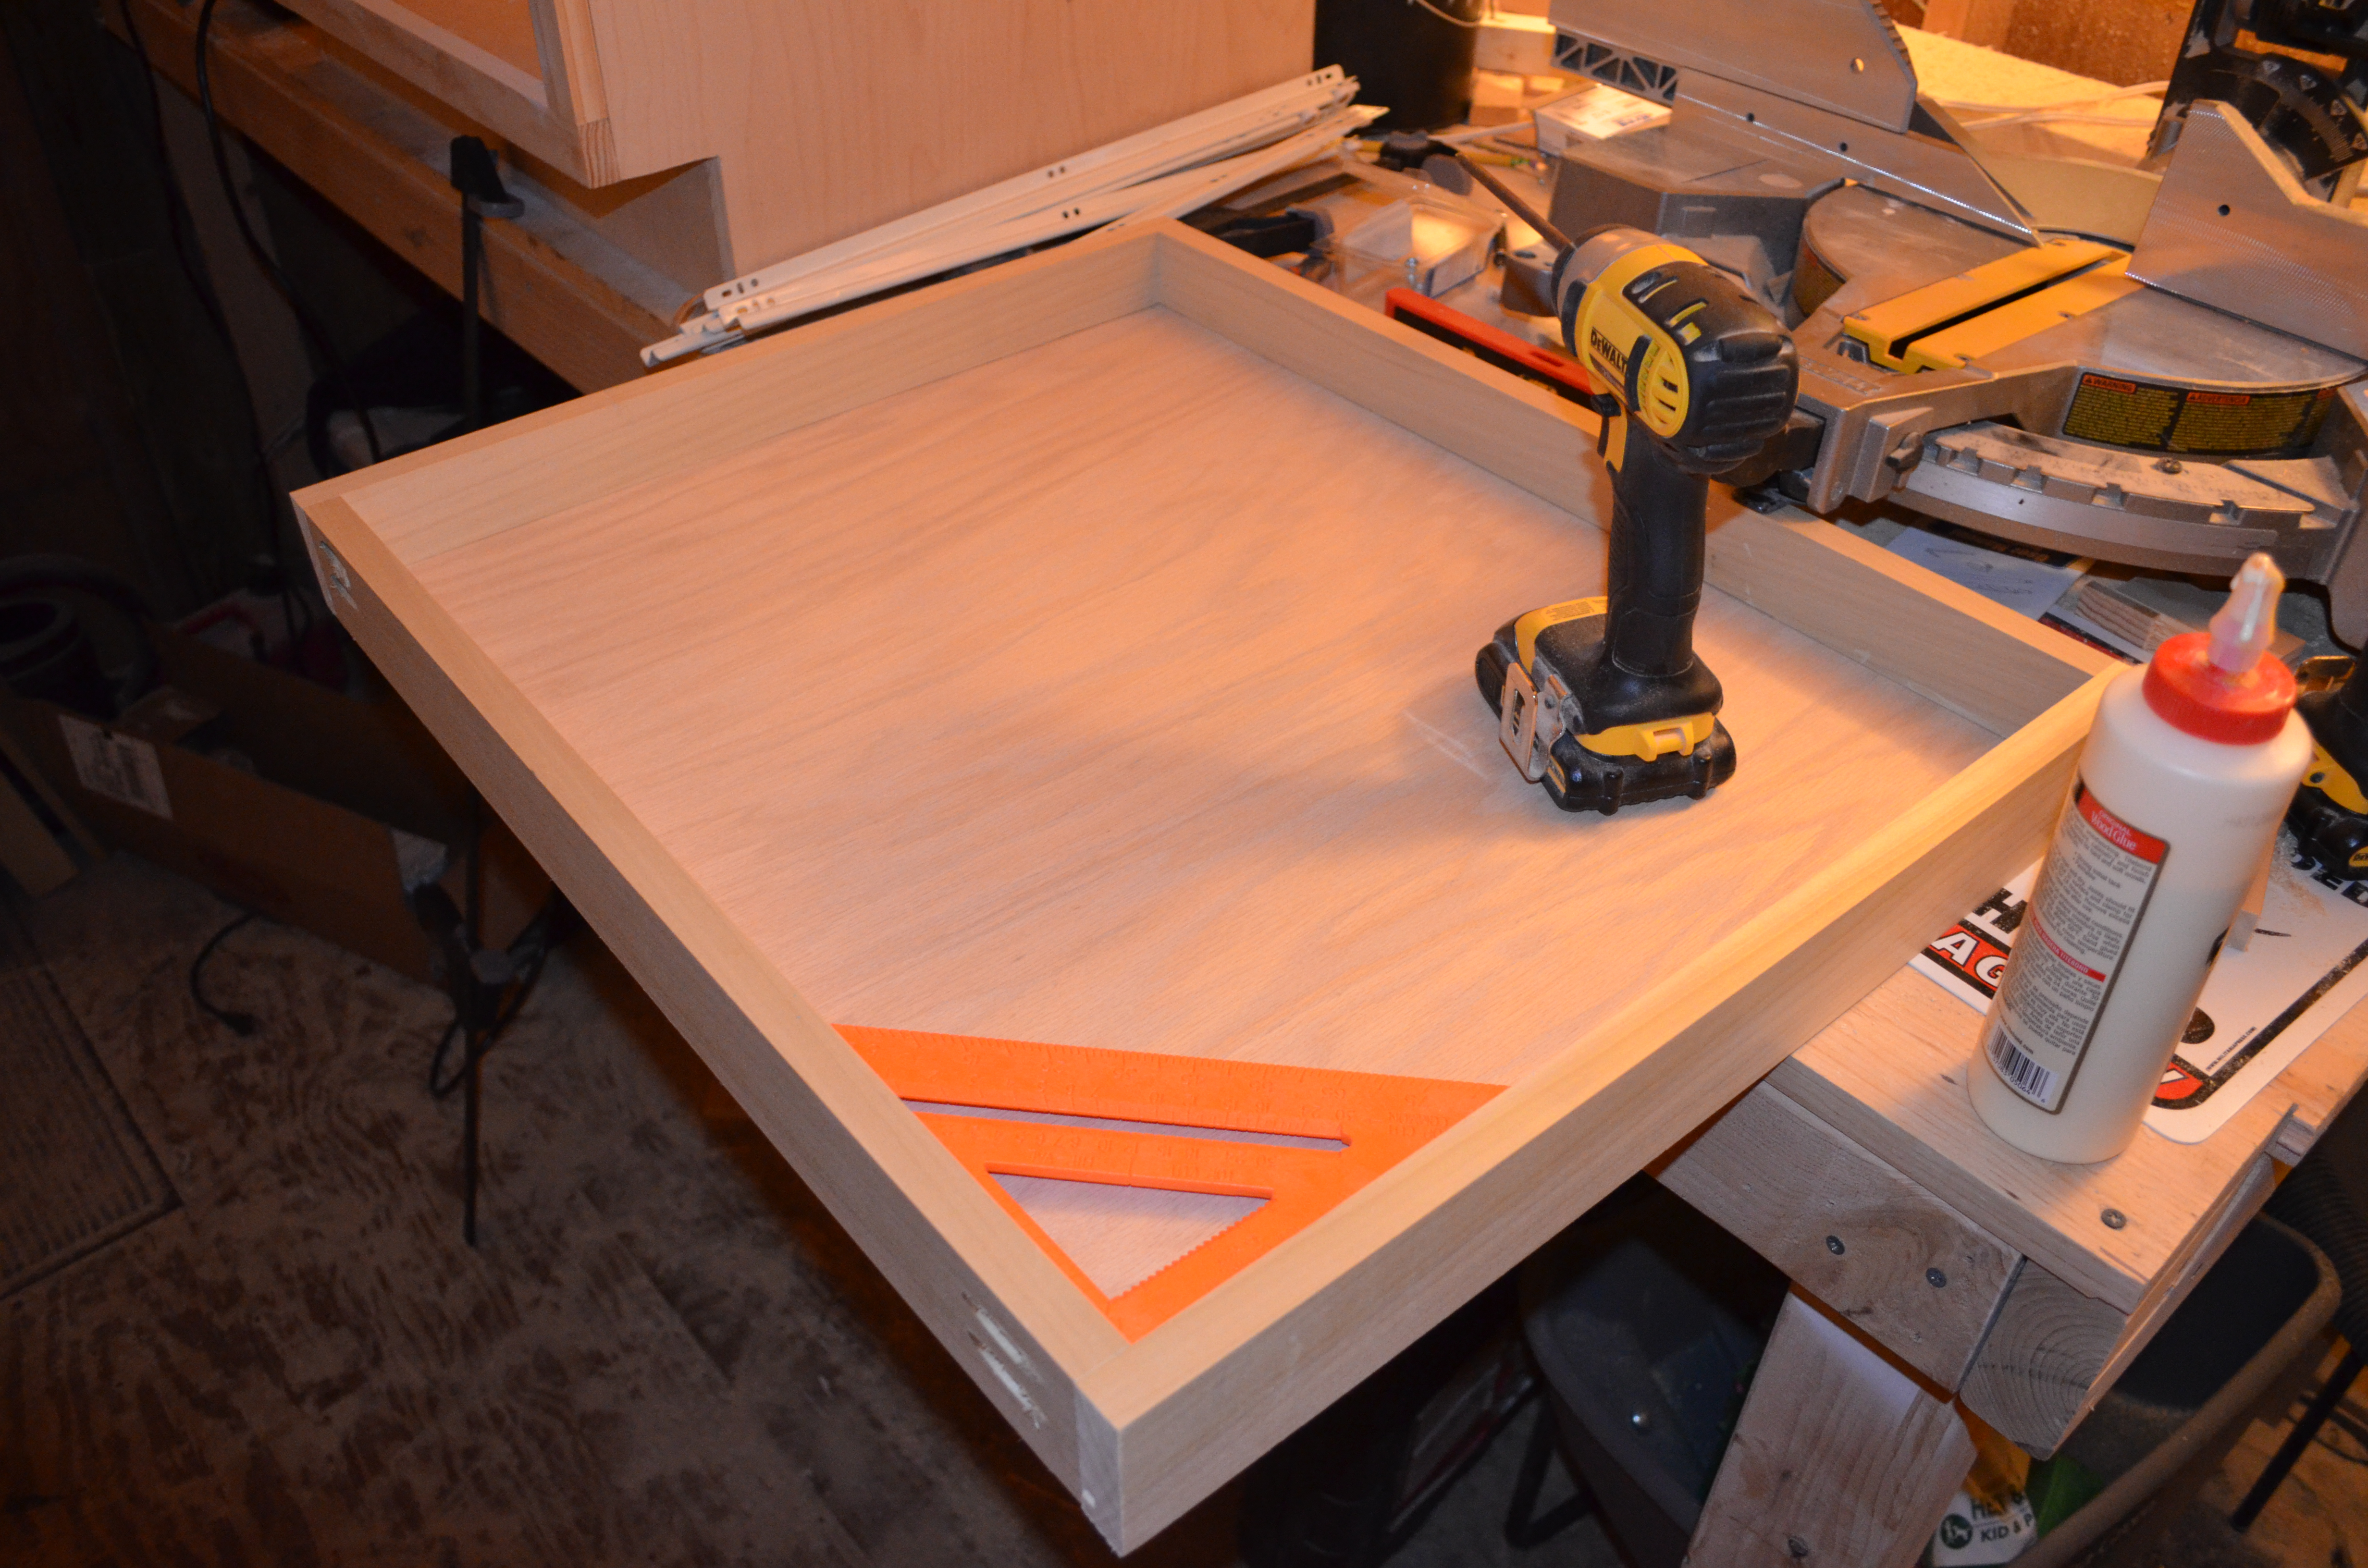
Finished drawer box.
Once I had 4 drawers built out for the first cabinet, I decided to go ahead and attach the drawer slides to the sides of the drawers, and then to the cabinet. Making sure that the slides were level and slid nicely was one of the hardest parts of the project, since they had to be pretty much in alignment. I ended up figuring out when the rails inside the cabinets were level, and attached a temporary strip in the back to help me hold it while I screwed in the back support.
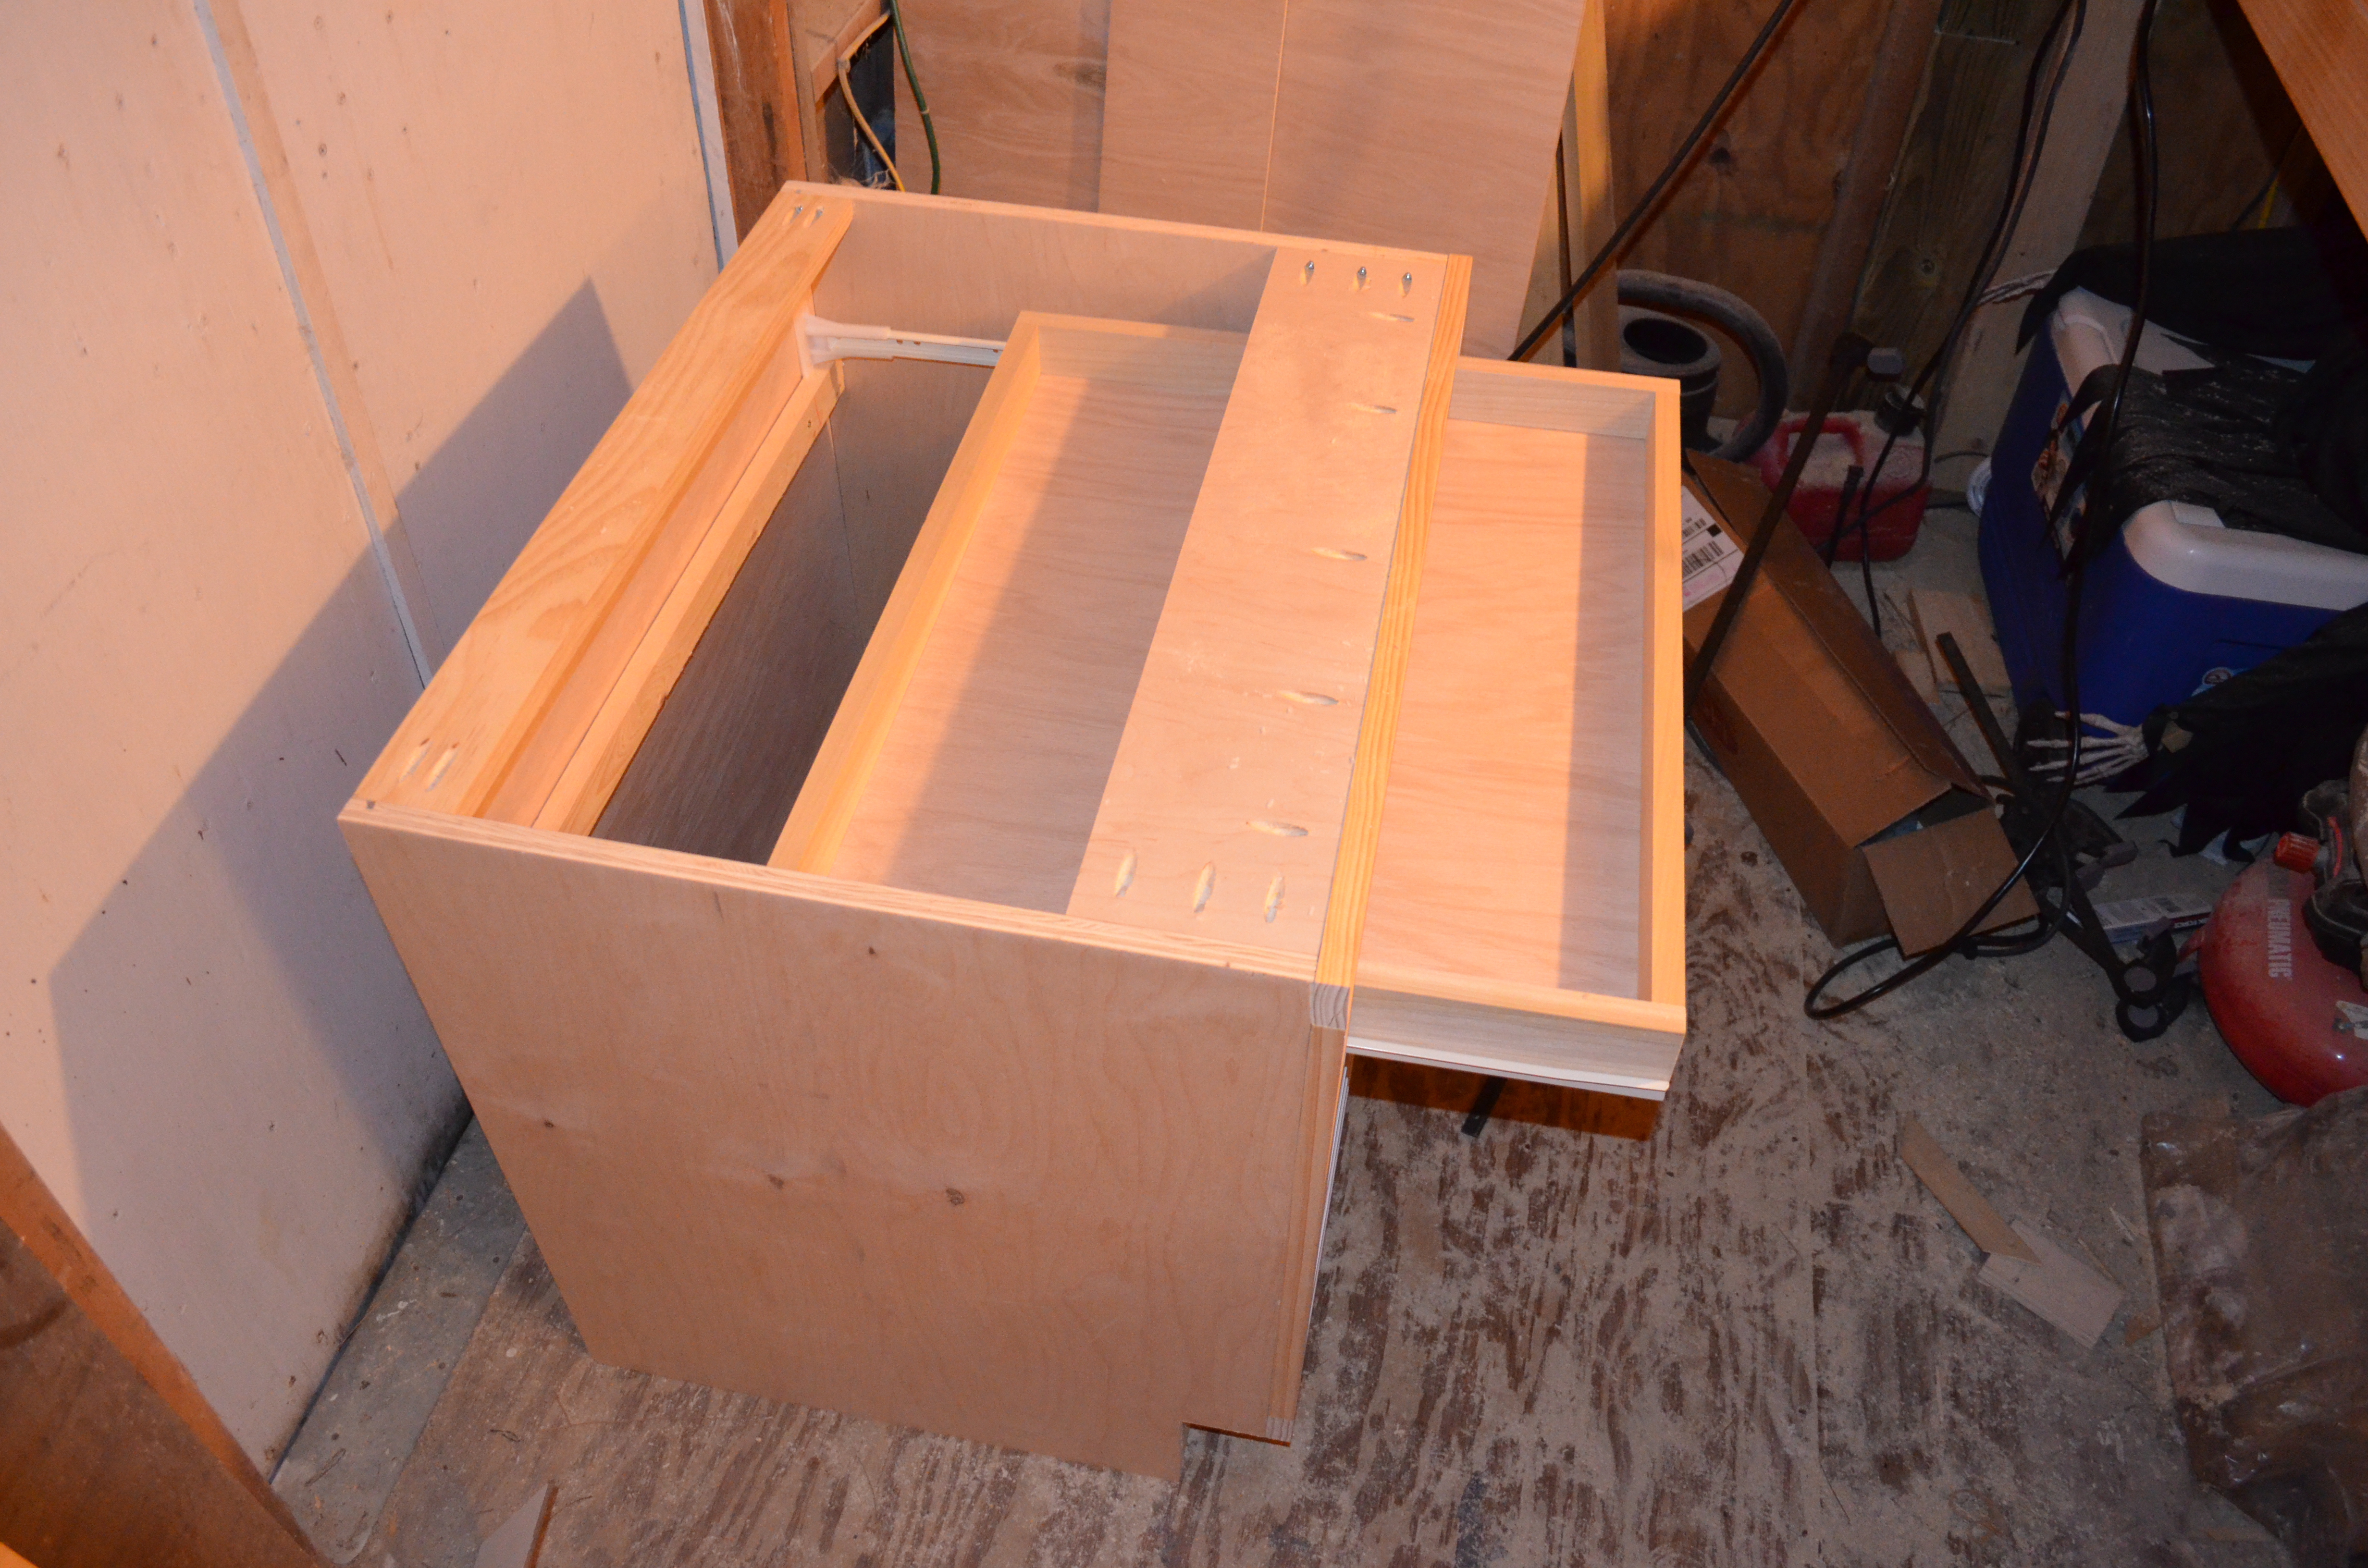
Installed drawer slides.
I also had to build the drawer fronts, which was basically just a shaker style drawer front, with a 5-piece front built out of birch and an inset plywood panel. In order to line them up, I flipped the cabinet on it’s back, taped the drawers into where they would be when they are sitting normal, and put each of the drawer fronts on with 1/2″ pieces of wood in between each drawer to keep the correct spacing.
Once I had the drawers lined up how I wanted them, I drilled holes through the frame where I wanted the handles to go, and once that was complete I took each drawer out, attached the handle through the drawer box, and the drawer was done.
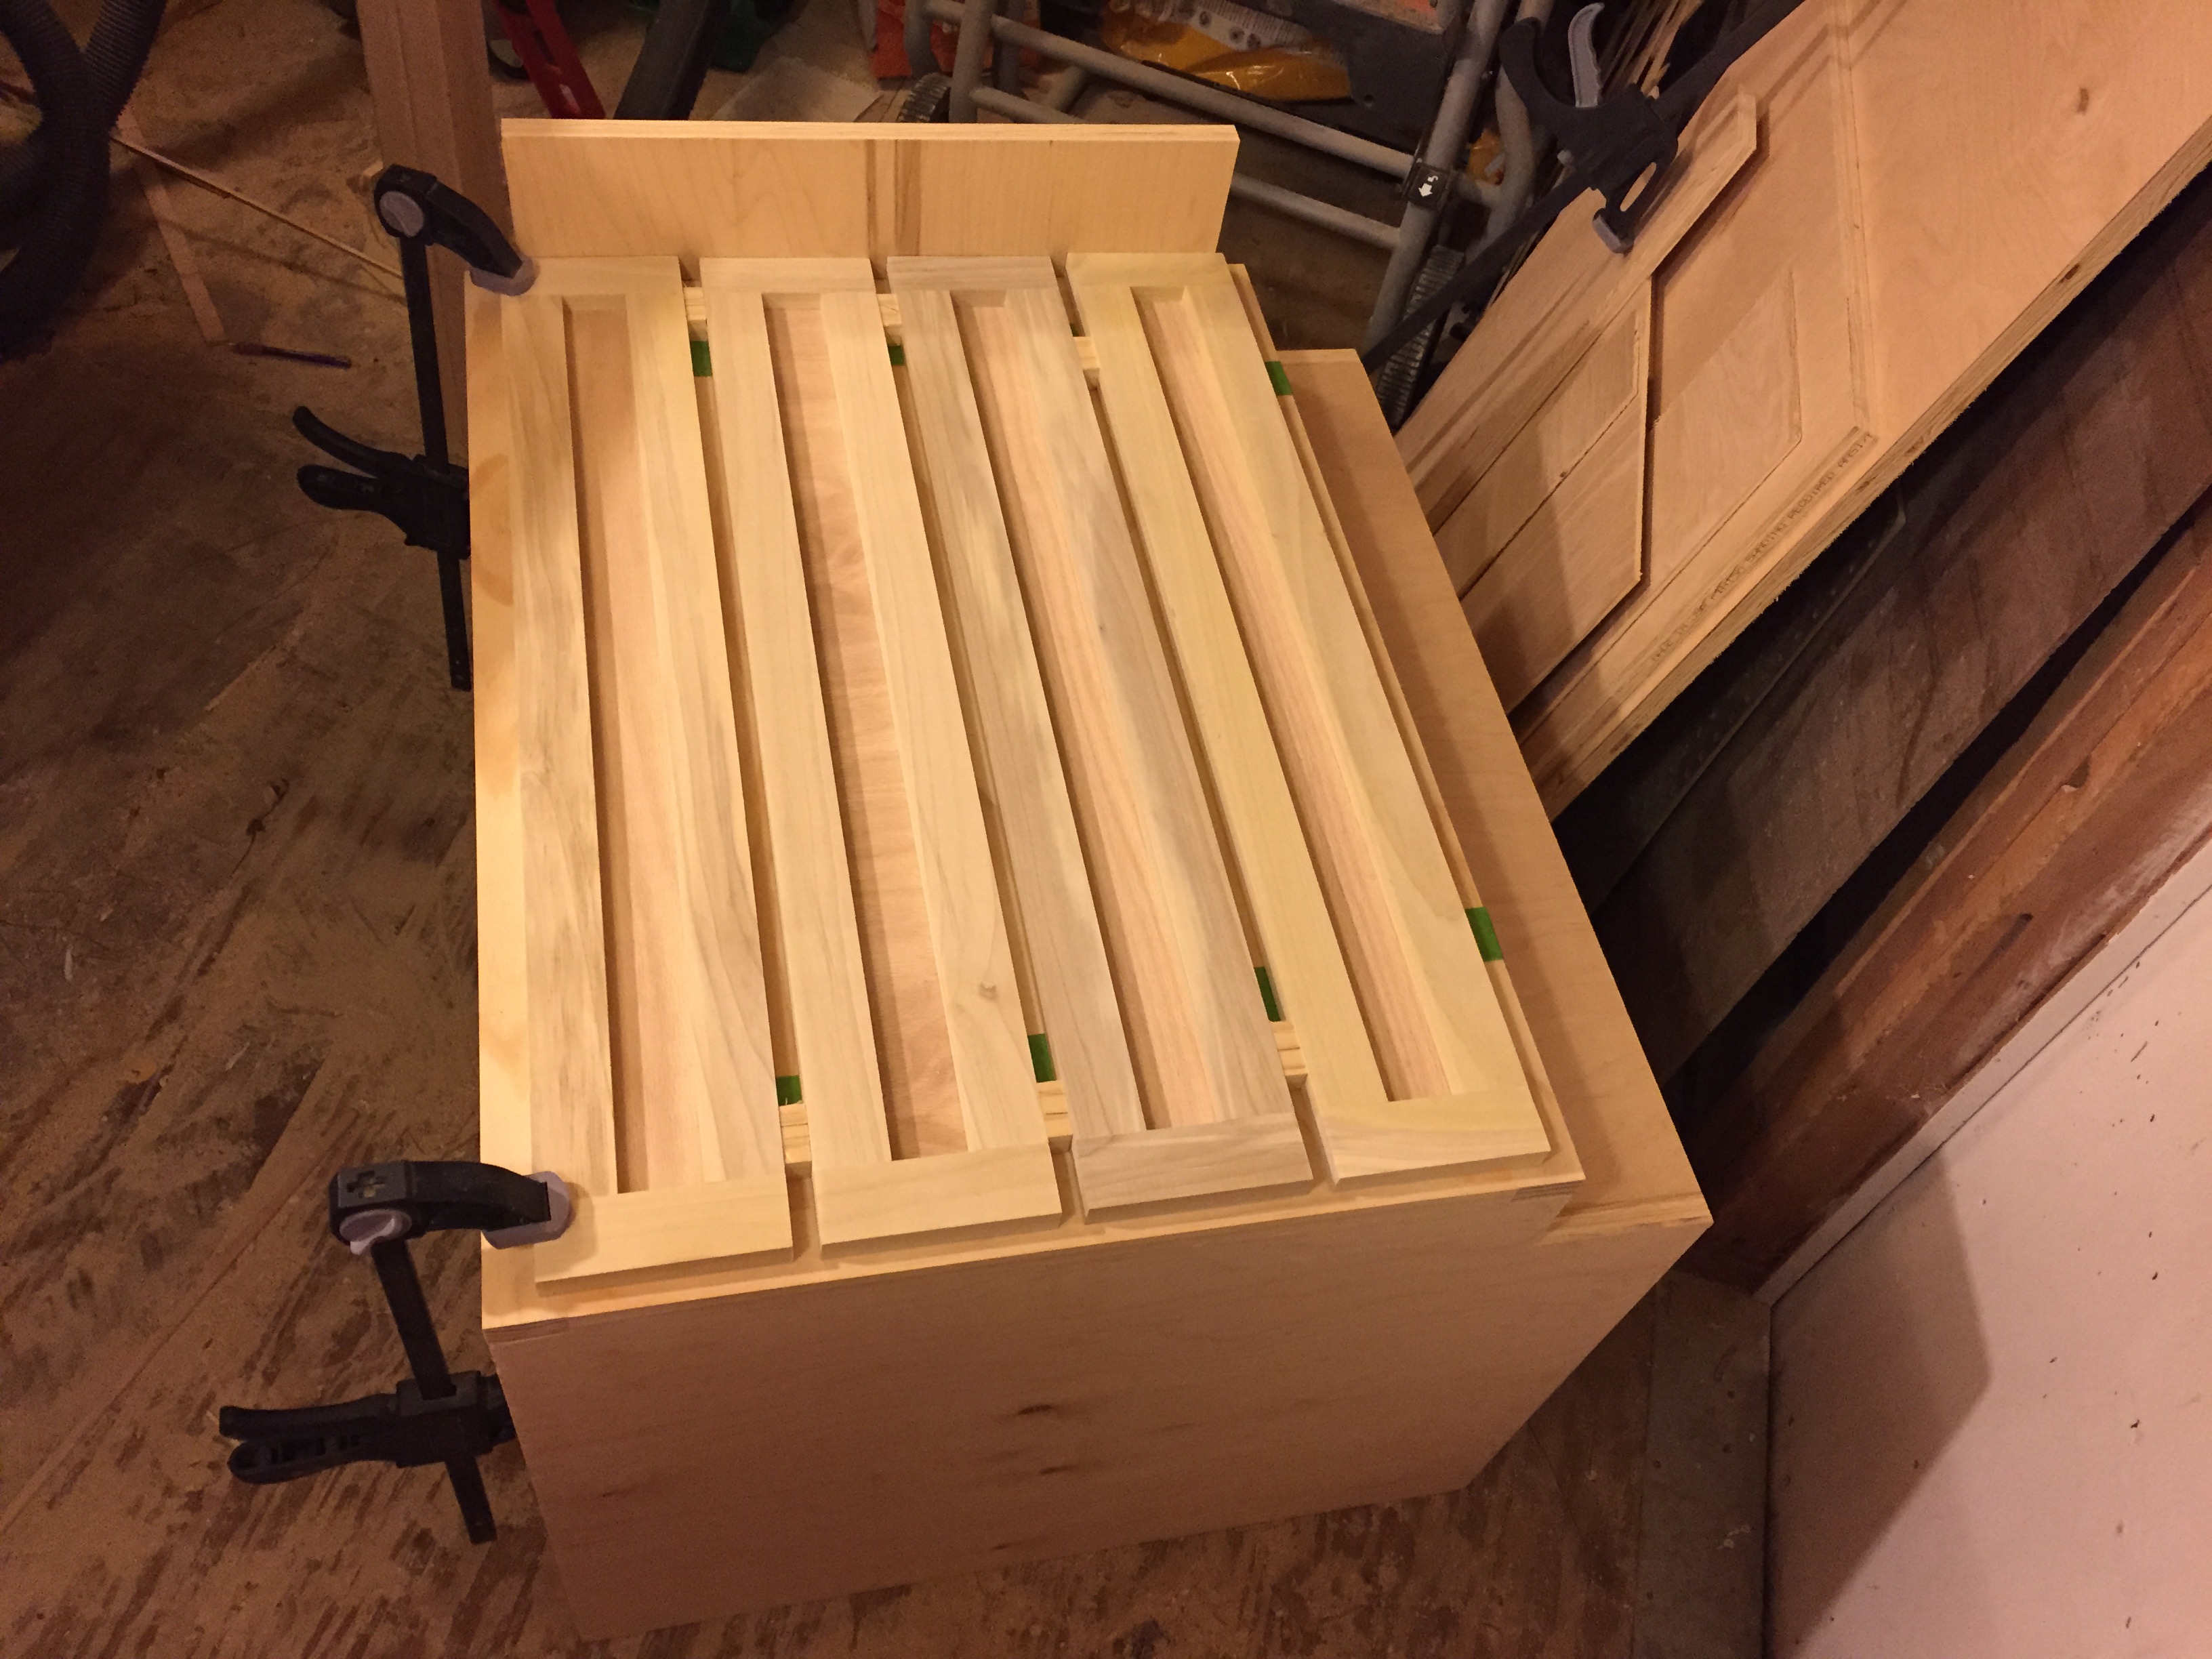
In the process of attaching drawer fronts.
After I finished the first cabinet, I did my best to paint it while working on the other cabinet. I set up a make-shift painting room inside my shed, so I wouldn’t get sawdust all over the freshly painted cabinet and drawers.
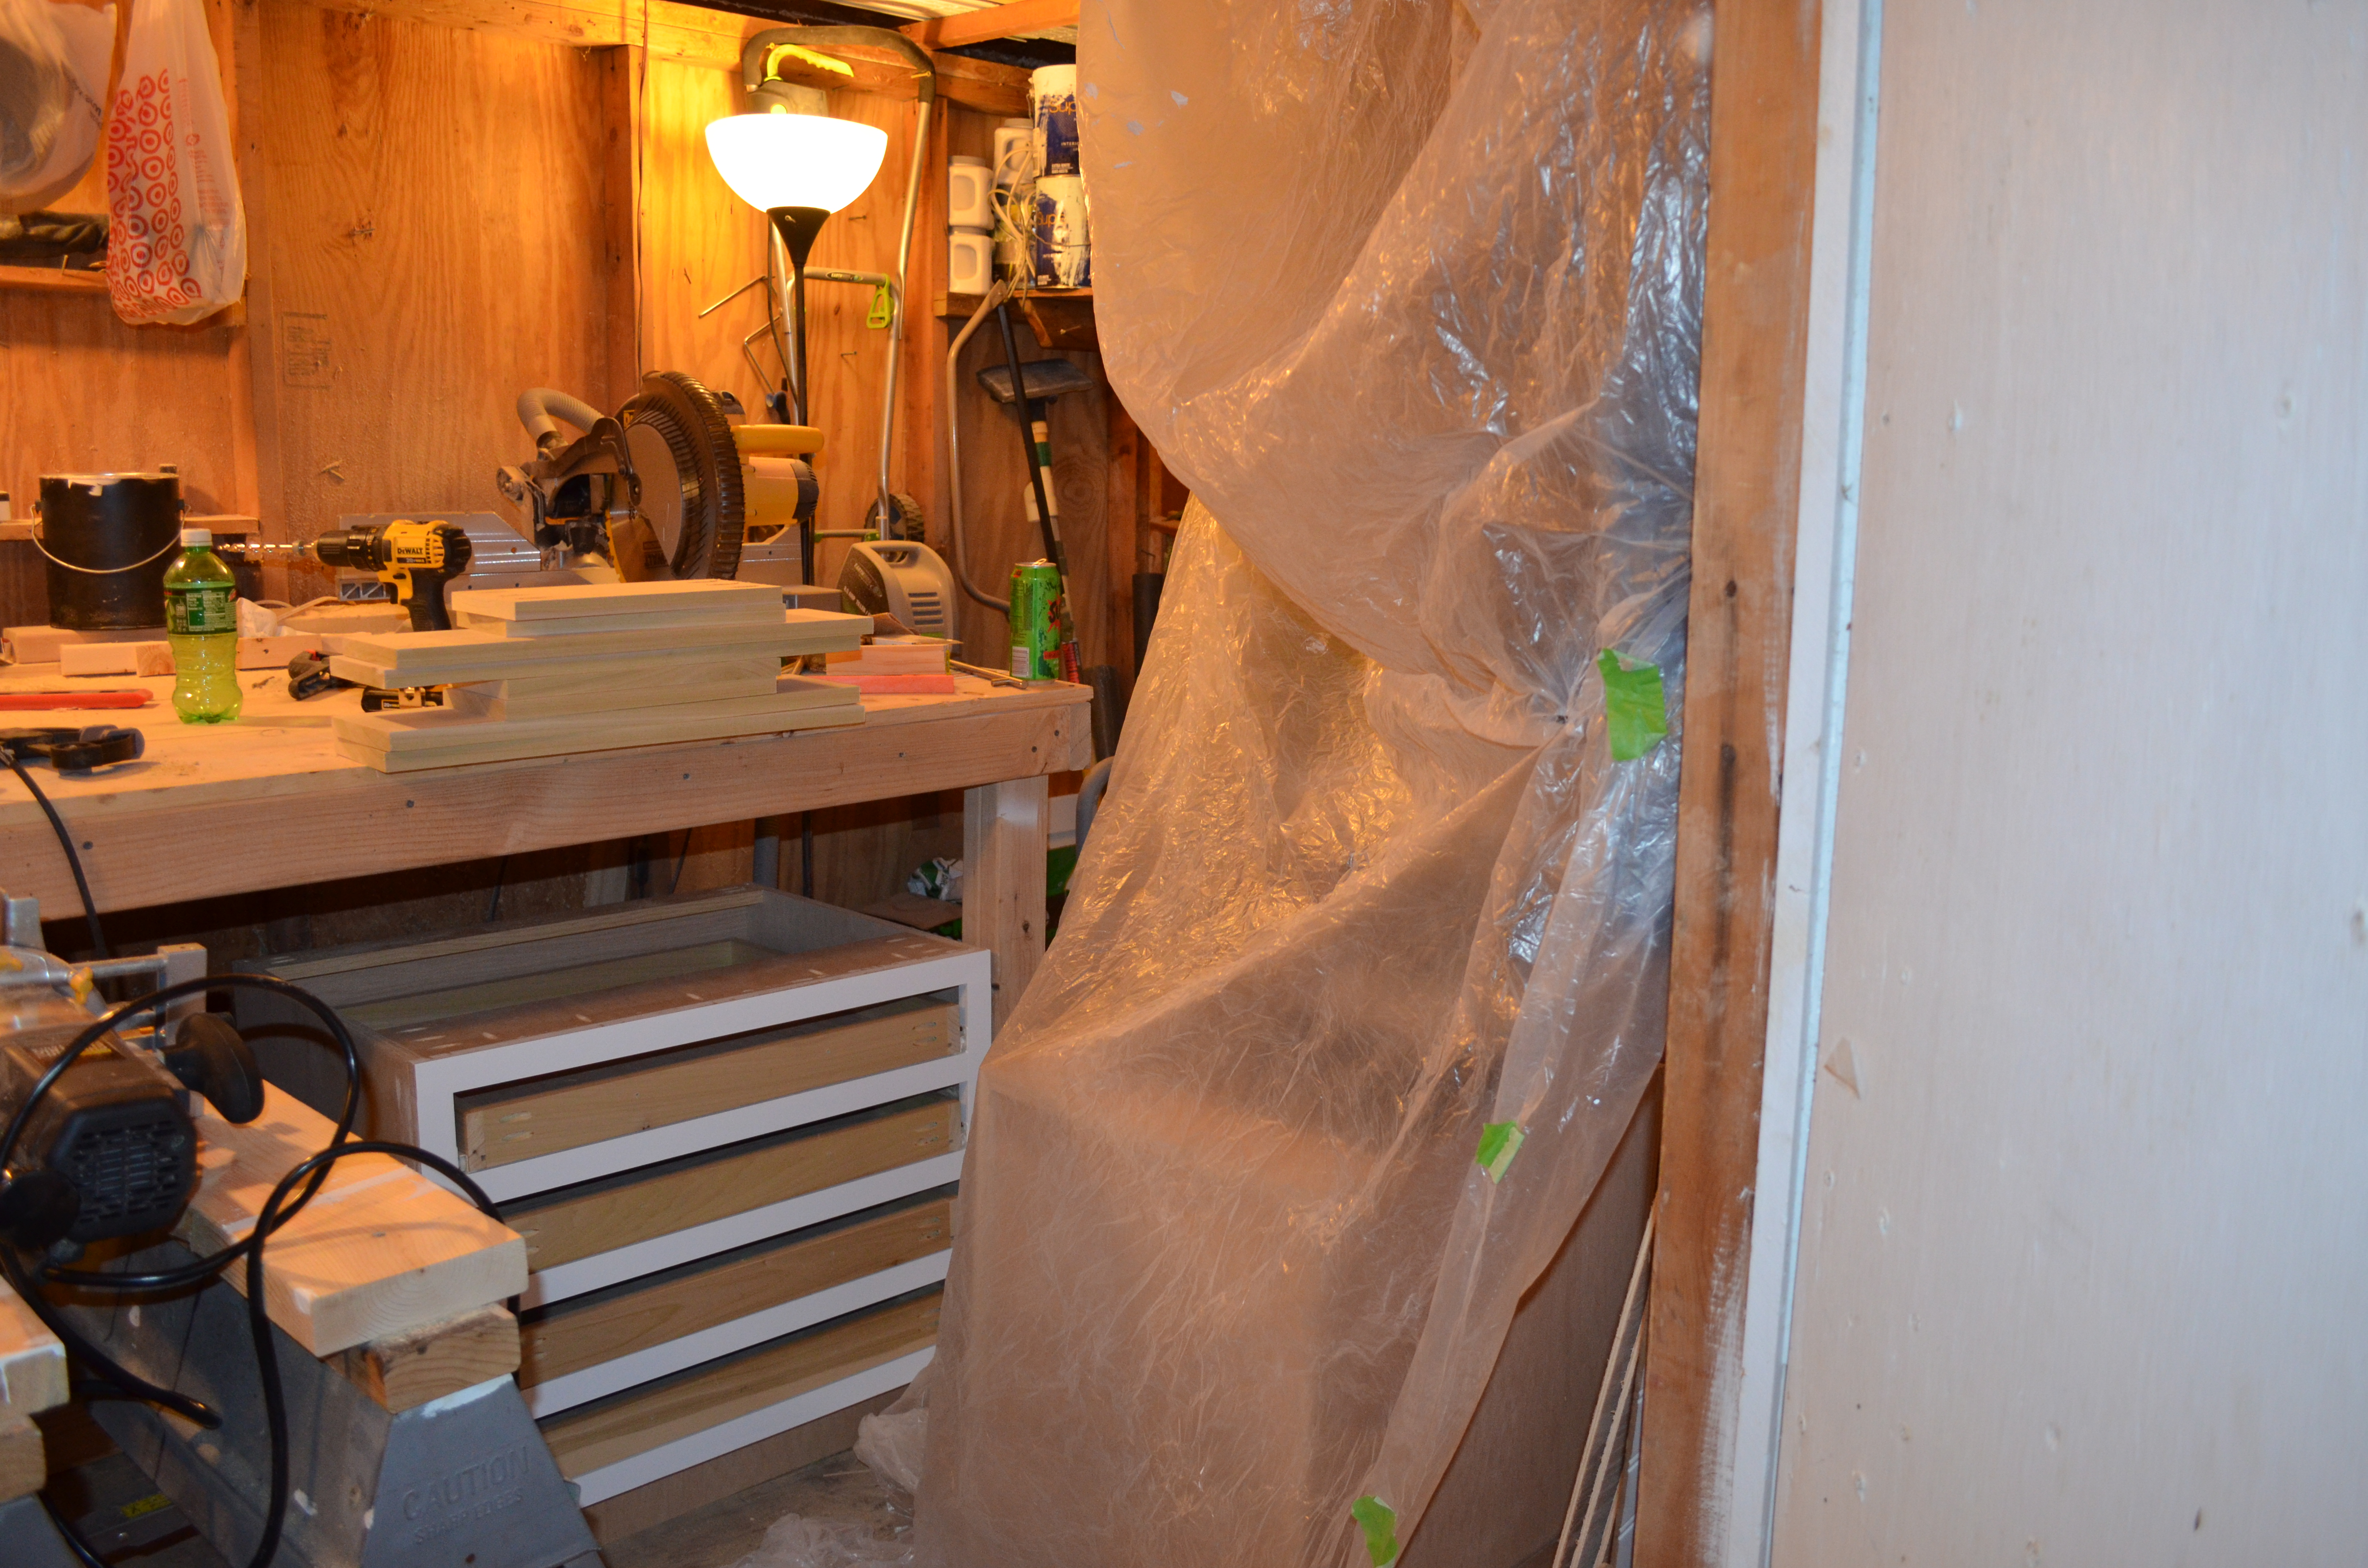
Make-shift painting room.
The second cabinet went much the same as the first, but with two less drawers and less wide, so a little simpler.
Once both cabinets were done, all I could do was wait until Ashley opened them for Christmas.
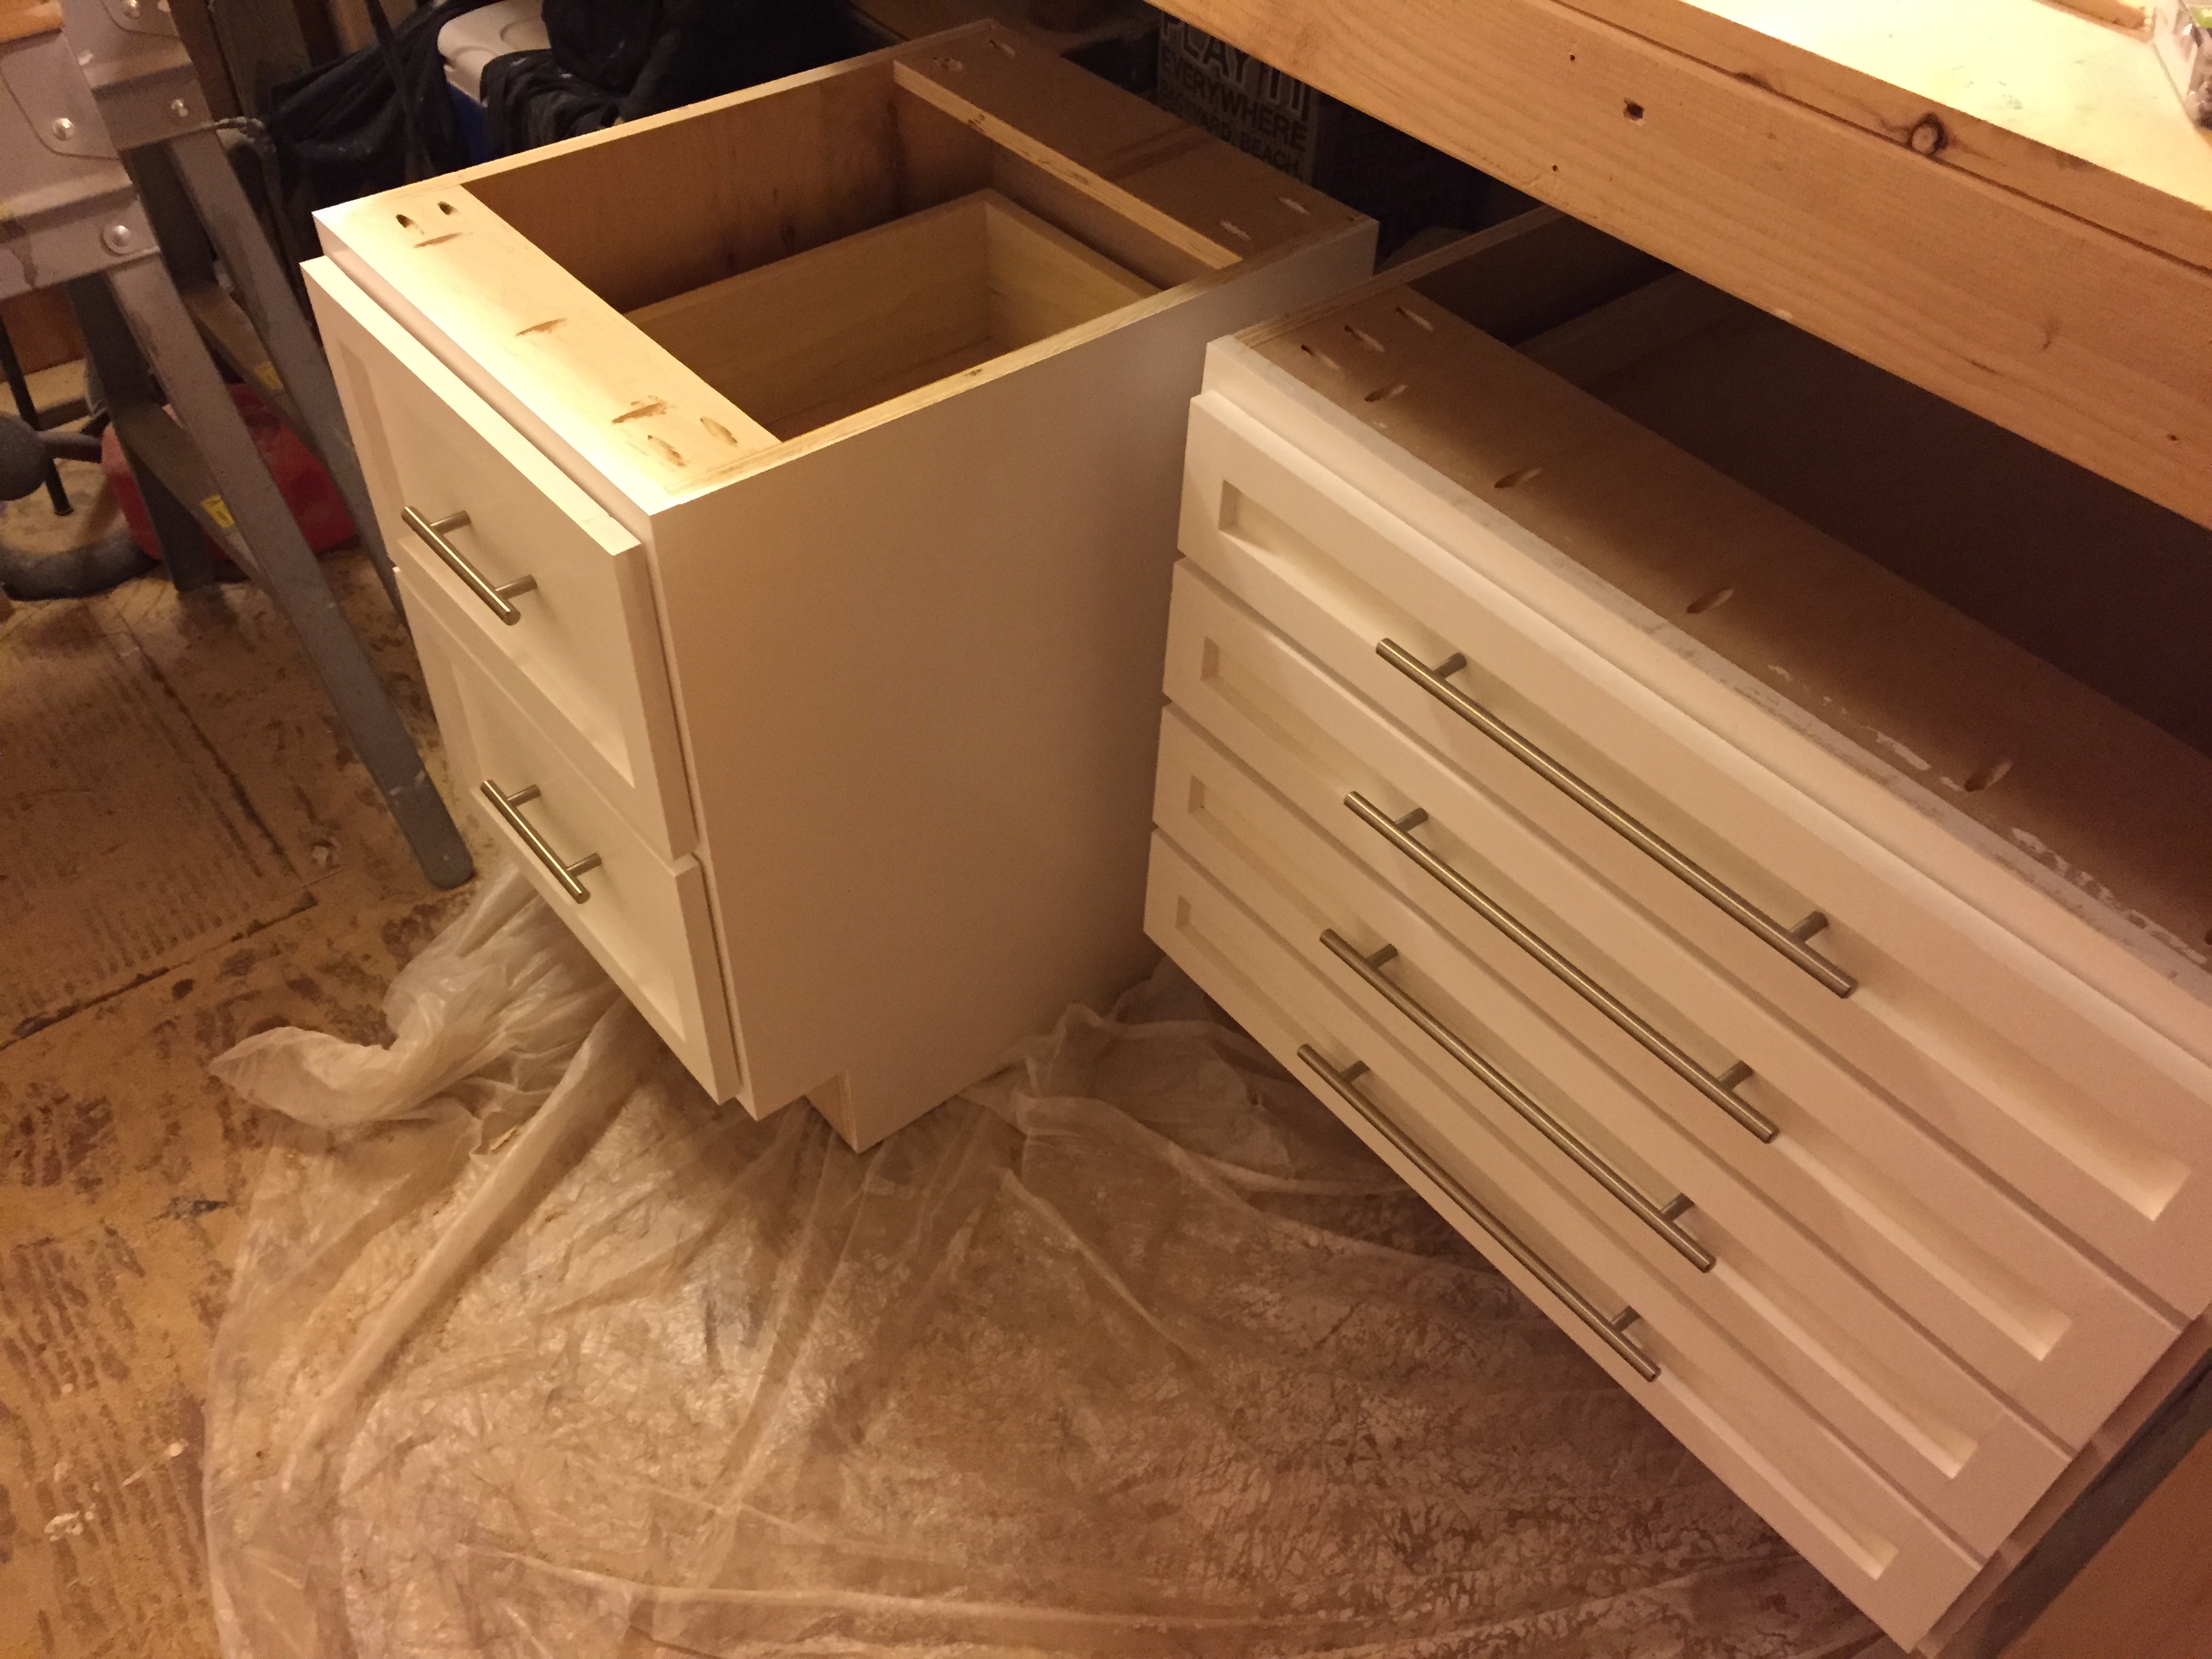
Finished cabinets.
I was hoping to also give her a desktop for Christmas, but I wasn’t sure until I put the cabinets in place what would fit, and I didn’t want to measure wrong while the cabinets were not in place. So I waited until after Christmas to figure out what to do for that.
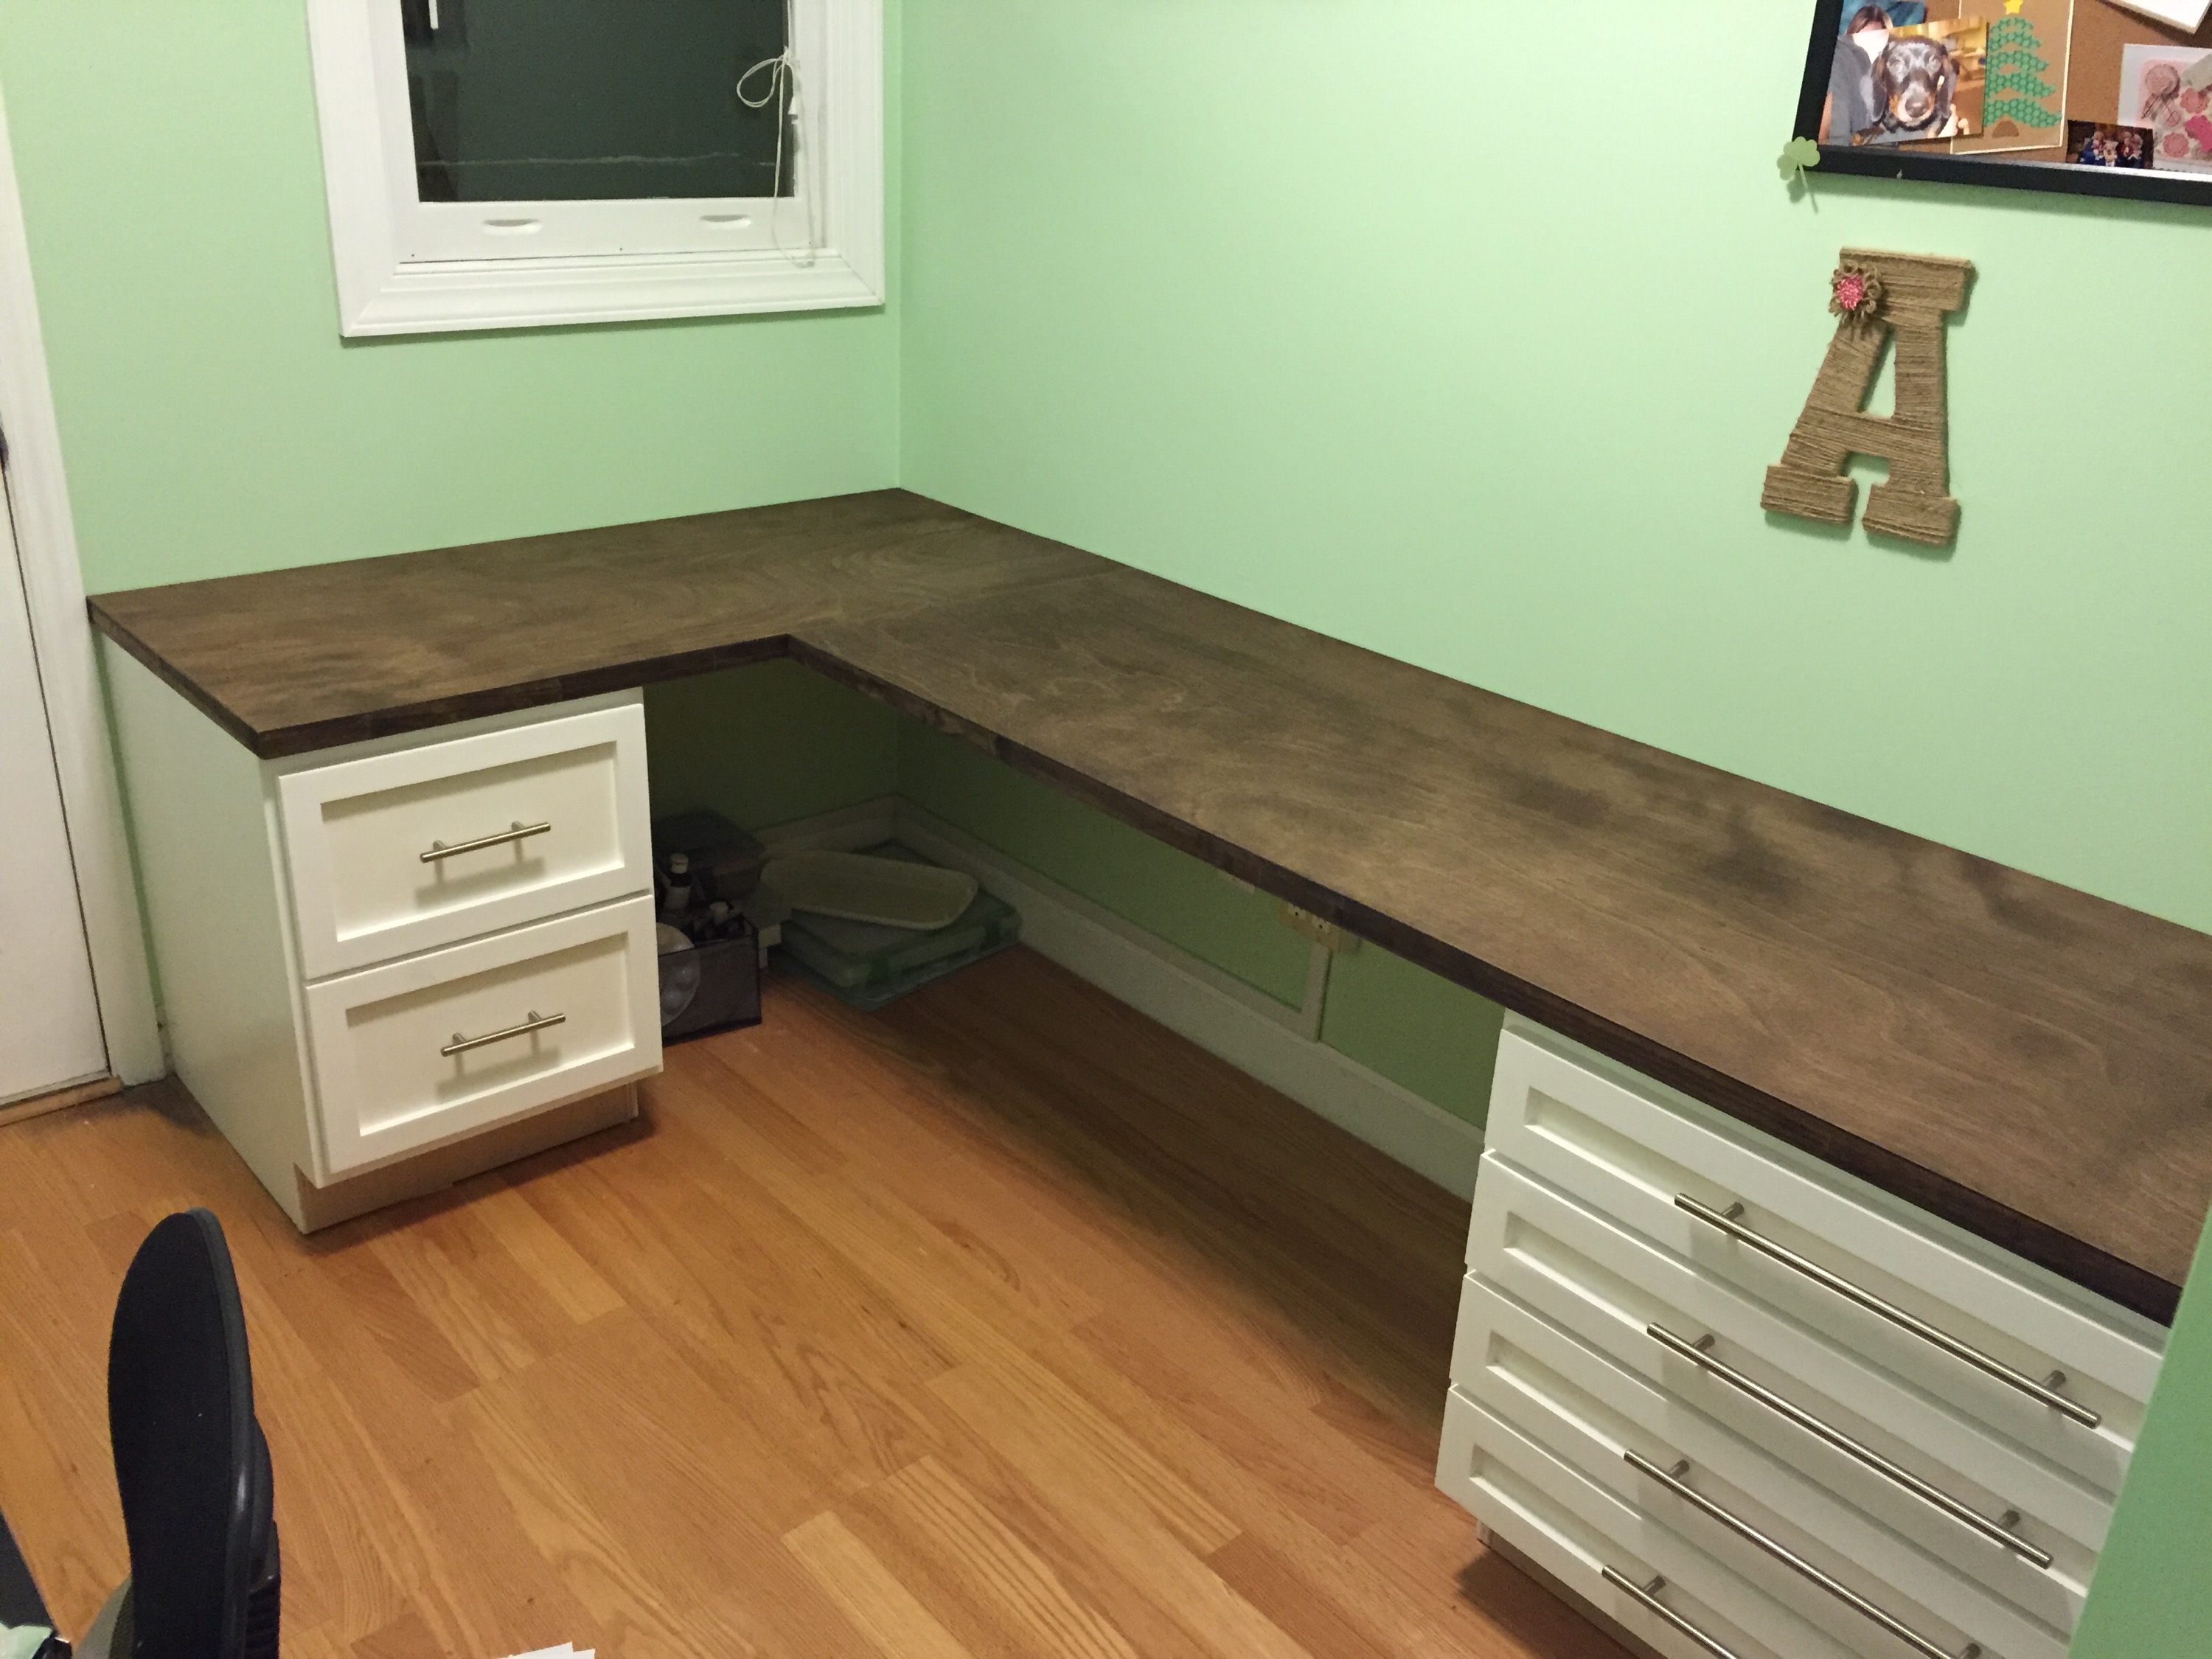
We ended up deciding to use two hollow core doors, which I think turned out great. When we cut the doors down I had to put fillers inside the door to keep the support holding, but it wasn’t hard to do. I stained the doors over the course of a long weekend, and by the end of the weekend, I had installed the cabinets with both the doors.
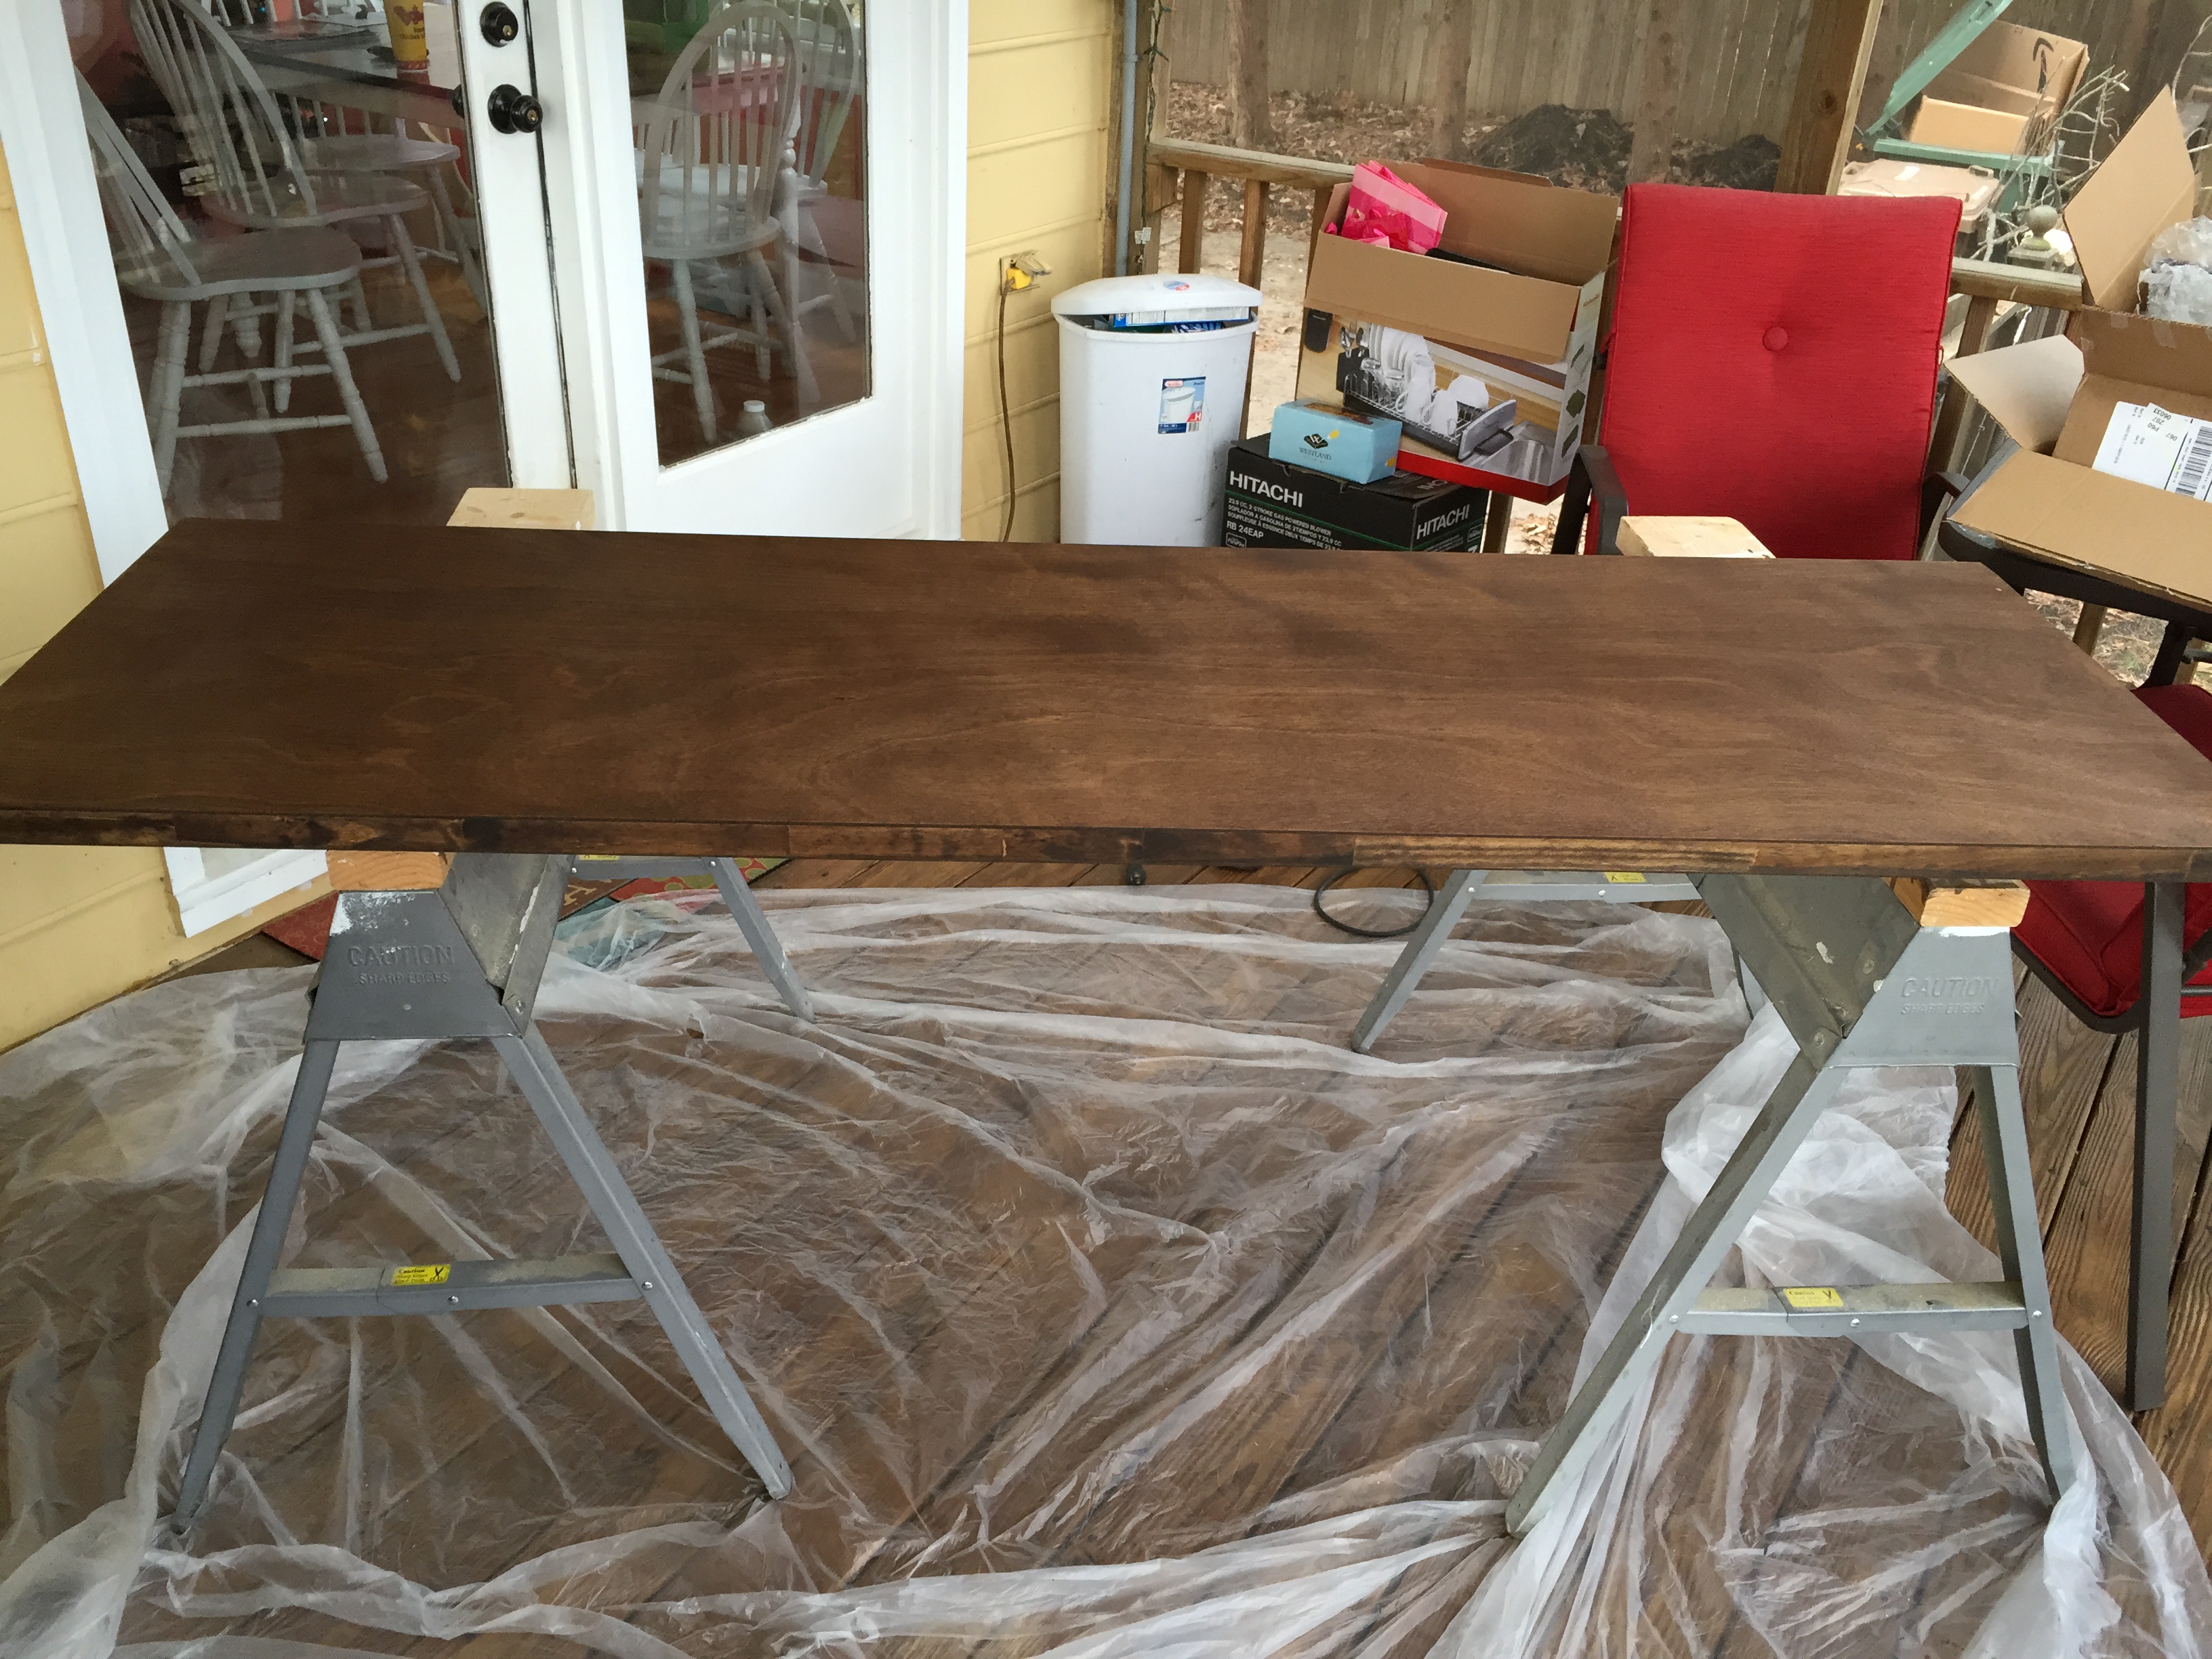
Staining the desktop.
Finished desk.
Now that the desk is finished, we’re adding a separate paper tower above the larger drawers, for additional loose paper, and a few small cloth drawers to hold her stamps.
Hopefully that is done shortly and we can add a new post on that!
This is nice work. Thanks for taking all the pictures and explaining stuff. Came out nice!