As we get closer and closer to the kitchen remodel, we’ve started working on smaller projects leading up to the main remodel. To start, we finished removing popcorn ceilings, getting rid of all the popcorn ceilings downstairs, like we did previously upstairs. We wanted to do that in order to avoid a giant mess once the new floors were in.
Once we finished above us, we moved down below our feet – to the floors. When we planned out our initial kitchen renovation schedule, we planned one day for flooring. Boy were we off. We spent a total of three full days, and 3 more nights after work to finish just the downstairs bedroom/office. Most of the time went into preparing the floors, so they hopefully don’t squeak for as long as we live here and hopefully well beyond that.
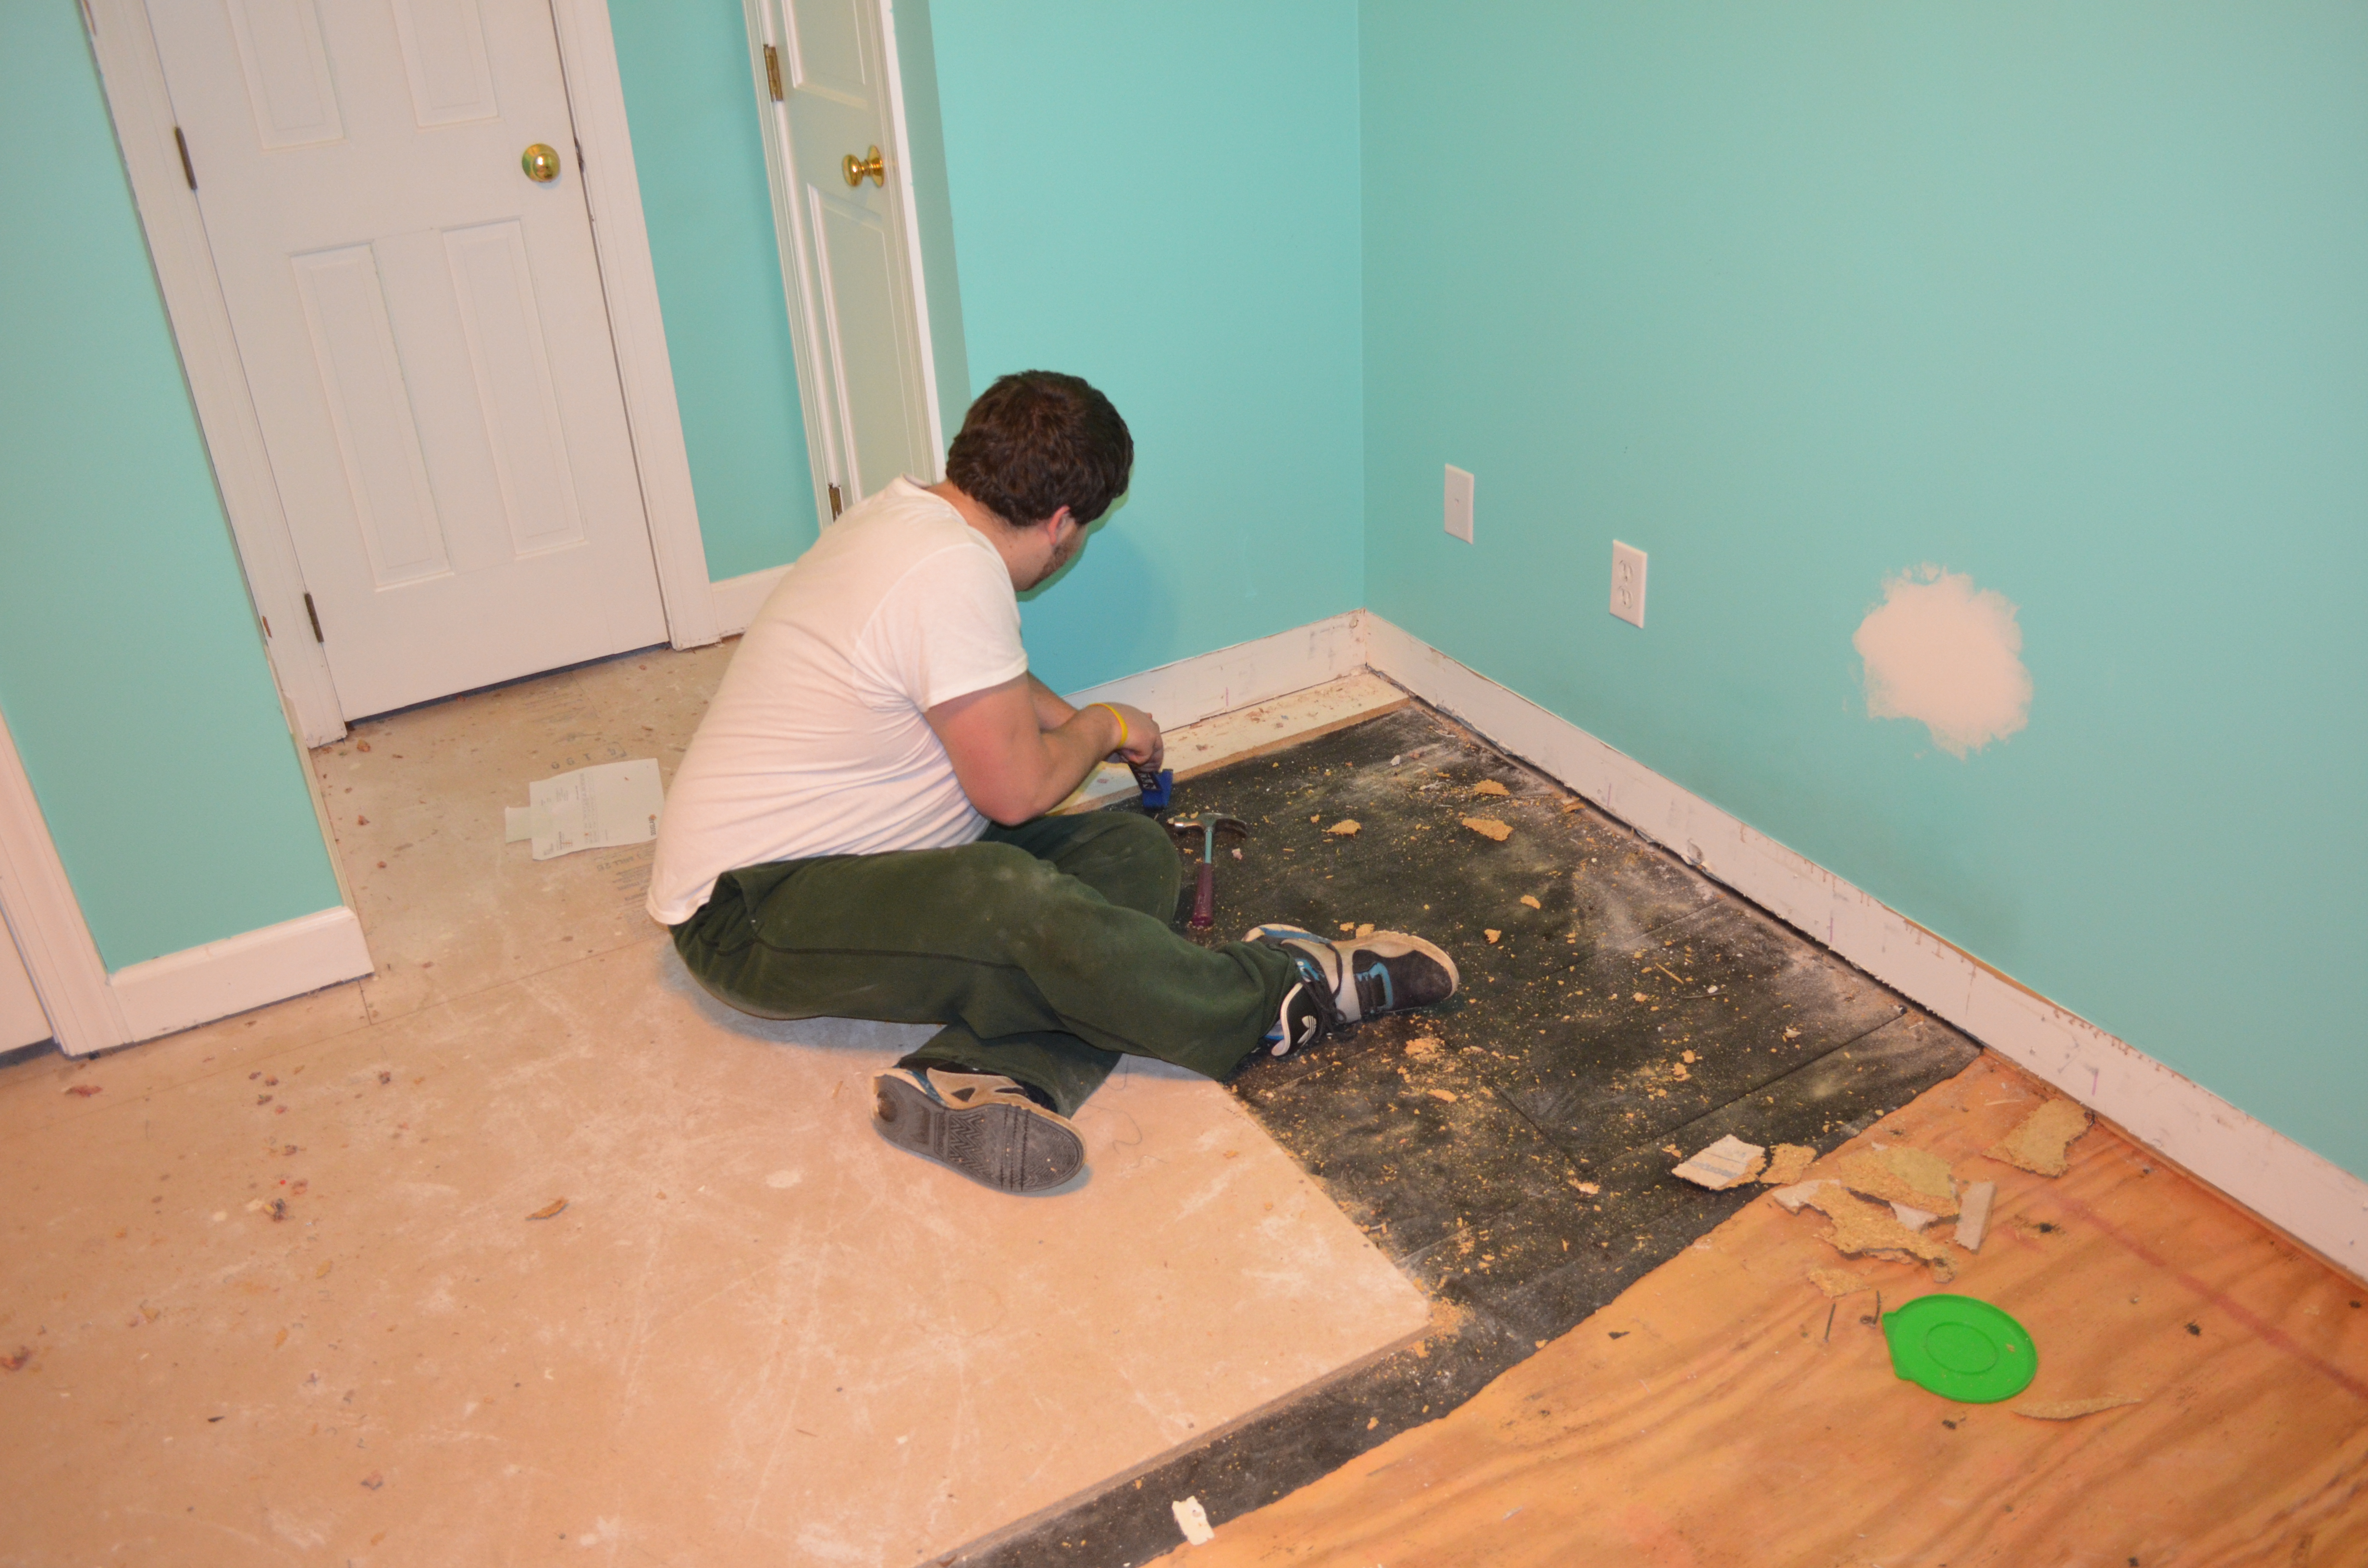
When we started, the bedroom had carpet. We decided we wanted to run the hardwoods from the hallway (where there were already hardwoods) into the bedroom. First, we removed the carpet, which went very quickly. We had the carpet and padding out in under an hour, so we could quickly drive them to the dump. Underneath the carpet we found particle board. Based on the height of the carpet, I was half expecting and also hoping that the carpet was just installed over existing hardwoods. That wasn’t the case. I started pulling out the particle board, and it was a giant mess.
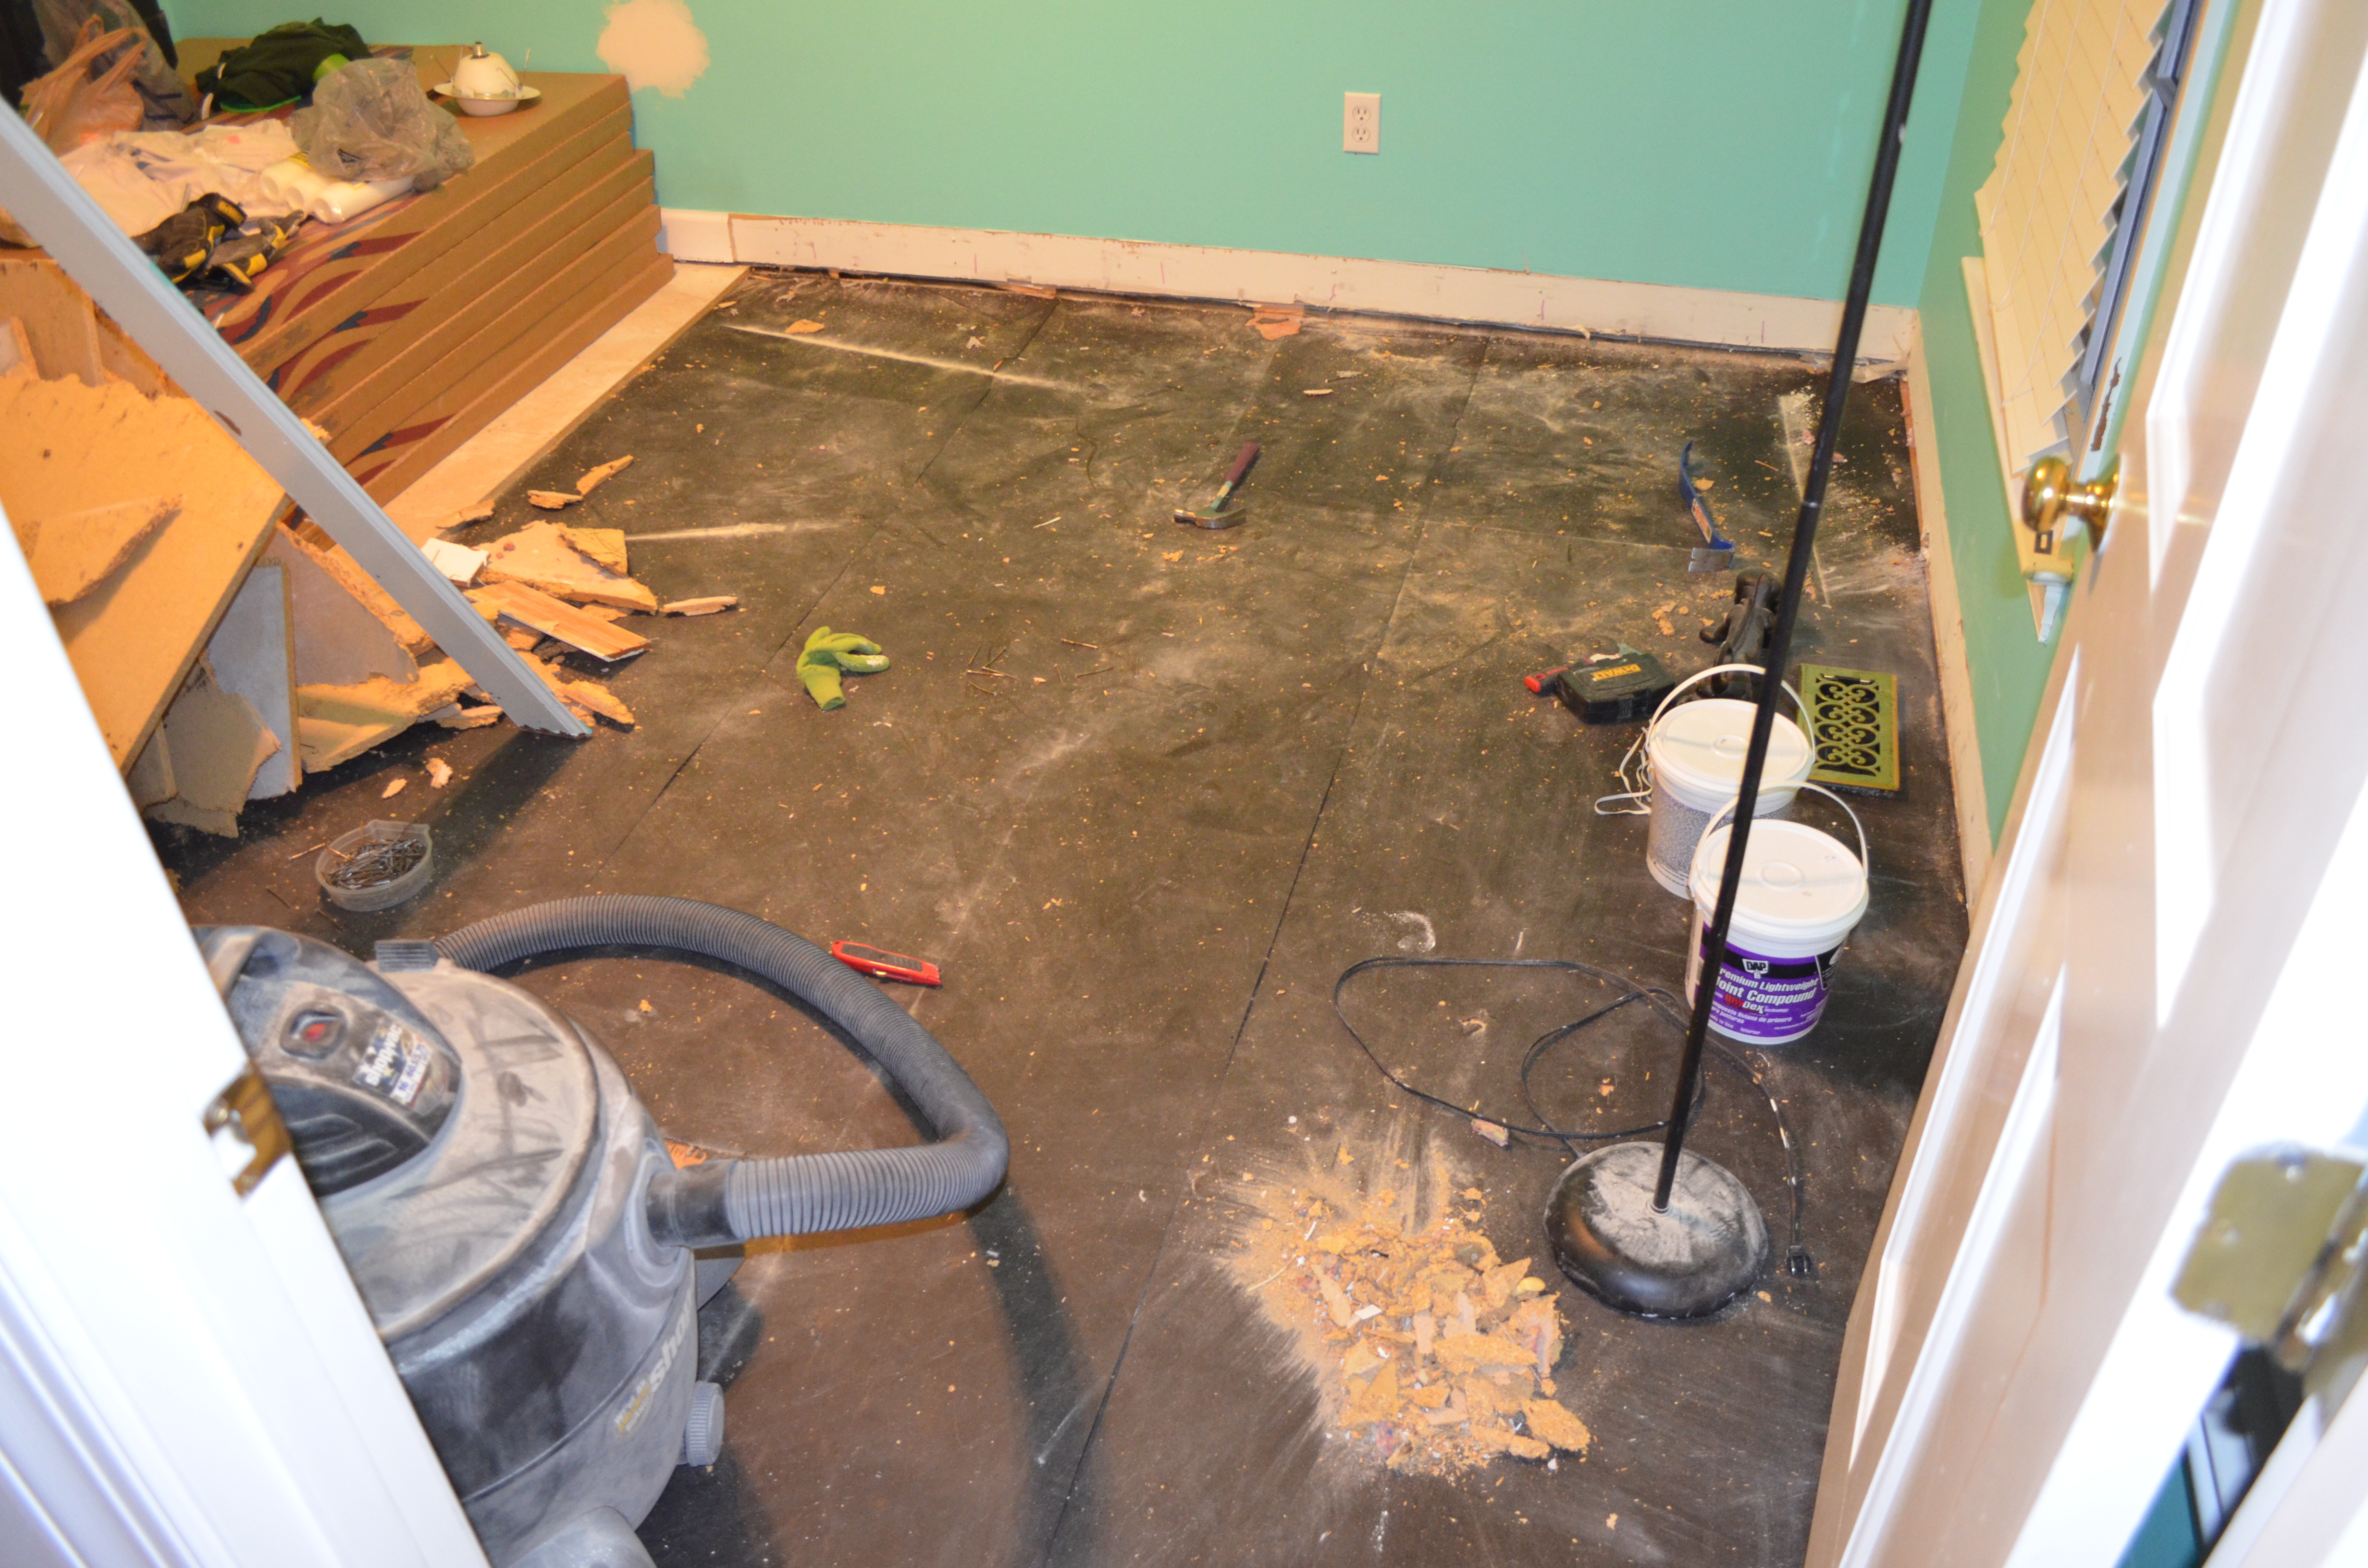
Messy particle board removal.
After I removed about half of the particle board, we had to begin flooring (all the new flooring was taking up the other half of the room, and we only wanted to move it once). However, since we wanted to run the hardwoods without a threshold from the hallway into the bedroom, we also had to remove some of the current hardwoods in the hallway. We also didn’t want to go all the way into the kitchen, since we still have to wait until the cabinets are removed before we can take out the flooring.
While I cleaned up the bedroom from all the particle board dust, Ashley started pulling out the hardwoods in the entrance/hallway.

Removing existing hardwood floors.
Once enough of the hallway was taken out, we tore out the layer of existing roofing felt. Under that was our plywood subfloor, which I corrected as much as I could to stop any bouncing or movement by adding screws and hammering the nails back in better.
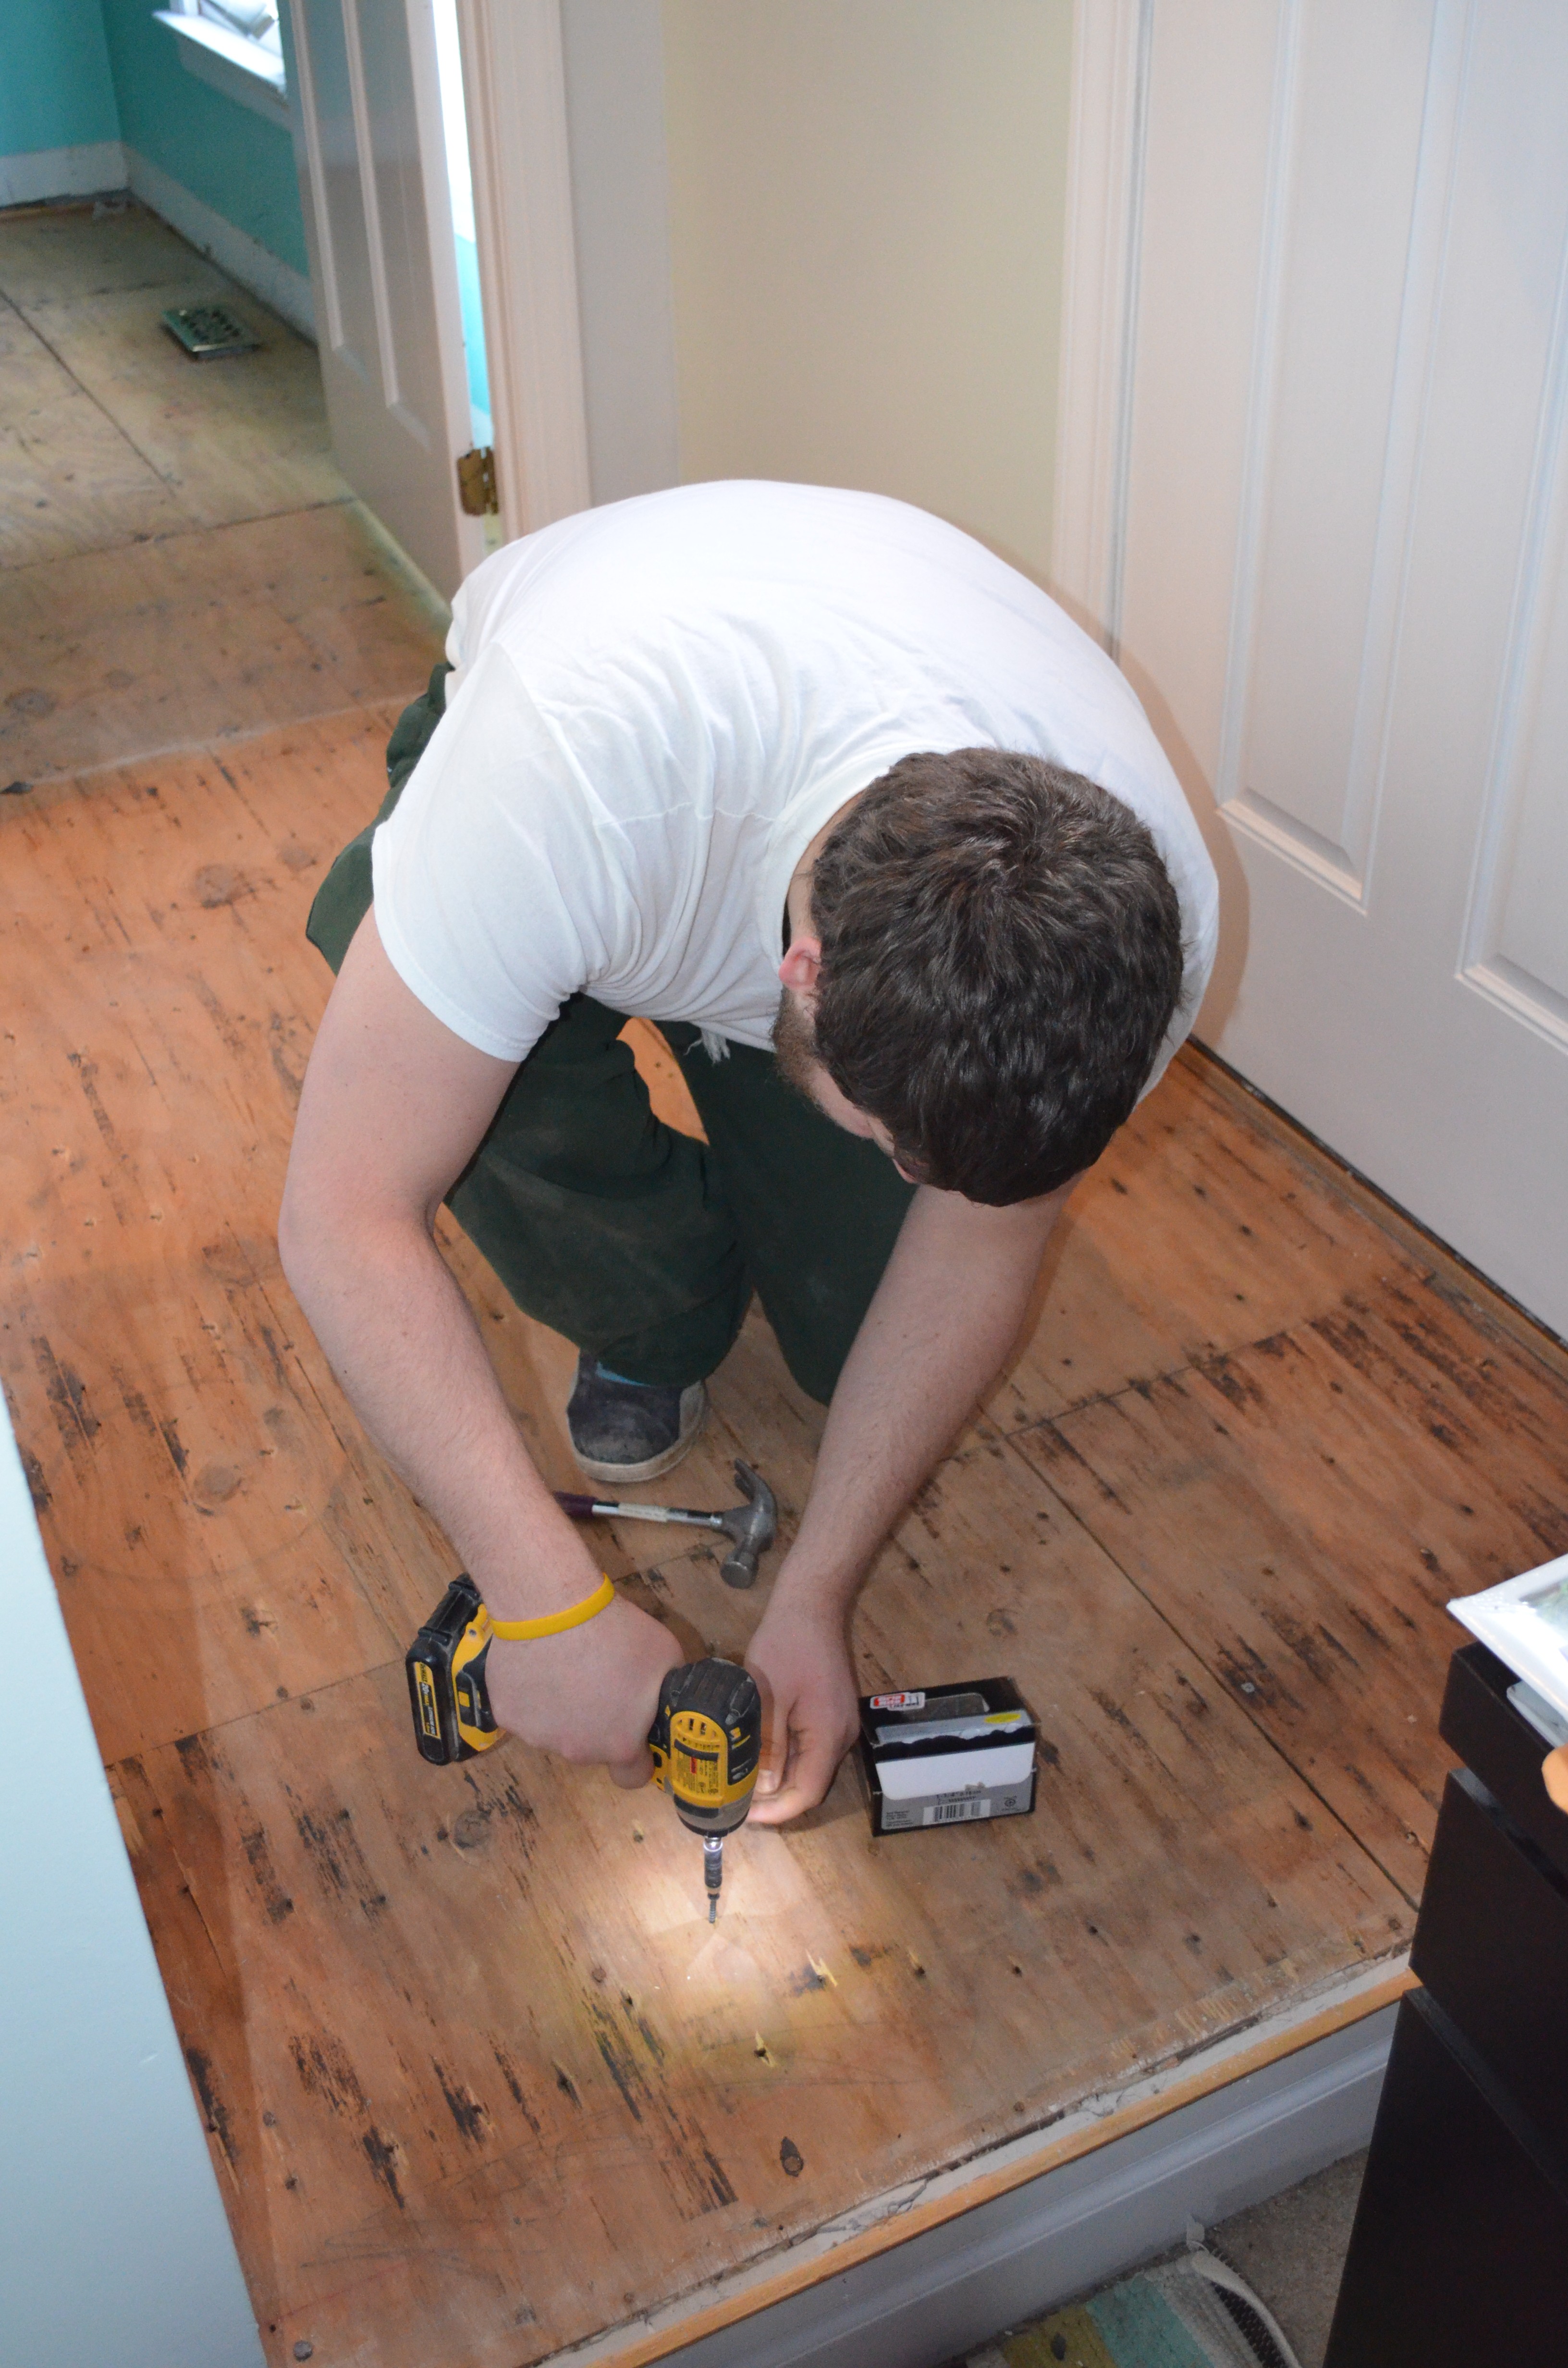
Fixing the subfloor.
After the subfloor was fixed, we also added a new layer of plywood above the current layer. We did this to not only help fix places in the floor, but since we chose to use engineered hardwoods rather than hardwoods, we wanted to raise the floors to their current level. Hardwoods are typically 3/4″, and our engineered floors were 3/8″, so by adding a layer of 3/8″ plywood, once we laid down the wood planks, we put down a total of 3/4″ of height, matching the current hardwoods.
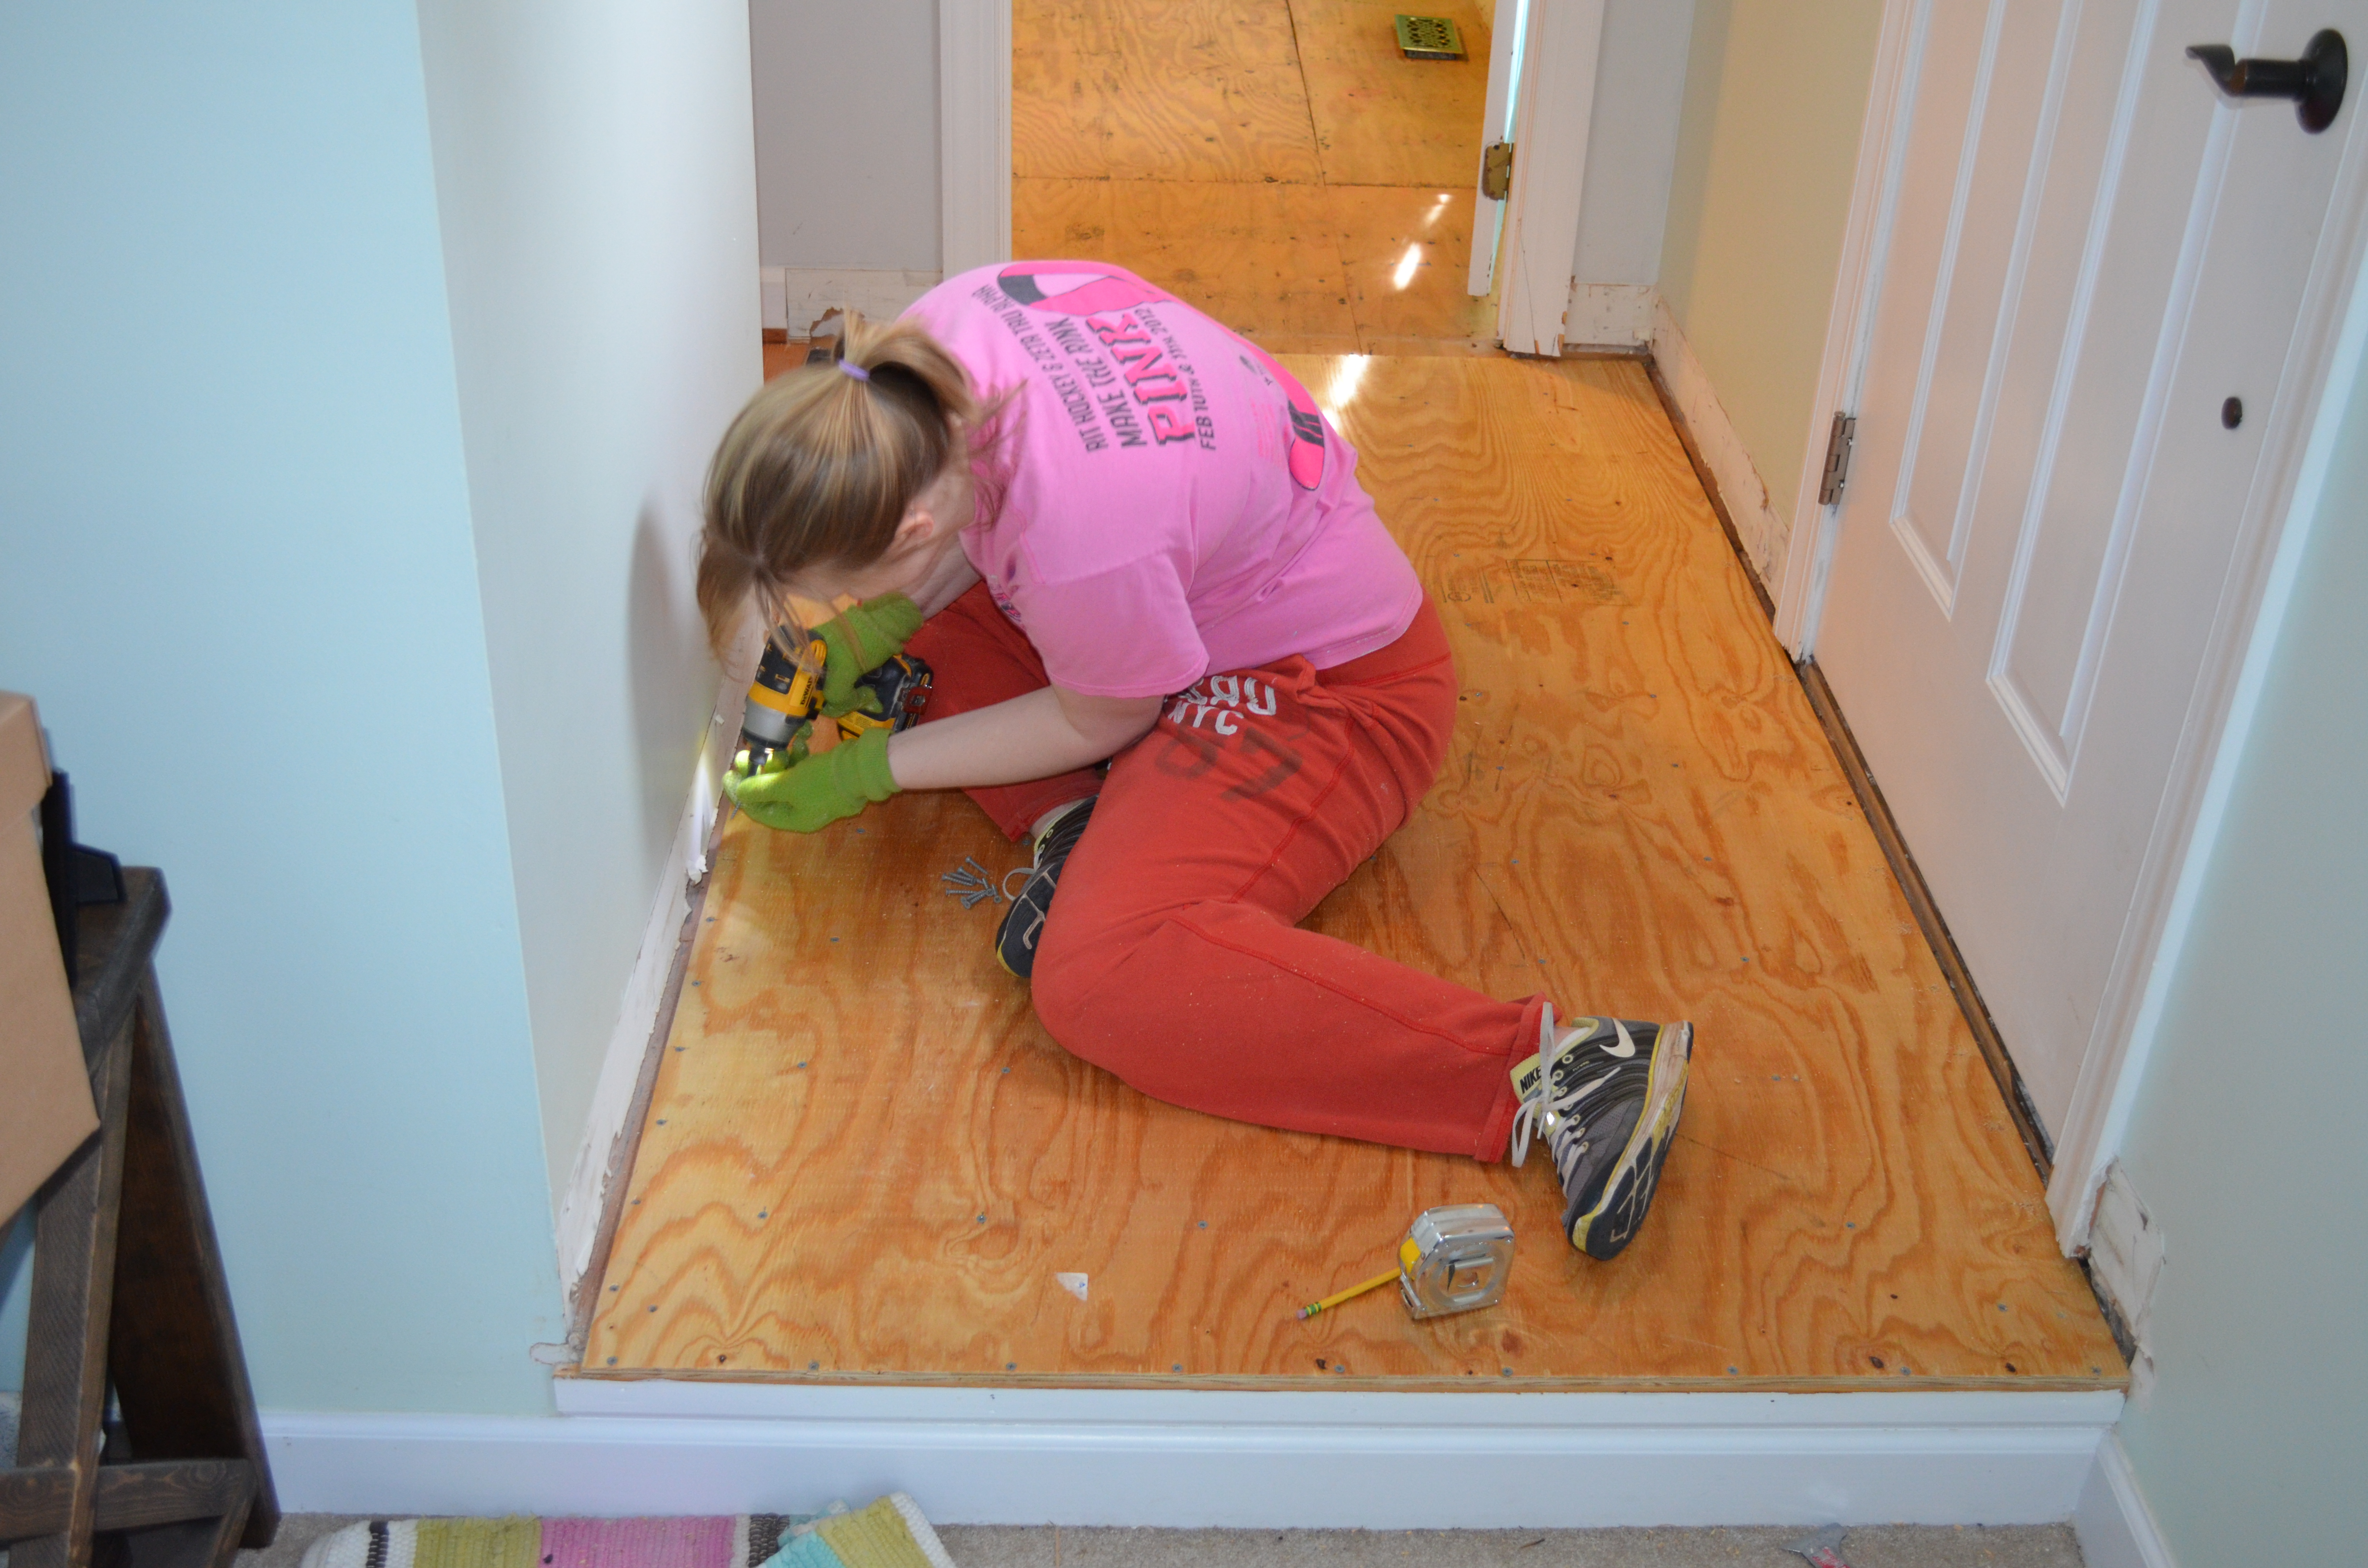
We found the process of installing the plywood to be the most tedious, and it explains why we won’t be able to complete the kitchen floors in the day we had planned. We use about 150 screws per board, to keep them close and keep any squeaks and movement out of it. We also had a lot of screws that just wouldn’t go in. Once they screwed down most of the way they just spun. Since that was the case, it took significantly longer than we expected, since we needed the screws to hold.
Finally, once we had 2.5 sheets of plywood laid down, we added a new layer of 15# roofing felt, and started laying down planks. We started with the stairnose board that goes into the living room, and then along the outside wall, as the installation guide said that should be the straightest wall.
Installing the first set of floors.
Once we had the first set of floors done, we were able to move all the boxes of flooring that we got for the bedroom, kitchen, and Ashley’s craft room. Then we had to pull out the rest of the particle board, clean up, fix the existing subfloors, and add more plywood.
More particle board removal.
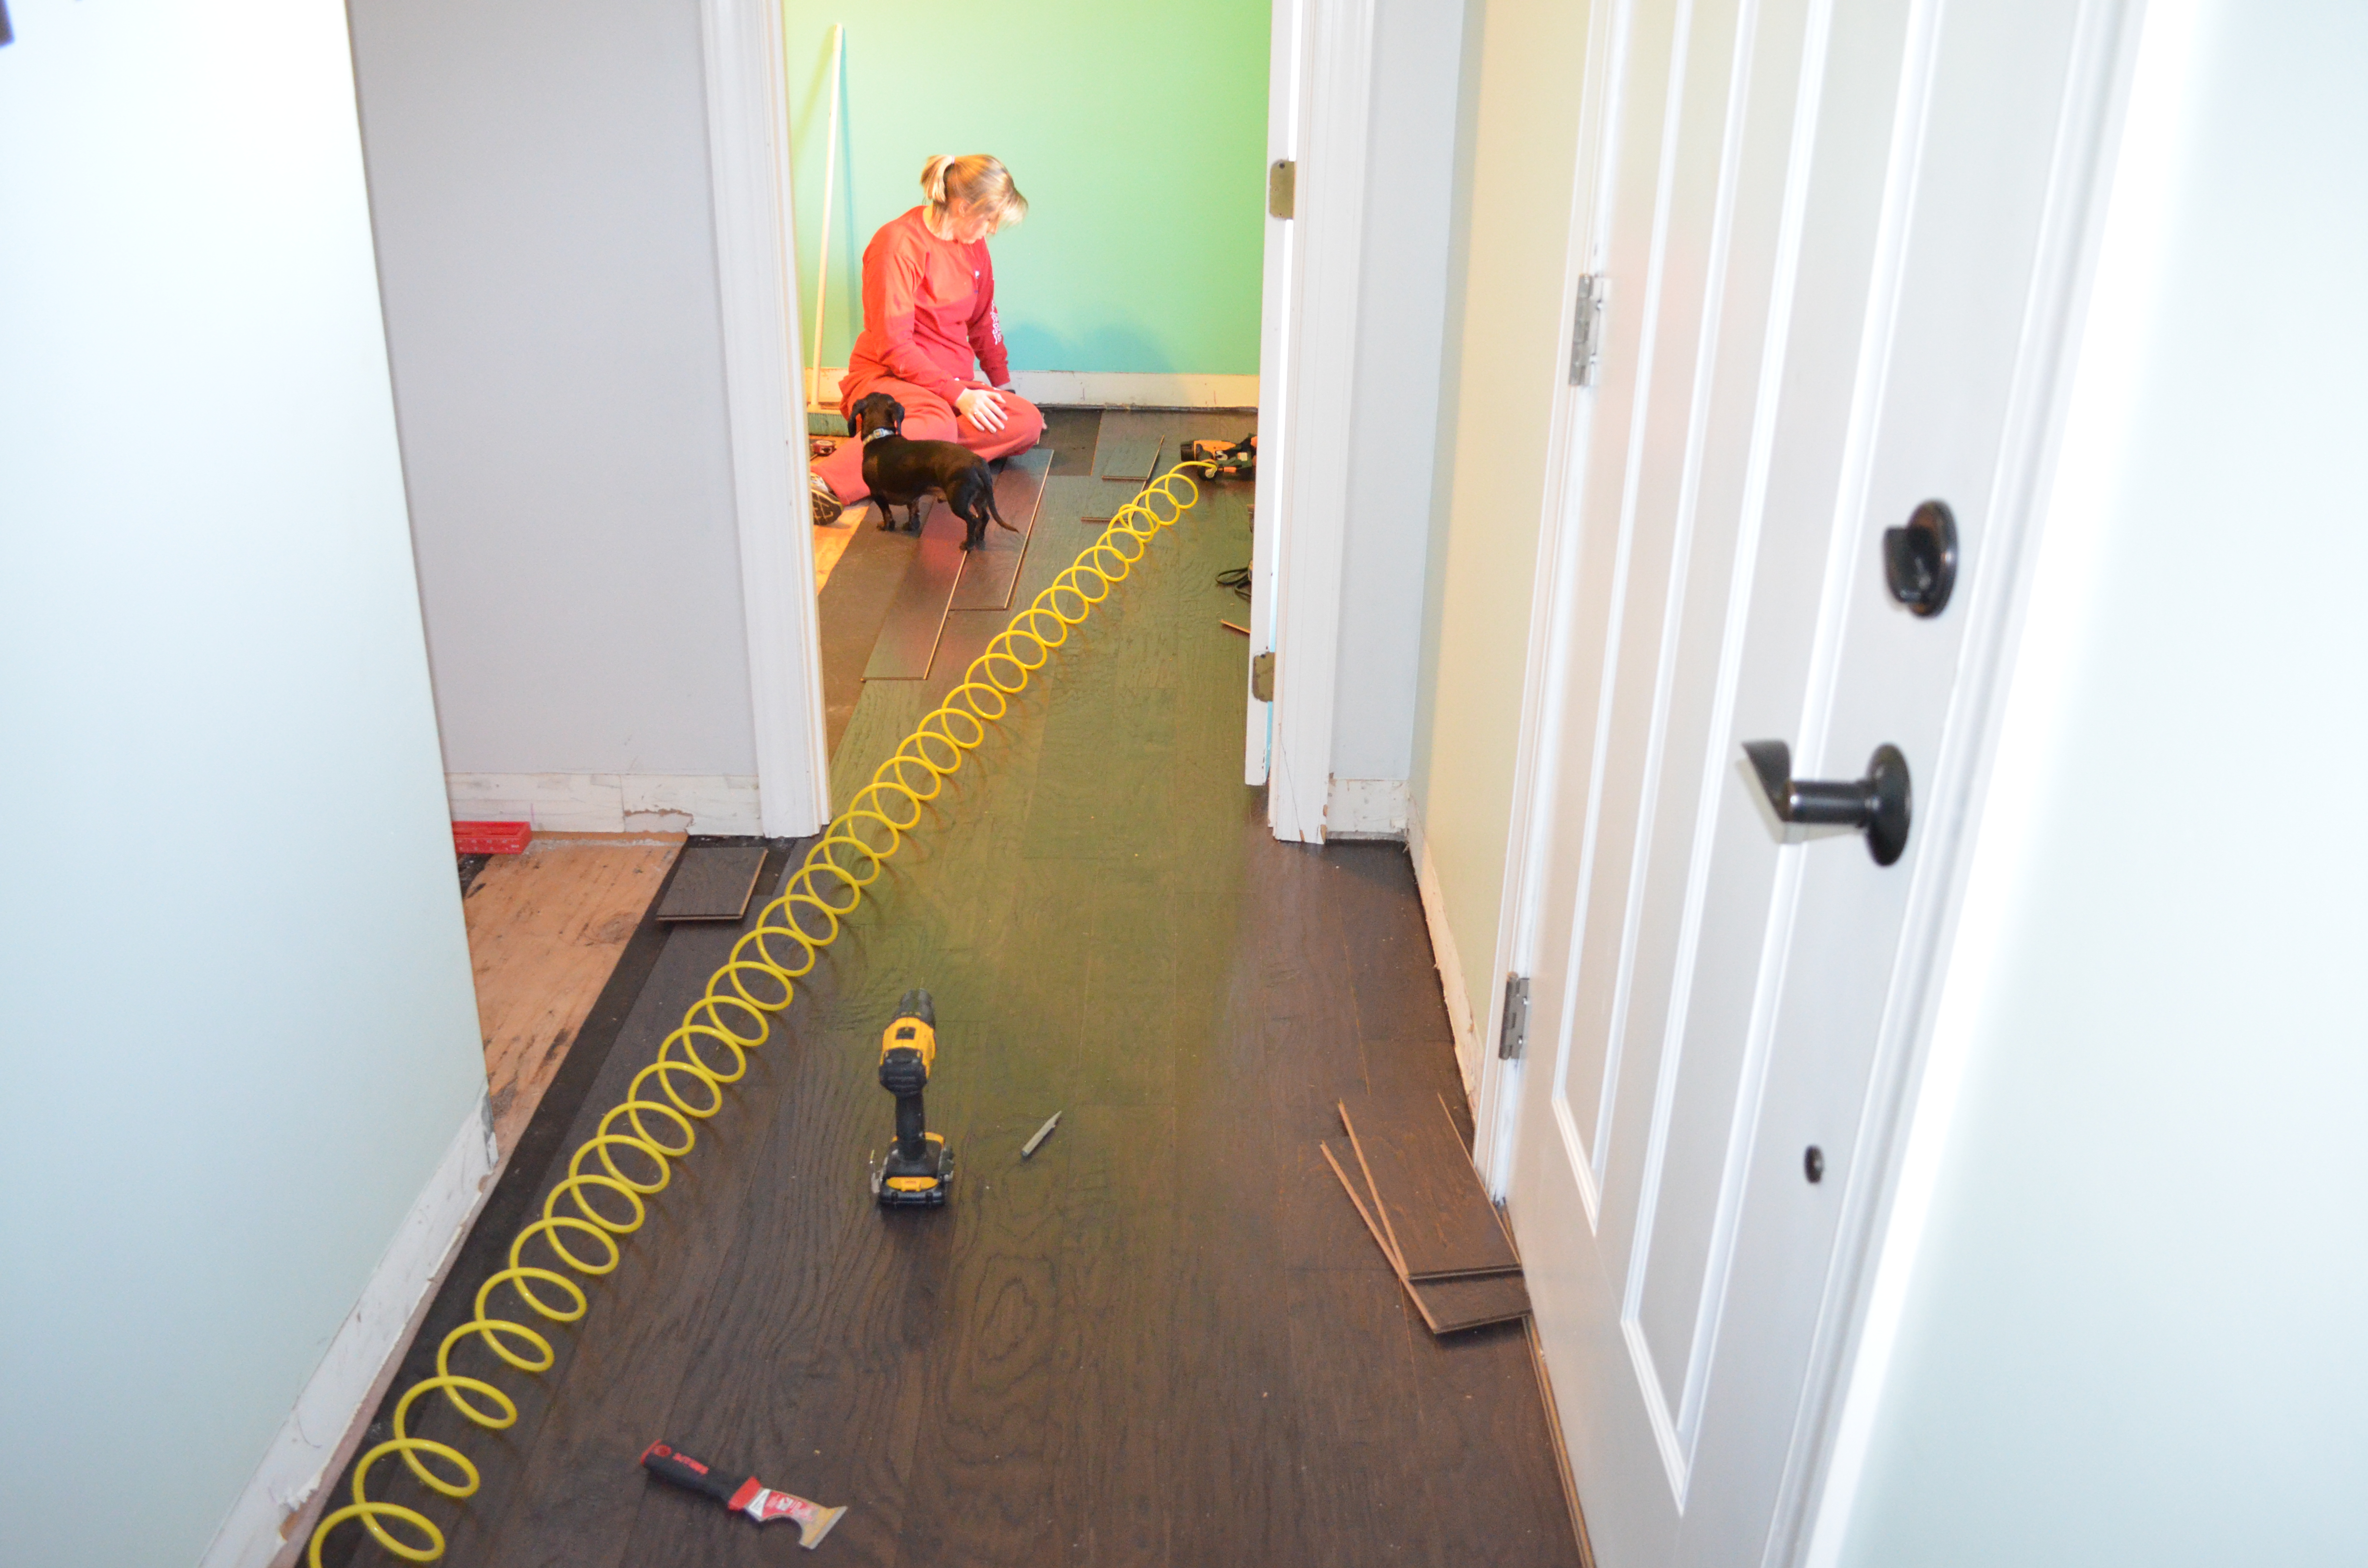
Dexter was convinced something was below the floors. Whatever is there must smell strong to him. He hasn’t stopped staring at that location since we took out the particle board. The entire time we put floors down he sat and sniffed the area.
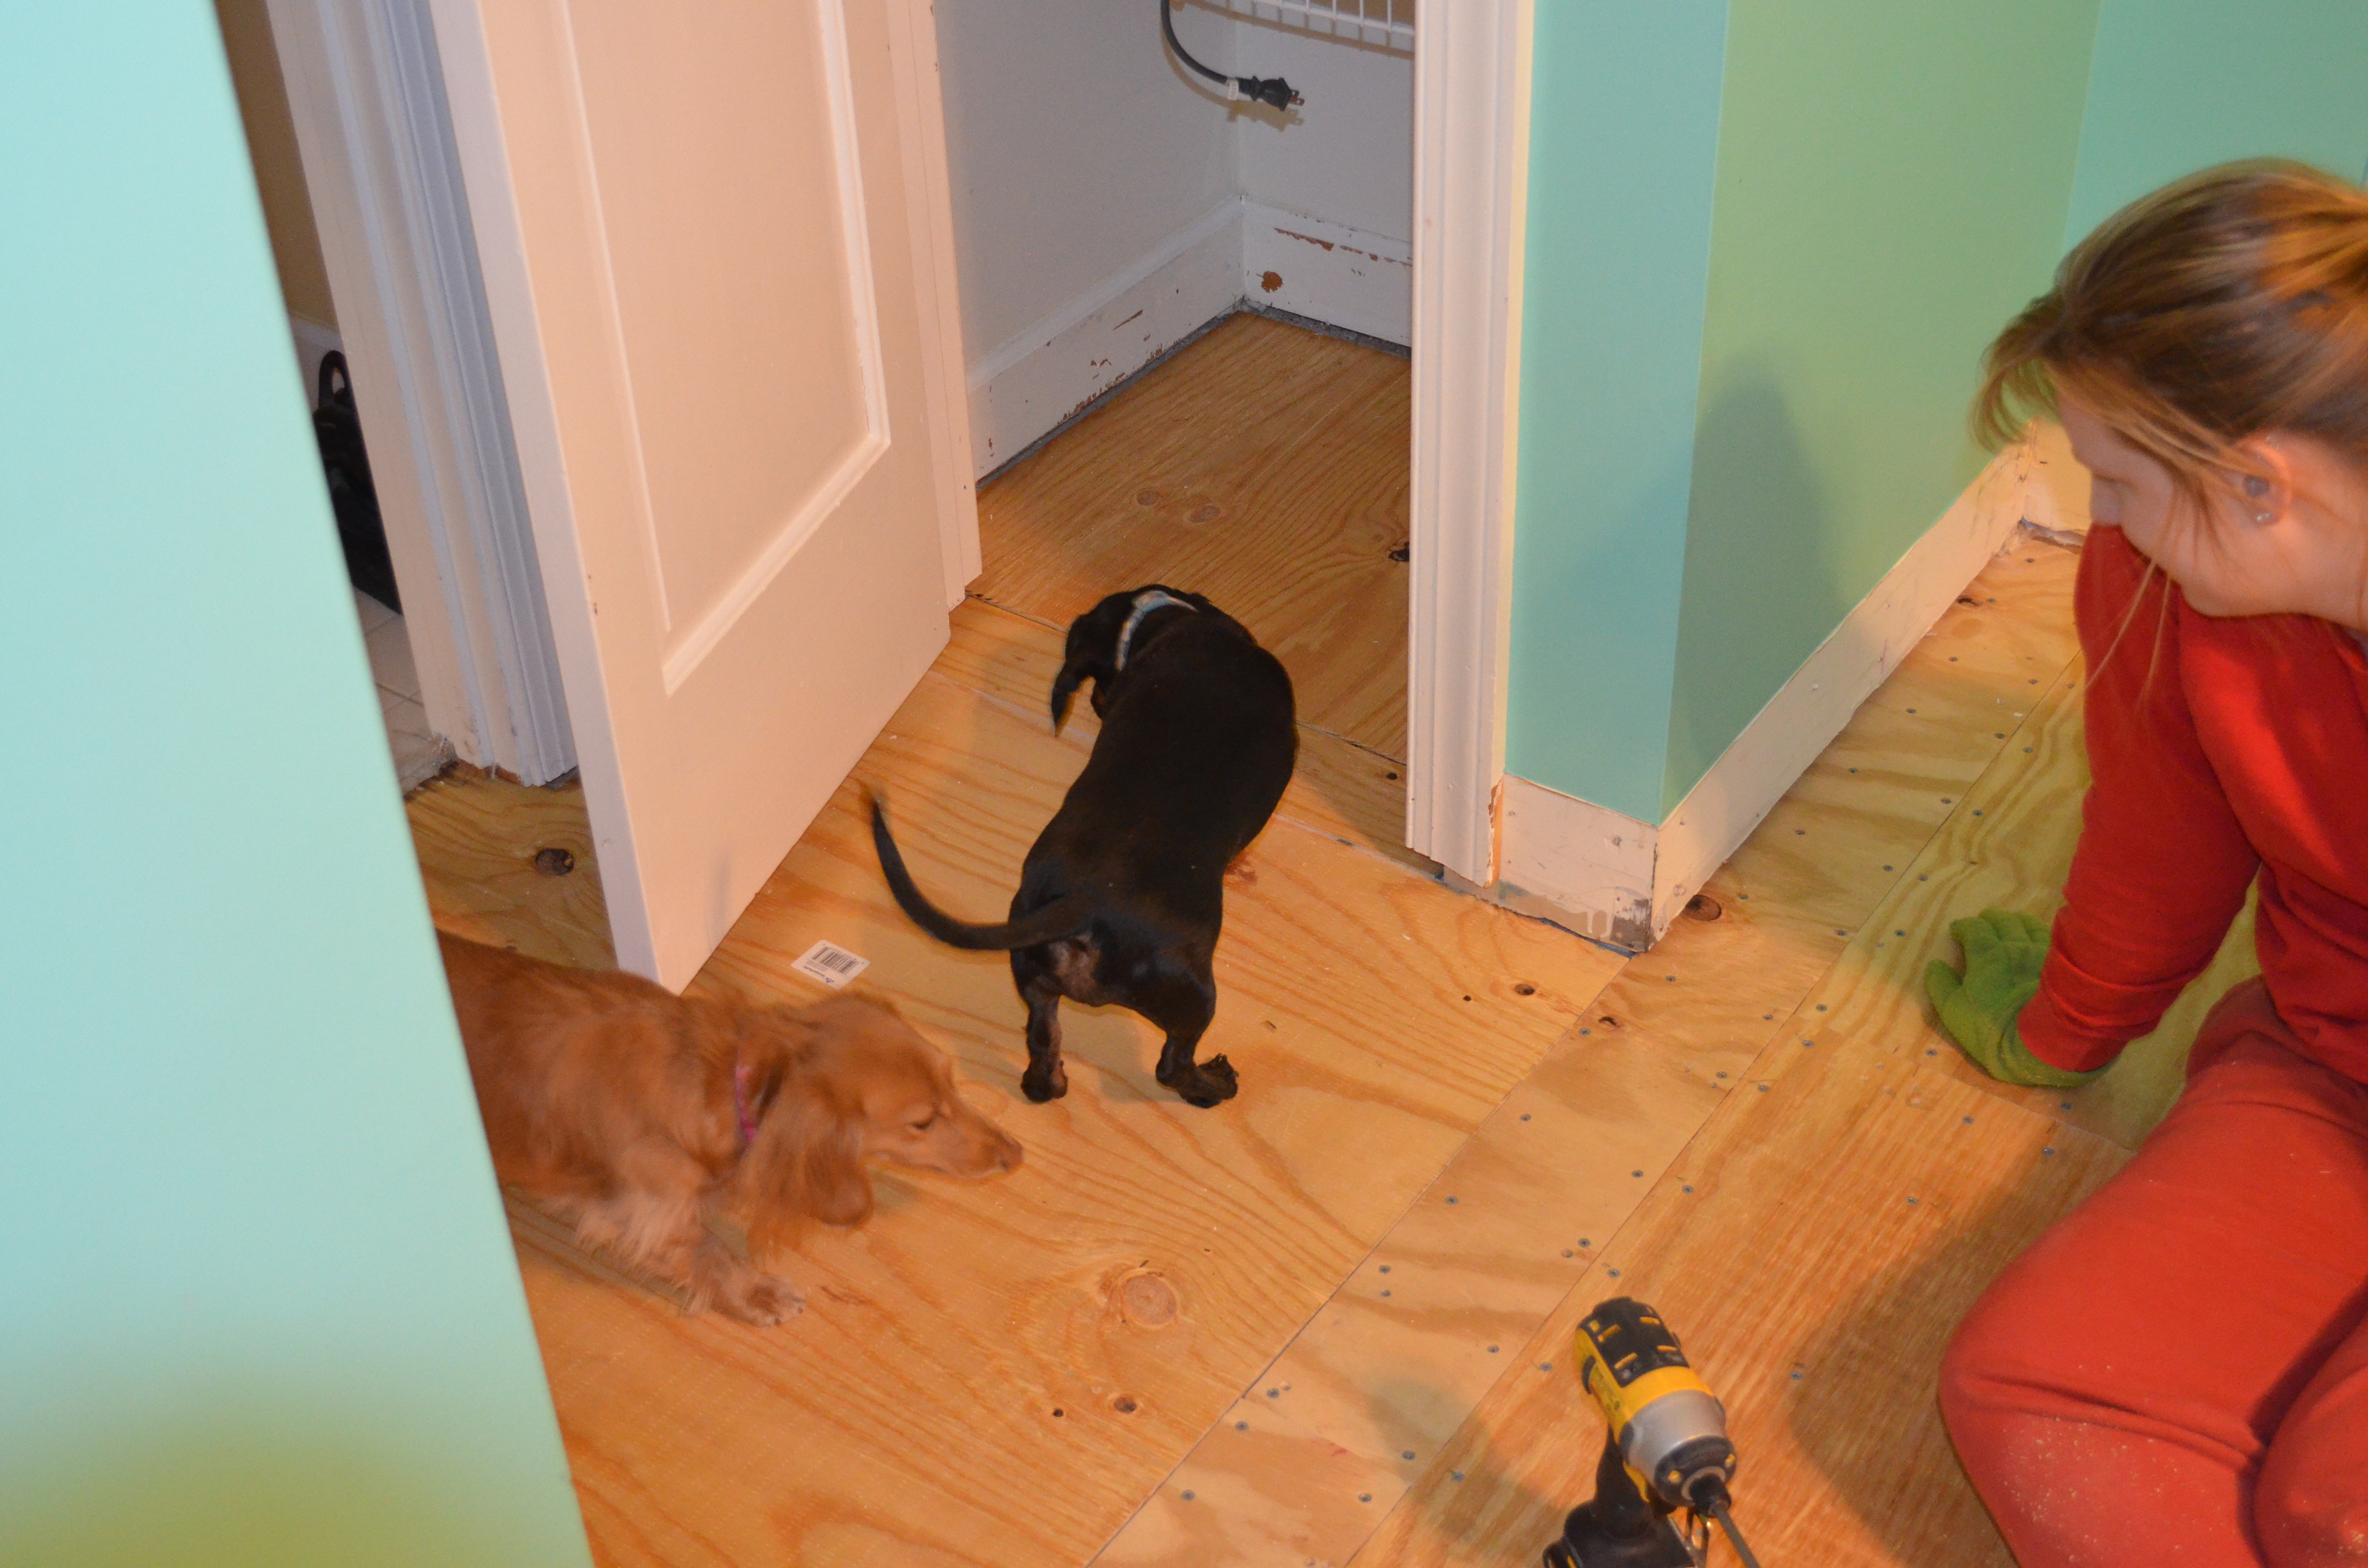
Dexter was sure there was something below the floor.
Things started moving much quicker once all the plywood was laid down. The actual flooring part was fun, and it looks like progress is happening very quickly!

Installing the floors. Dexter continued to wait for something to come out of the closet.
Once we got the hang of it, the floors became pretty easy. Even cutting around obstacles wasn’t too bad with the jig saw.
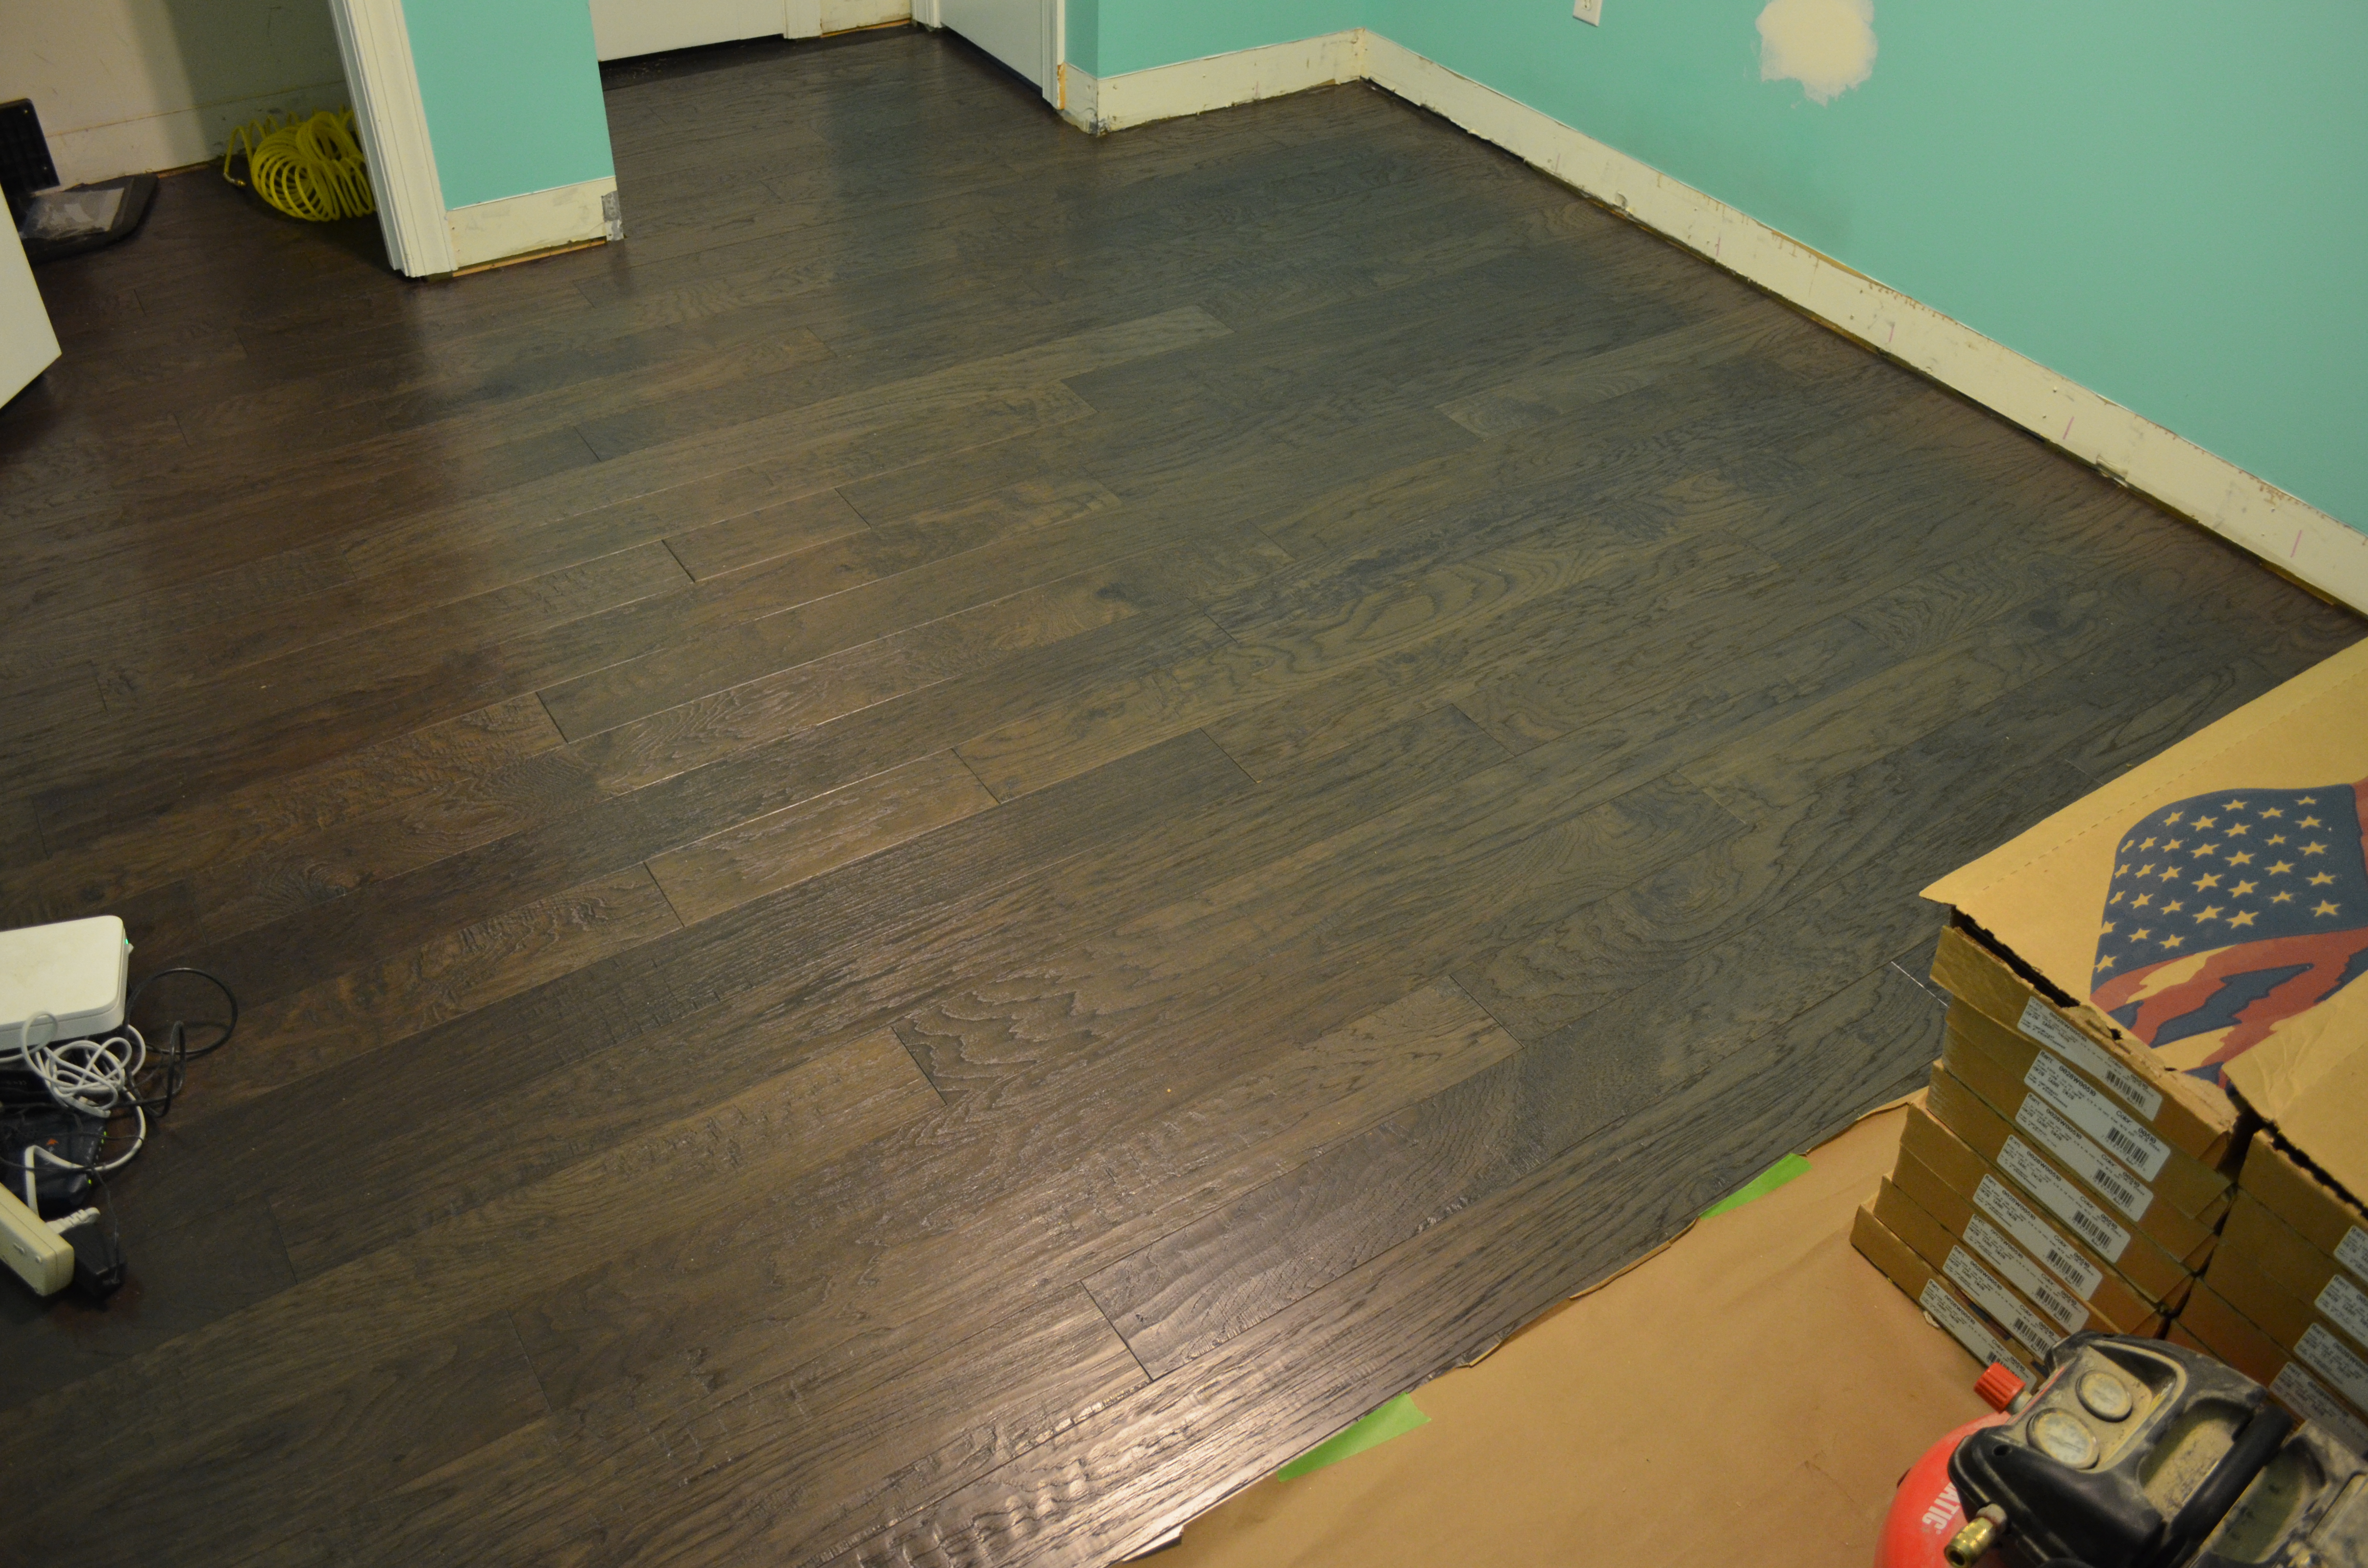
Finished floors.
Now that the floors are complete, we’ll probably cover them up and not see them again until after the kitchen is done. We plan on using this room as a staging room for all the kitchen cabinets, appliances, and other miscellaneous kitchen items. Our cabinets get here next week, so we’re excited to see those and how well they go with the floors!