When Ashley started writing the 3 year update, we realized we hadn’t posted any updates for a whole year! While we’ve been making changes around the house, they haven’t been as drastic as a full kitchen remodel, and we haven’t written anything about the smaller things we have accomplished.
One of the things we completed recently that’s worth a blog post is the downstairs bathroom remodel. We did take it down to studs and subfloor, so it was a fairly major renovation, but I think we were so beat by the time it was over that the last thing we wanted to do was write about it! Now that it’s been done for a few months, it doesn’t bring up quite so many nightmares.
We decided to take on the downstairs bathroom before the master bathroom because it was the only room we hadn’t really touched downstairs, so now we can say the downstairs is complete. Also, we care more about the master bathroom, so we figured we could do the downstairs first so that we could learn from our mistakes when we go to work on the master bathroom.
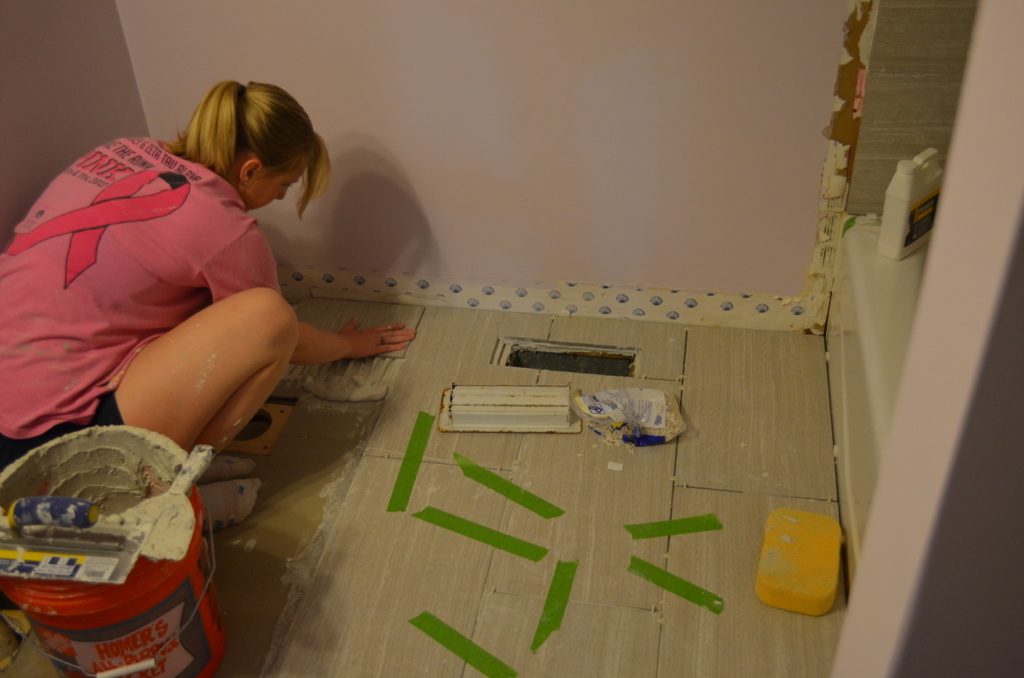
The demolition was probably the best part, because it actually went pretty quickly. Ashley took down all of the tiles on the wall around the tub, while I cleaned up what was falling. Once that was complete, we moved to the floor, where I tried out my new Bosch Rotary Hammer and chisel to take up the floor tile. I was expecting it to help us move along a little quicker, but I didn’t know that we’d be able to finish the tile floor in half an hour (which was awesome).
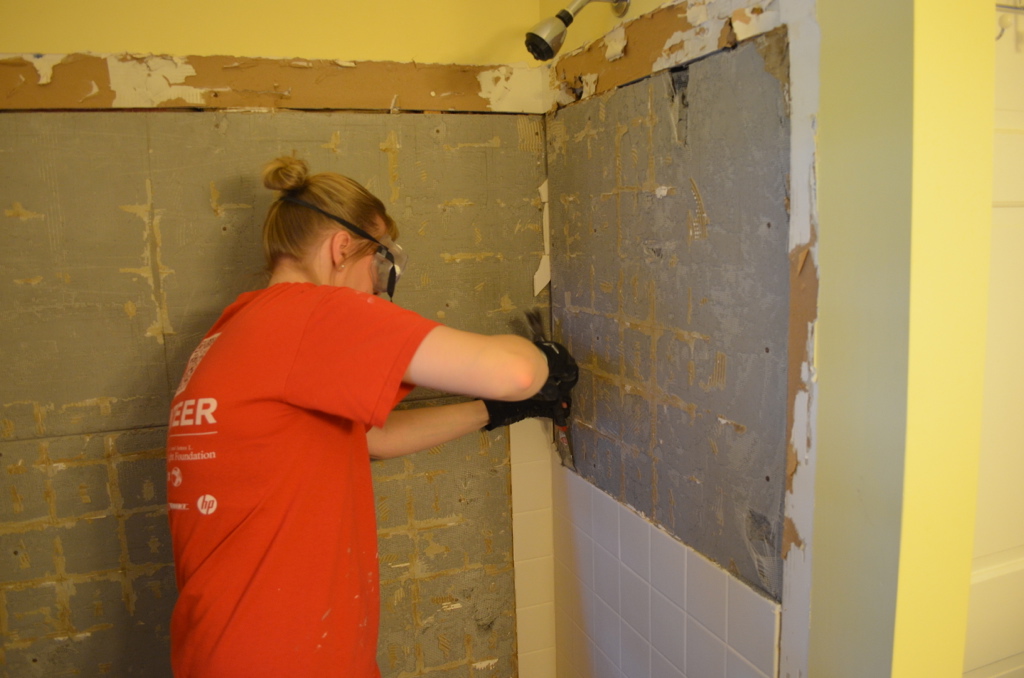
Ashley removing the shower tile.

Scott removing floor tile.
We also removed the vanity and once we had taken out all the tile we could, we removed the toilet as well. The toilet was probably the worst part of the demolition, because I’m guessing it’s the toilet that was here in 1990 when the house was built.

Getting ready to remove the toilet.
After most of demolition and a little cleanup, we returned to the shower walls and cut out some of the existing cement board, so we could replace it with new stuff. This went pretty quickly, with surprisingly little mold behind the walls, and we had the new cement board back up and coated in waterproofing paint pretty fast.
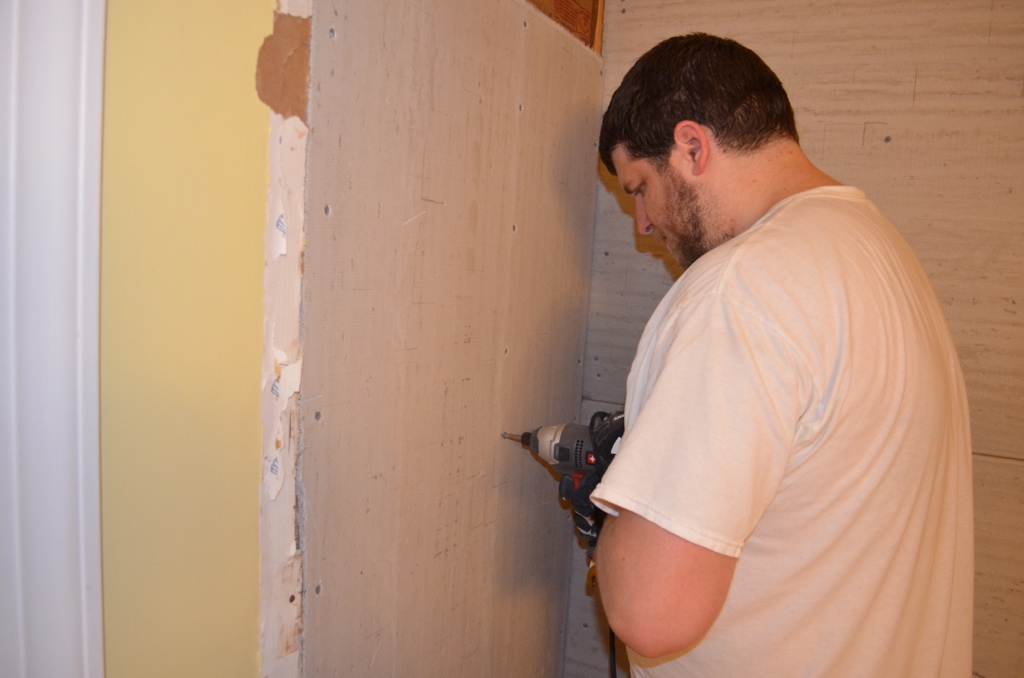
Installing new cement board.
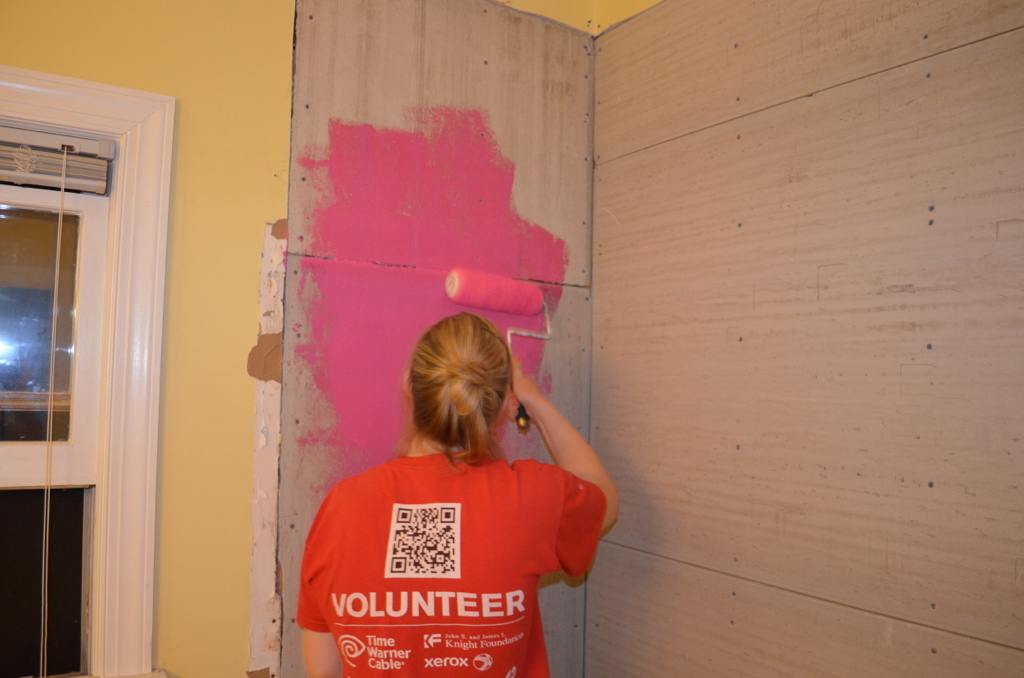
Adding waterproofing membrane before tiling.
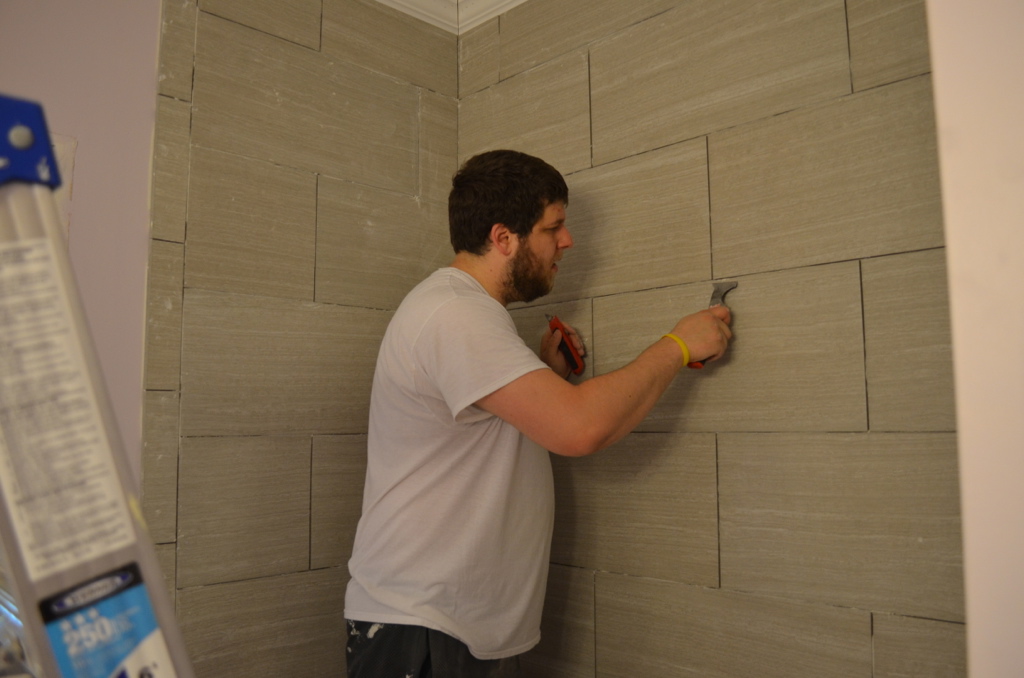
And that’s where getting things done fast ended. Our next step was putting up tile, and it felt like we were going nowhere fast. Apparently the walls aren’t perfectly flat, and because of that, our 12″ x 24″ tile didn’t sit flat against it. There were definitely some places that had a lot of cement built up behind them to help even everything out, but that meant some tiles are almost a 1/2″ – 1″ away from the wall, which we were not expecting. It slowed us down, because every time we put up a new tile, we had to make sure it was aligning with the previous tiles, or sometimes we had to adjust previous tiles to match the new ones. If there’s a next time, we’ll have to make sure the walls are flat.
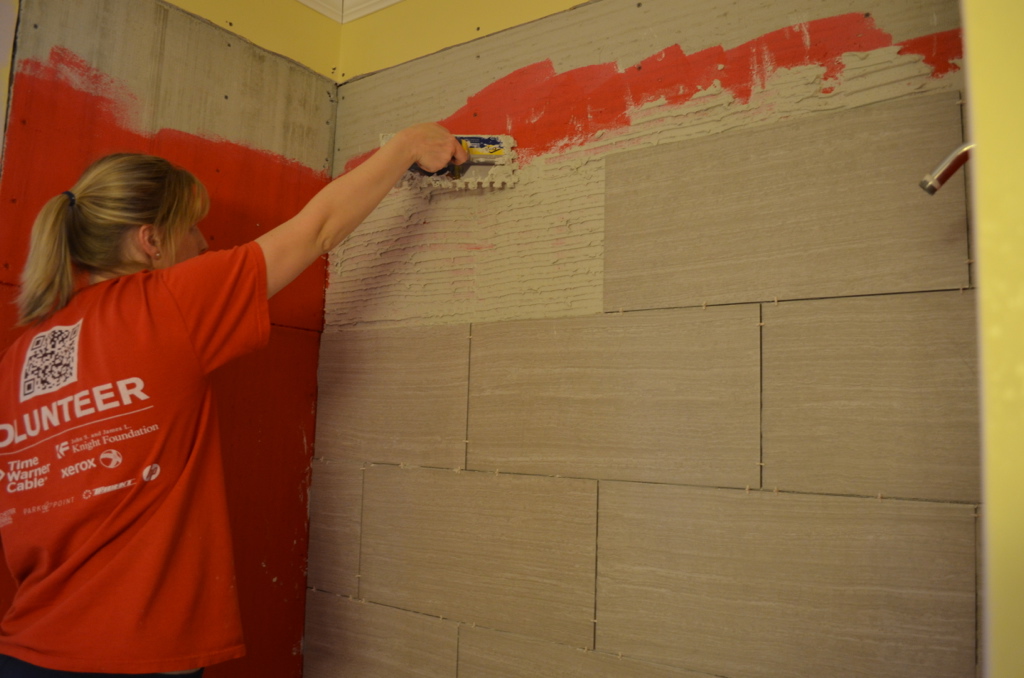
Putting up the tile.
After 3-4 nights of putting tile up on the shower walls, we really did not want to be doing it anymore. Unfortunately, we now had to tile the floor. First, we had to level the floor. We put about 1/4″ – 1/2″ of floor leveling concrete over the top of our existing subfloor, in order to make sure the floor was perfectly flat – we wanted the tile on the floor to be nice and even since we’re walking on it all the time. Other than having to run back and forth with the self-leveler, this part actually wasn’t too bad. We let that dry for a day, and then moved on to tiling the floor.

Self-leveling concrete before tiling the floor.
The bathroom floor turned out to be a relief, because it was much flatter, and we were able to tile it much quicker than the shower walls. I think the worst part of the bathroom floors – which was also a problem during the shower – was the fact we couldn’t just stop and take a break. We mixed concrete and we have to get through all of the concrete before we stop, or it’s a waste. With the kitchen renovation, we rarely, if ever, had a strict time constraint to get something done, other than our self-imposed time constraints. With cement, we just had to keep going.
Tiling the floors.

Completed tile floors.
Finally, we had all the tile in, and it was time to grout. Unfortunately, having never worked with grout in this type of area before, I mixed the entire bag, and didn’t expect it to dry as fast as it did. By the time we had put it up, parts in the beginning were very close to dry, and it was much harder to scrape off the excess grout. I’d like to blame the instructions for this one though – the dry time was much shorter than what the bag said it would be. By the time we were scraping off the final parts of excess grout, it was basically completely dry, and we needed a chisel more than a wet cloth.
Removing excess grout.
However, now that the tile was complete, we could start to make progress – and we moved on to installing the toilet and vanity. Those went pretty smooth for the most part. One small hiccup was the fact that when we removed the toilet I had to replace the toilet flange with a smaller one, that didn’t fit the wax ring provided with the toilet. I had already anticipated this and had bought an alternative to a wax ring. However, what I did not anticipate is that the alternative expects the flange to be lower than when it’s installed with a wax ring, so it took some work to correct that, since we had already tiled and cemented around the new flange.
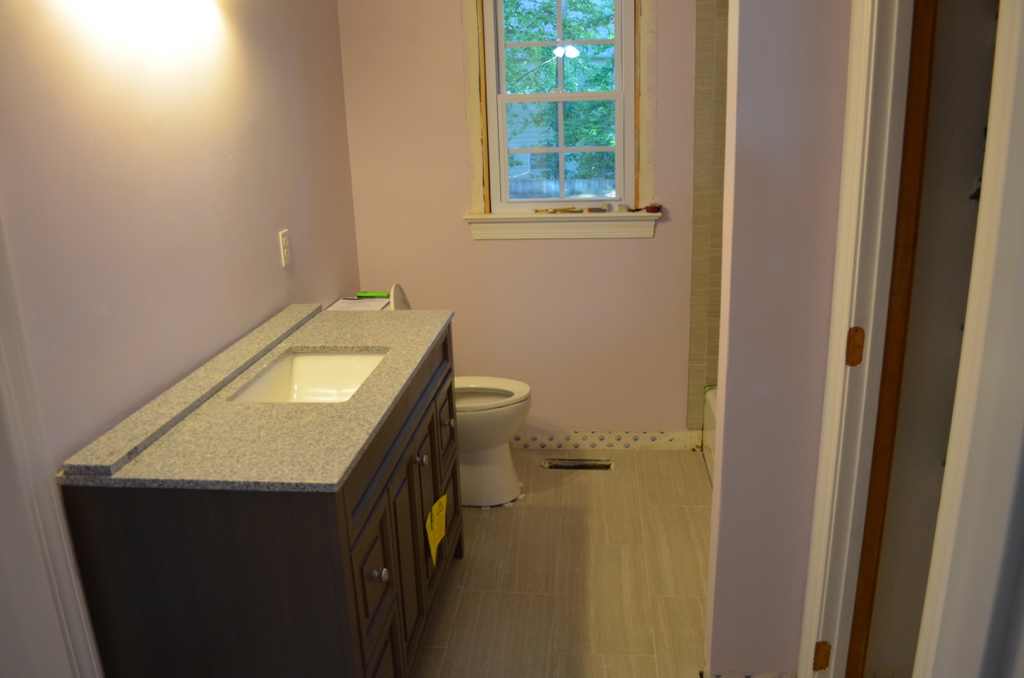
Installing the toilet and vanity.
Once the toilet was in, the vanity, countertop, and faucet went in pretty easily. There were a few small leaks at first, because I didn’t use enough plumbers putty the first time around. I was able to stop the leaks after I realized this, though, with fairly minimal effort. Once everything was installed, we just had to go around and caulk and touch up paint around the bathroom, and it was back to a usable room!
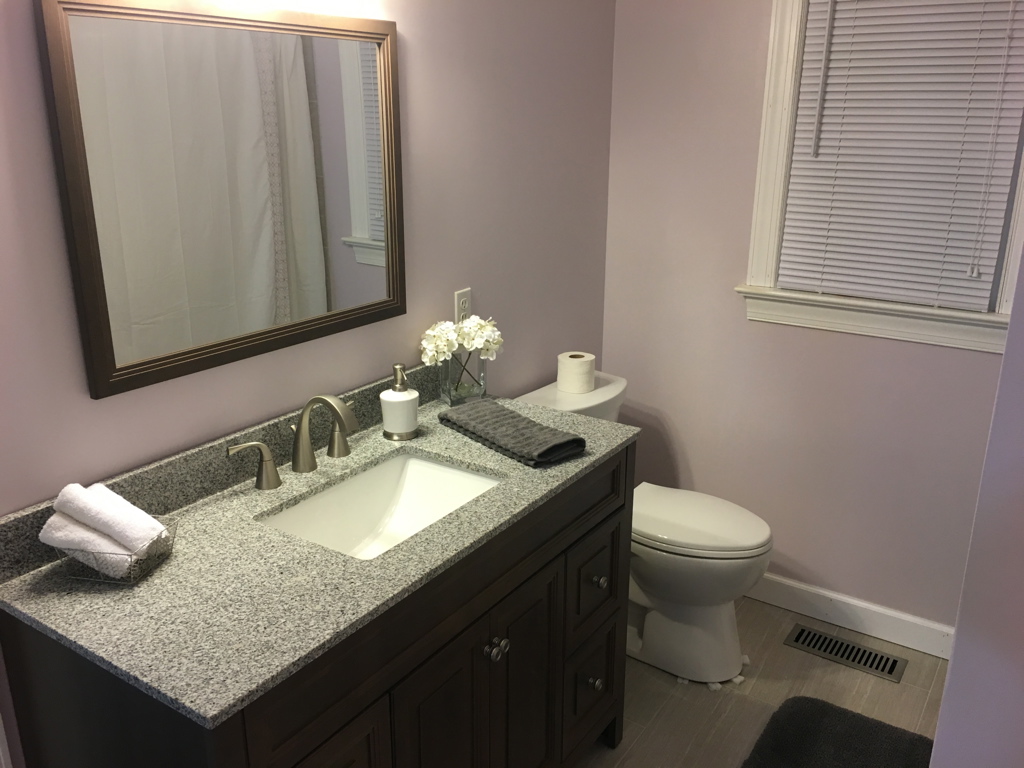
Completed bathroom renovation.
Very nice, Scott and Ashley!