After spending some time looking at coffee tables and side tables, I decided they were too expensive. Usually Ashley would be the one to want to save money, but as we were correcting their wobbly legs for the third or fourth time, she decided it might have just been worth it to just buy them. Ashley might disagree in this case, but I thought it would be worth our time and worth saving the money. We spent $50 on lumber for building two new side tables, instead of spending over $300 for two new side tables (I plan on avoiding the new $350 coffee table, too).
So, I found a great site, Ana White’s Plan Catalog, that we’ll probably end up using a lot, with plans for side tables (and a lot more).
Here’s what the picture in the plan looked like:
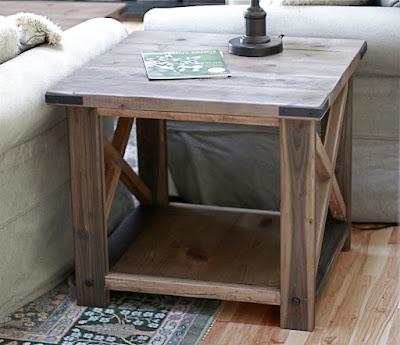
Rustic style side table
We had to make some modifications to the plan, which led to a few most of the issues that we experienced as we built it. The plan’s final product was basically supposed to be a square table, but due to some constraints from our living room, we decided to go with a more rectangular option.
The trouble with changing the measurements was that we were fairly limited in our options. We didn’t want to have to rip a 2×6 down the middle, since it wouldn’t look as good, so we wanted to go with an even number of boards for the table top. While trying to figure it out, we laid the 2×6′s next to each other in Lowe’s, hoping to discover how many we’d want to use.
We went back and forth between the idea of using 2×6′s versus using 2×8′s, but eventually landed on four 2×6′s, or 22″ across the top. The width, although still smaller than the original plan, was much simpler, since we could just make smaller cross-cuts, as necessary.
We finally decided on making the table top a total of 22 inches by 18 inches. I printed out the plan and took it out to the shed, and since we were updating measurements, and planned on making 2 of these tables, I crossed out what the plan had, and marked what the new measurements for each cut would have to be.
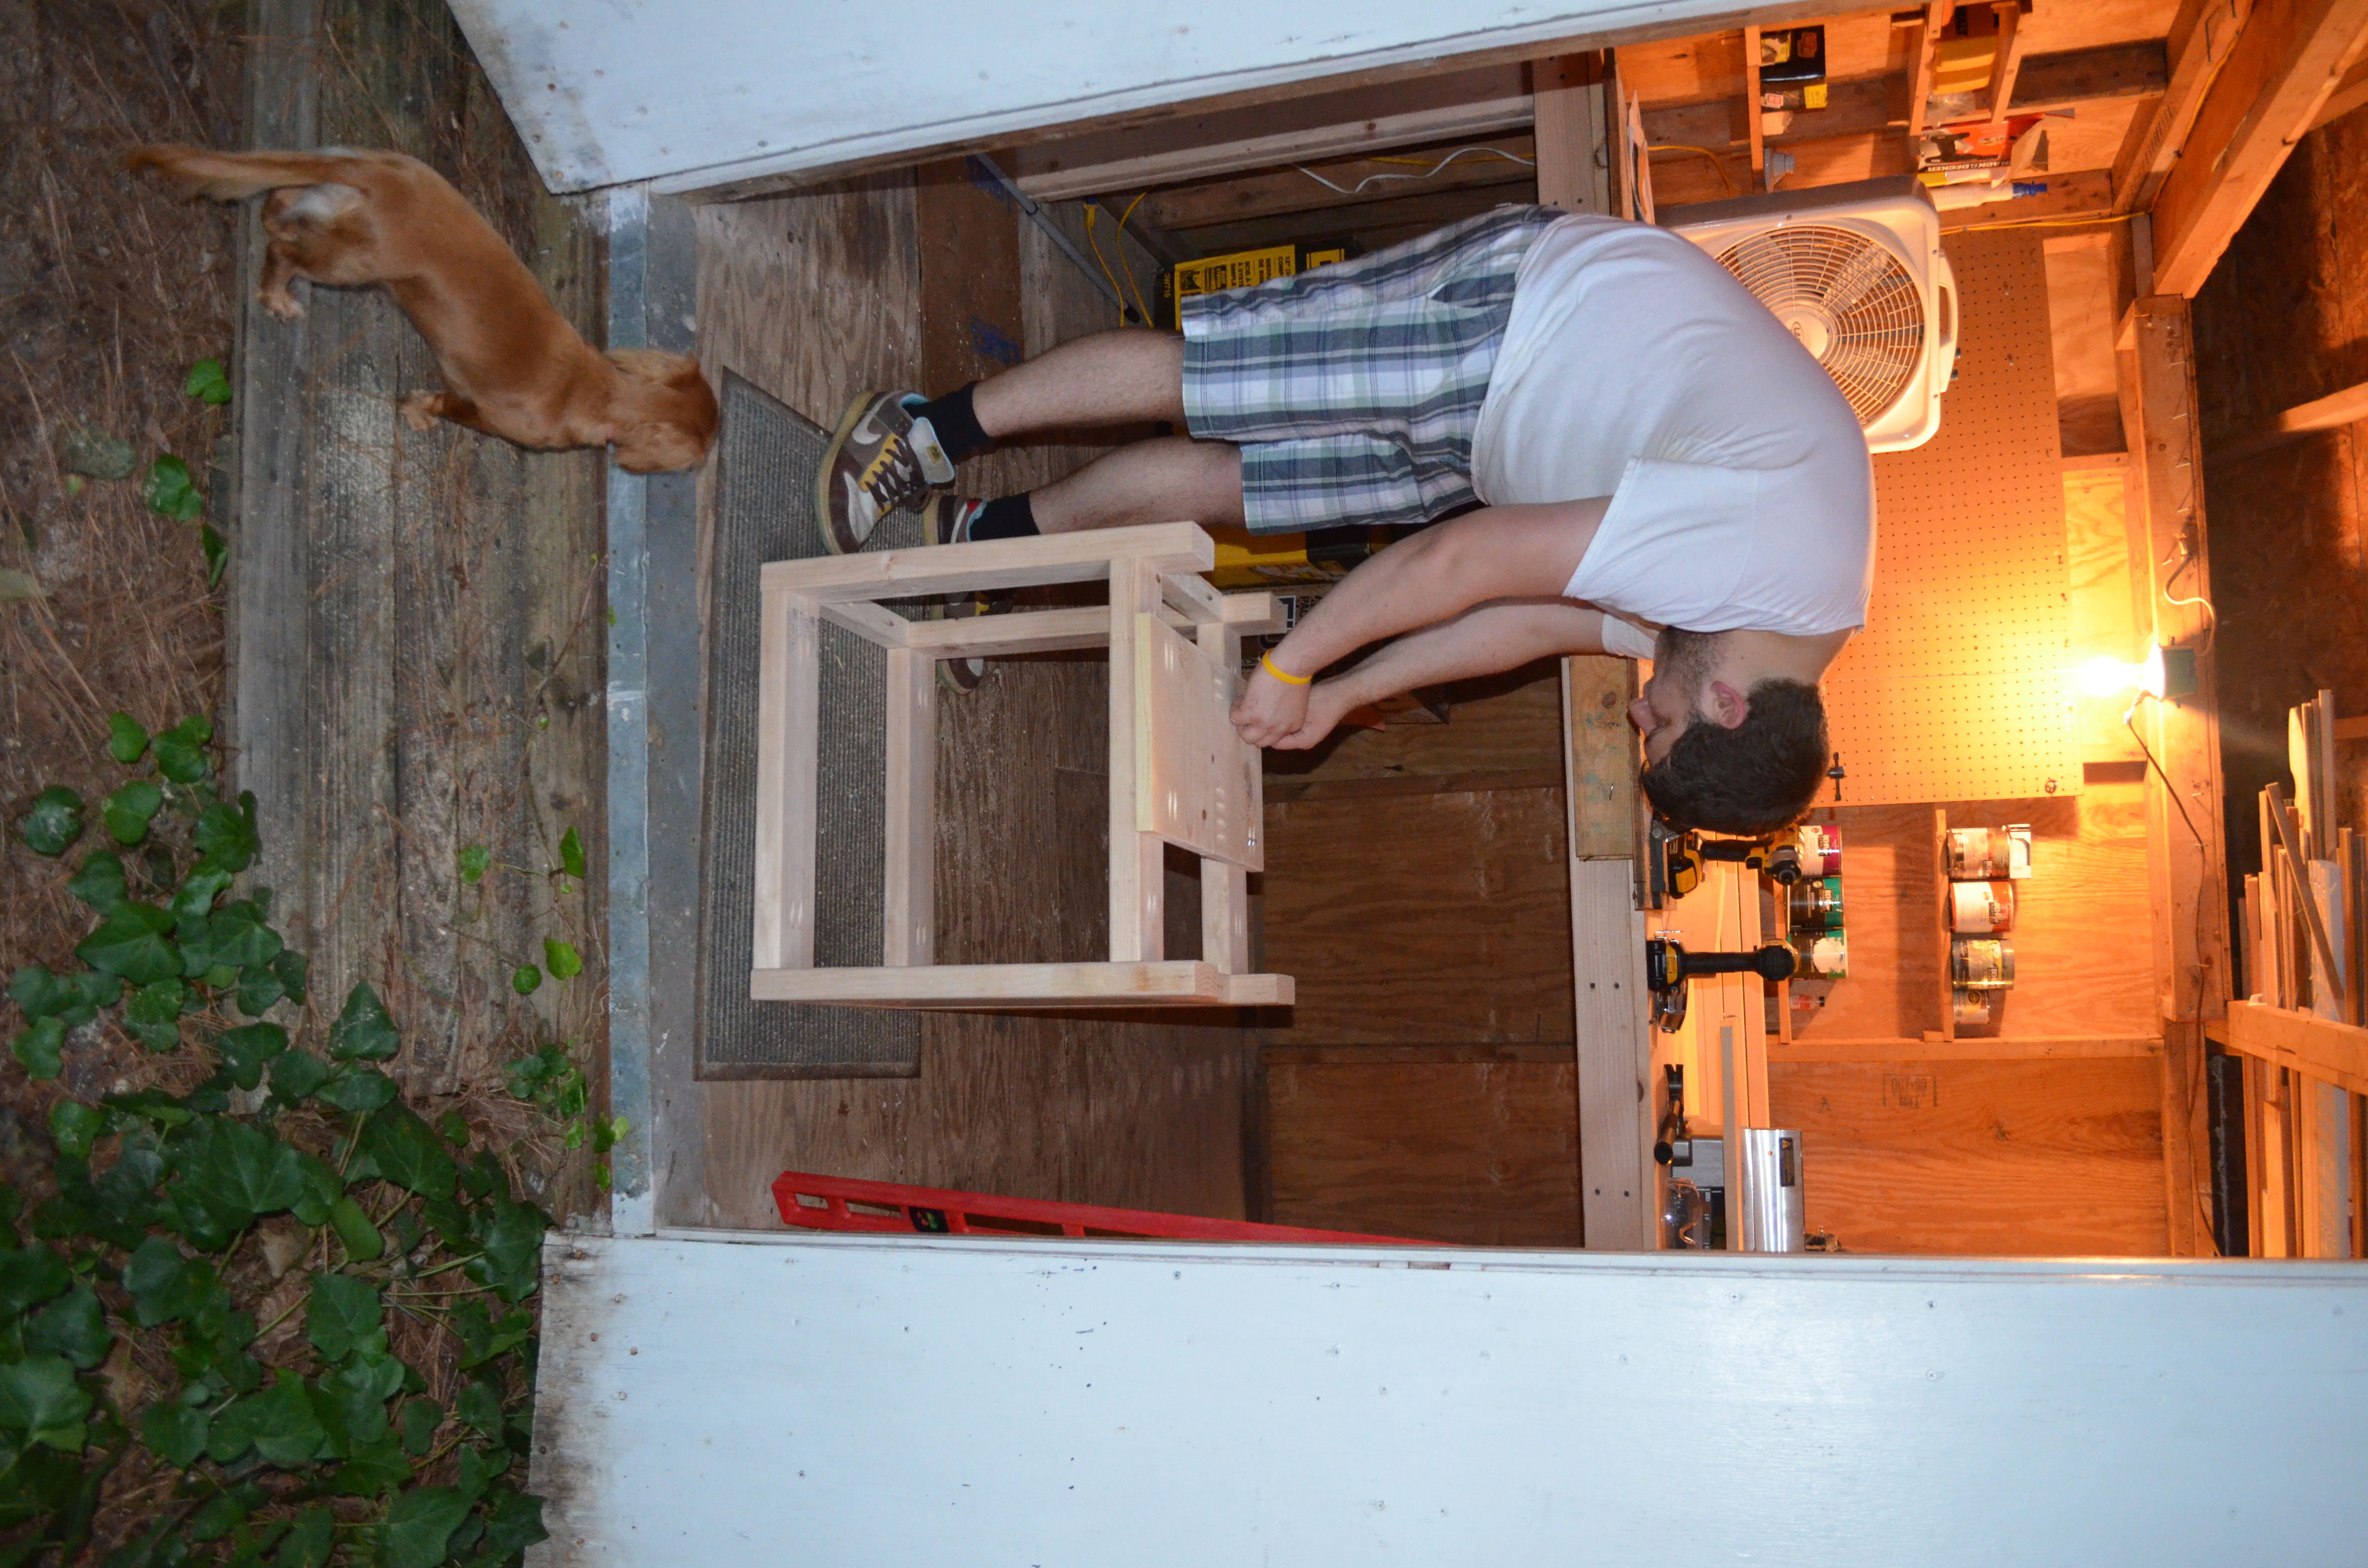
So we started making cuts for the legs and the braces in between the legs. Once they were all cut. We started drilling the pocket holes in the 2×4′s and 2×2′s to attach them to each other. After everything was screwed together, as I already mentioned, it was pretty wobbly. All the measurements were accurate and the level even said everything was close to level. The problem was that as the screws went into the wood, it pulled the wood down in some places, and up in others. These tiny measurement differences were enough to give the table a pretty big wobble. So we ended up unscrewing and screwing back some a lot of the wood to correct the wobble.
Once we finally had the table sitting pretty close to flat, we put in the bottom shelf. Other than it not sitting completely flush with the 2×4′s and 2×2′s next to it, it went in pretty easily. We were able to get it a little bit closer to flush with the surrounding boards by pushing it up or down in areas while I drove the screws in. Not perfect, but it will do.
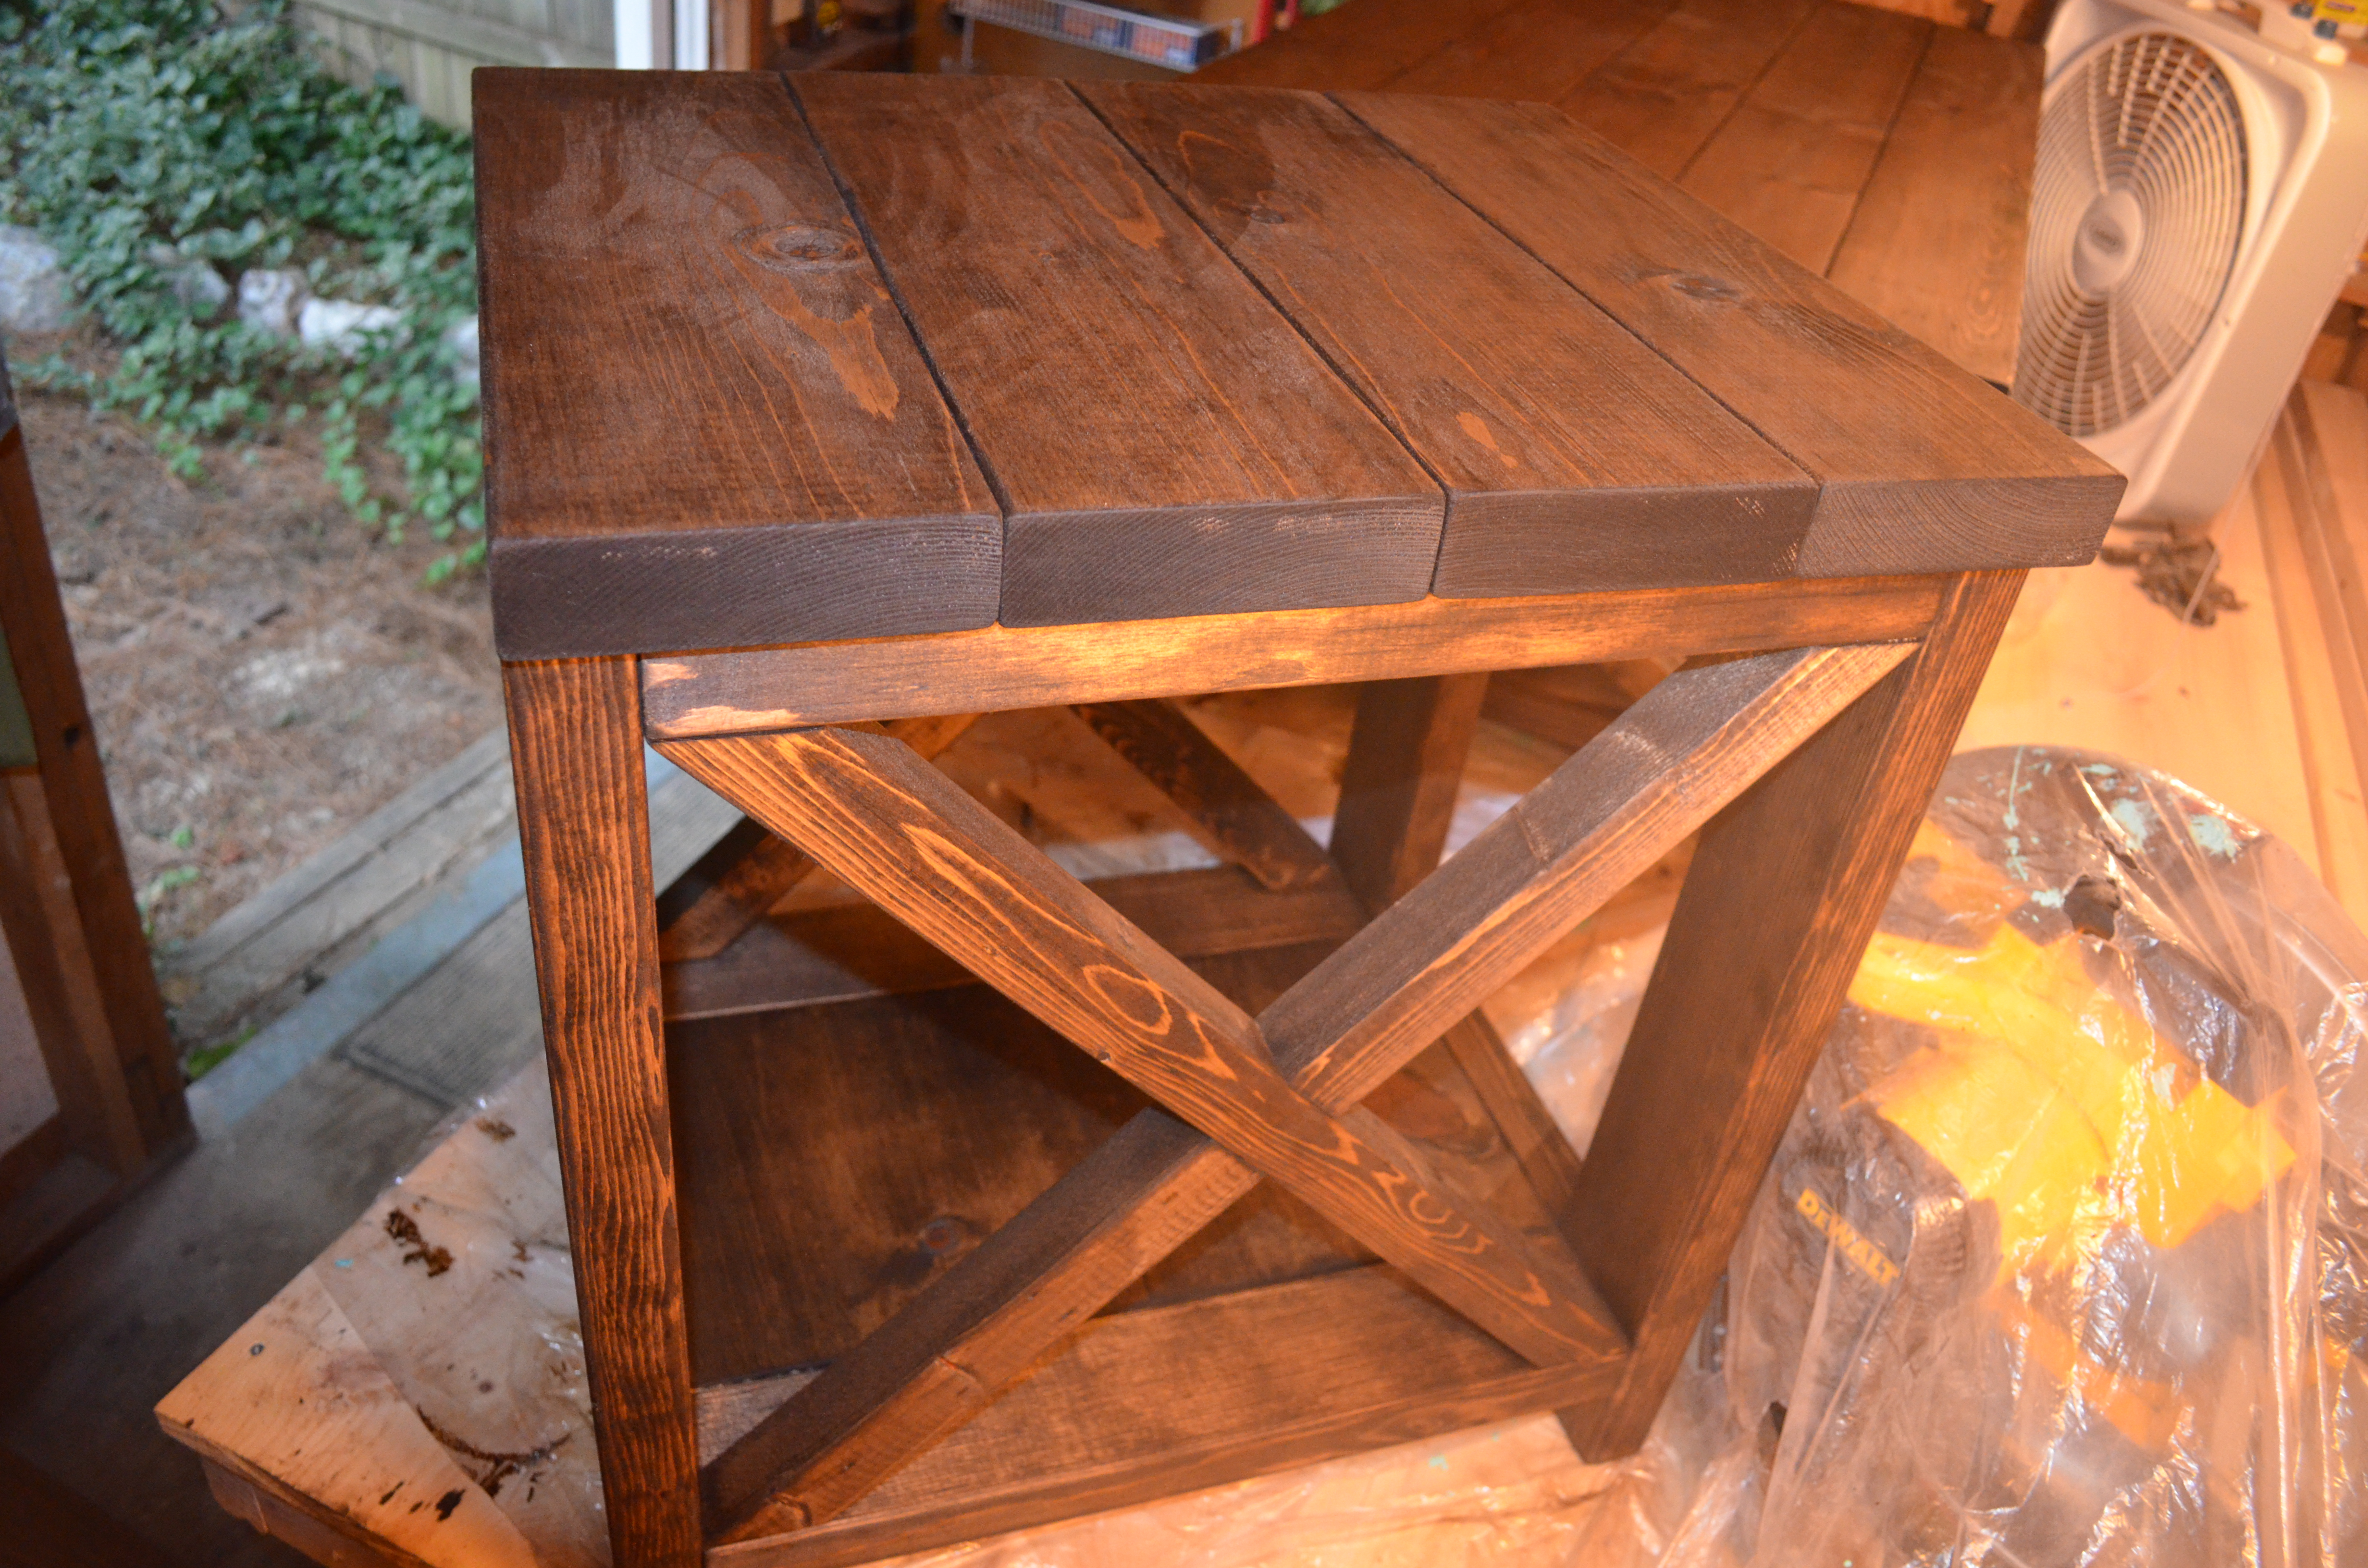
After finishing the bottom shelving, we went ahead and made the “X” on both sides of the table. While it wasn’t easy, and we had to make quite a few cuts to correct for error, it turned out really well. I think we’d both agree that it’s our favorite part of the tables.
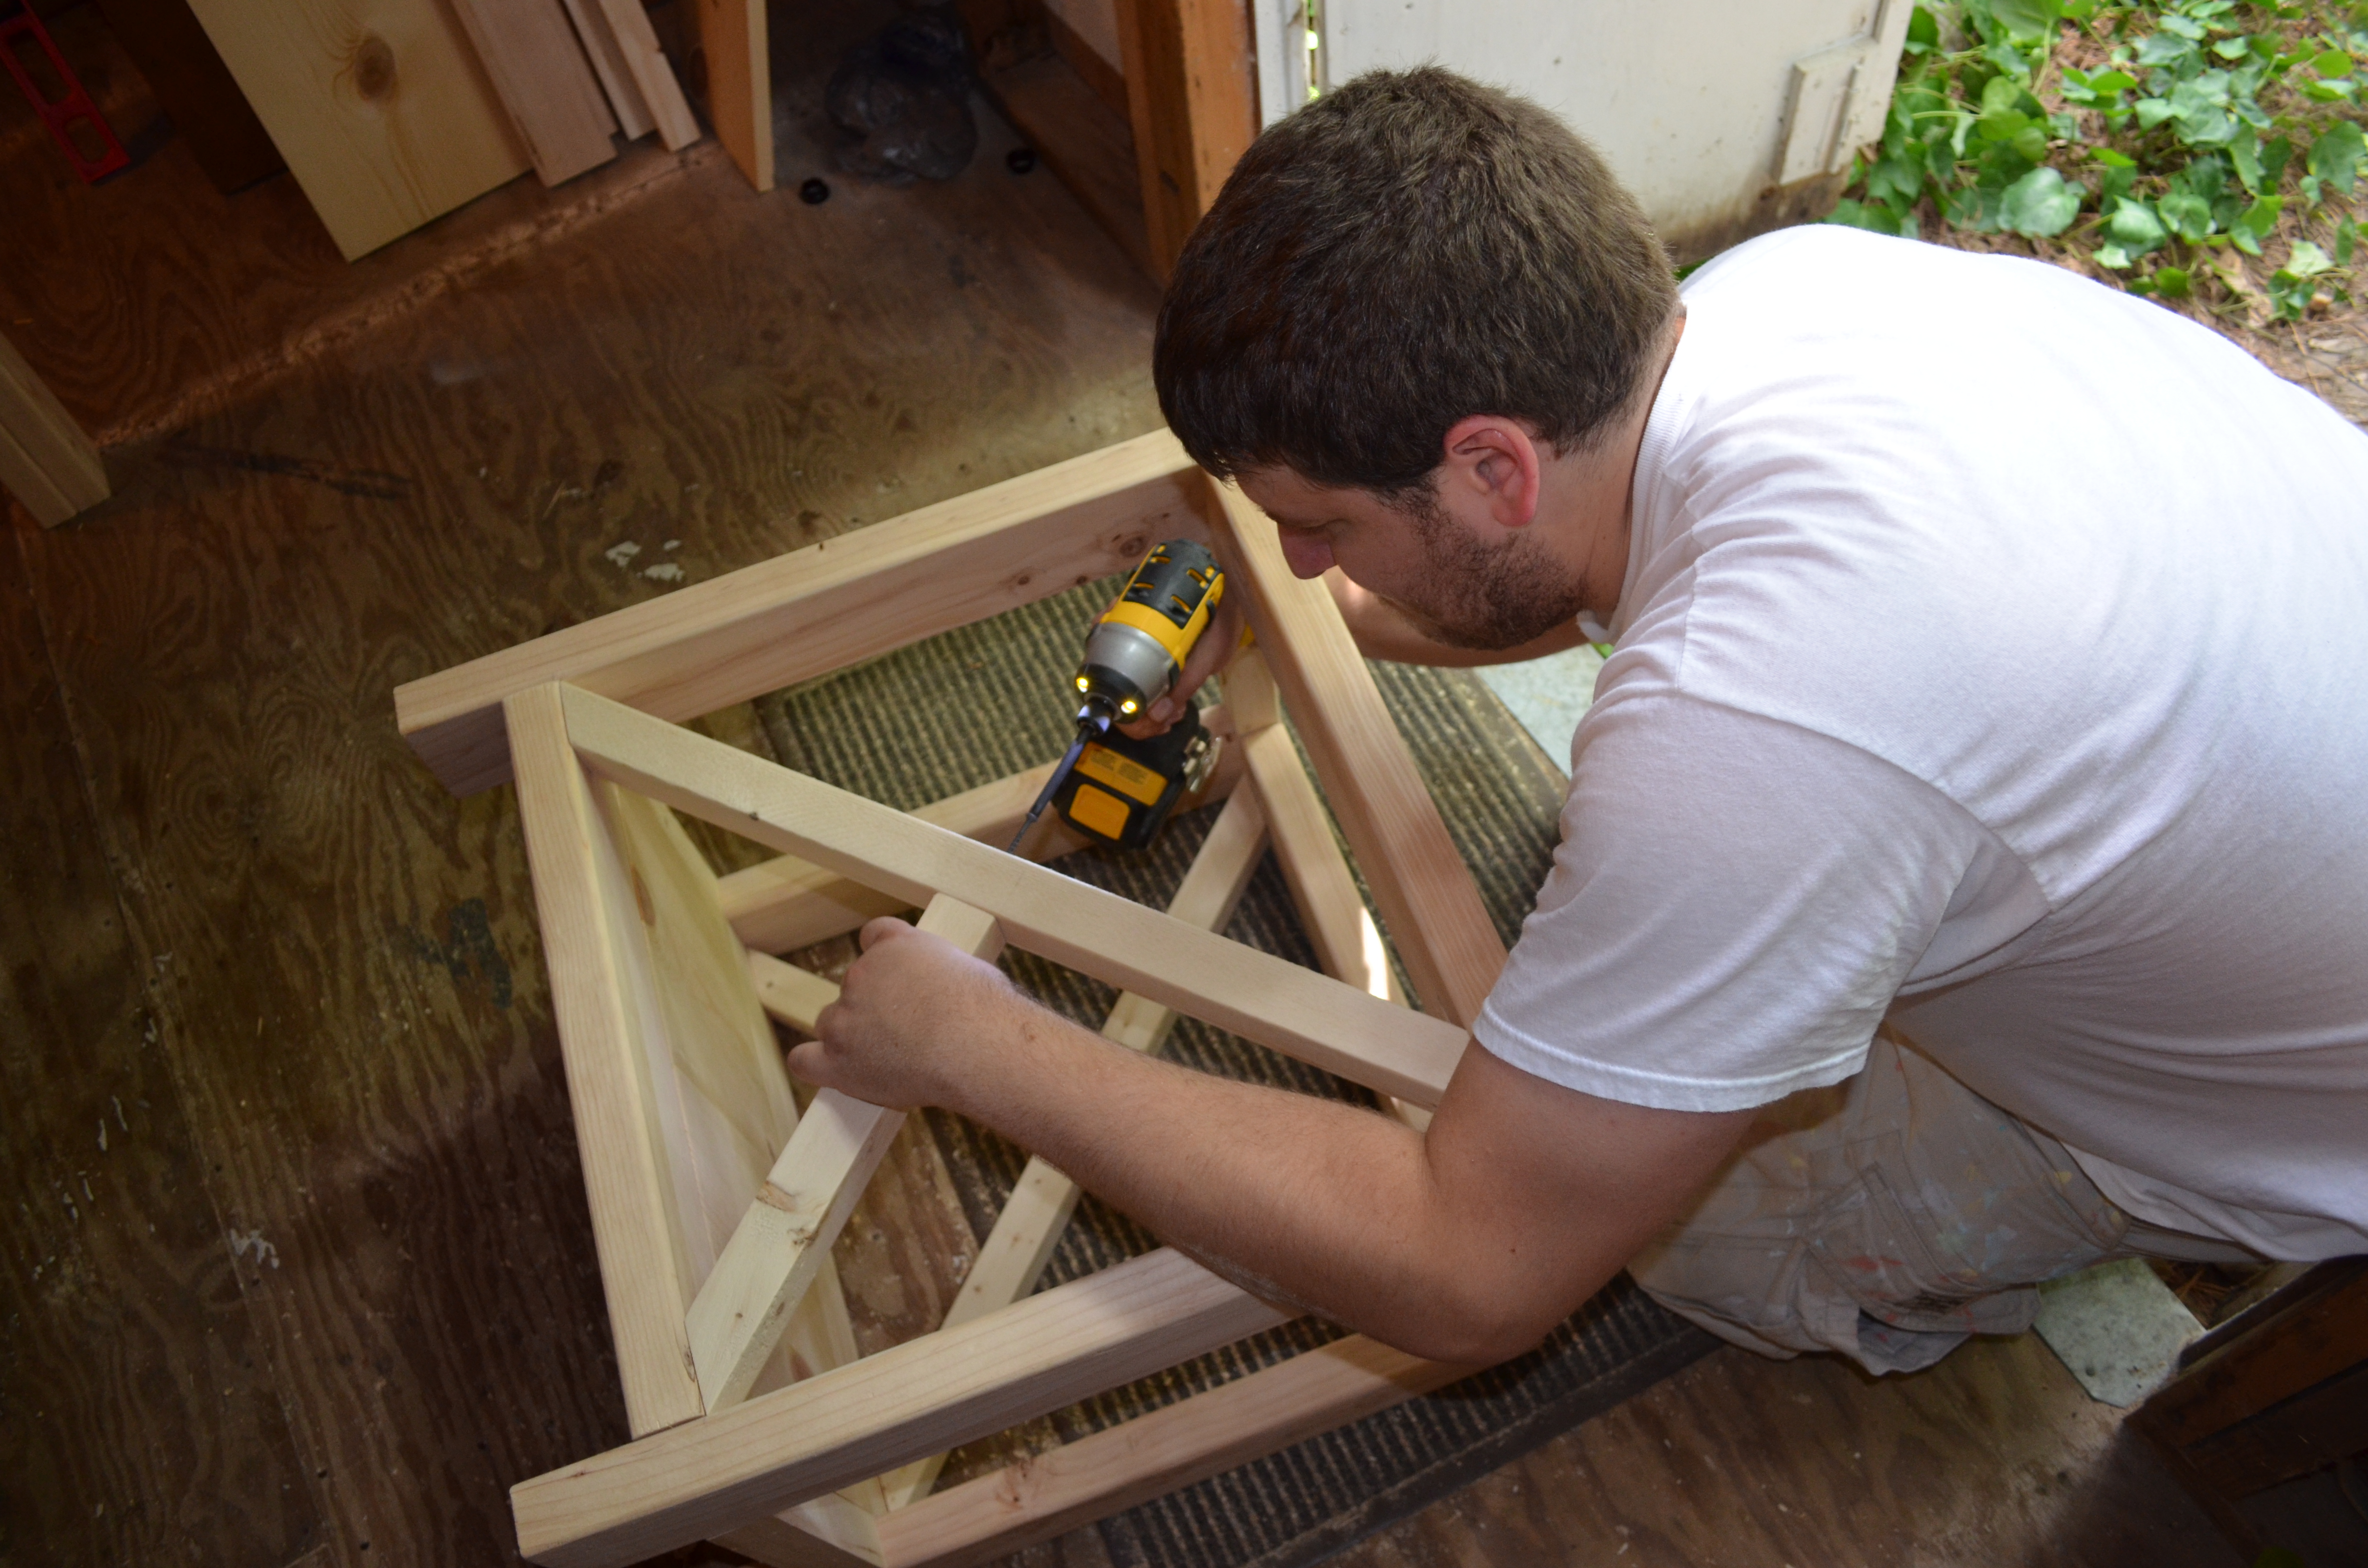
Putting together the “X”.
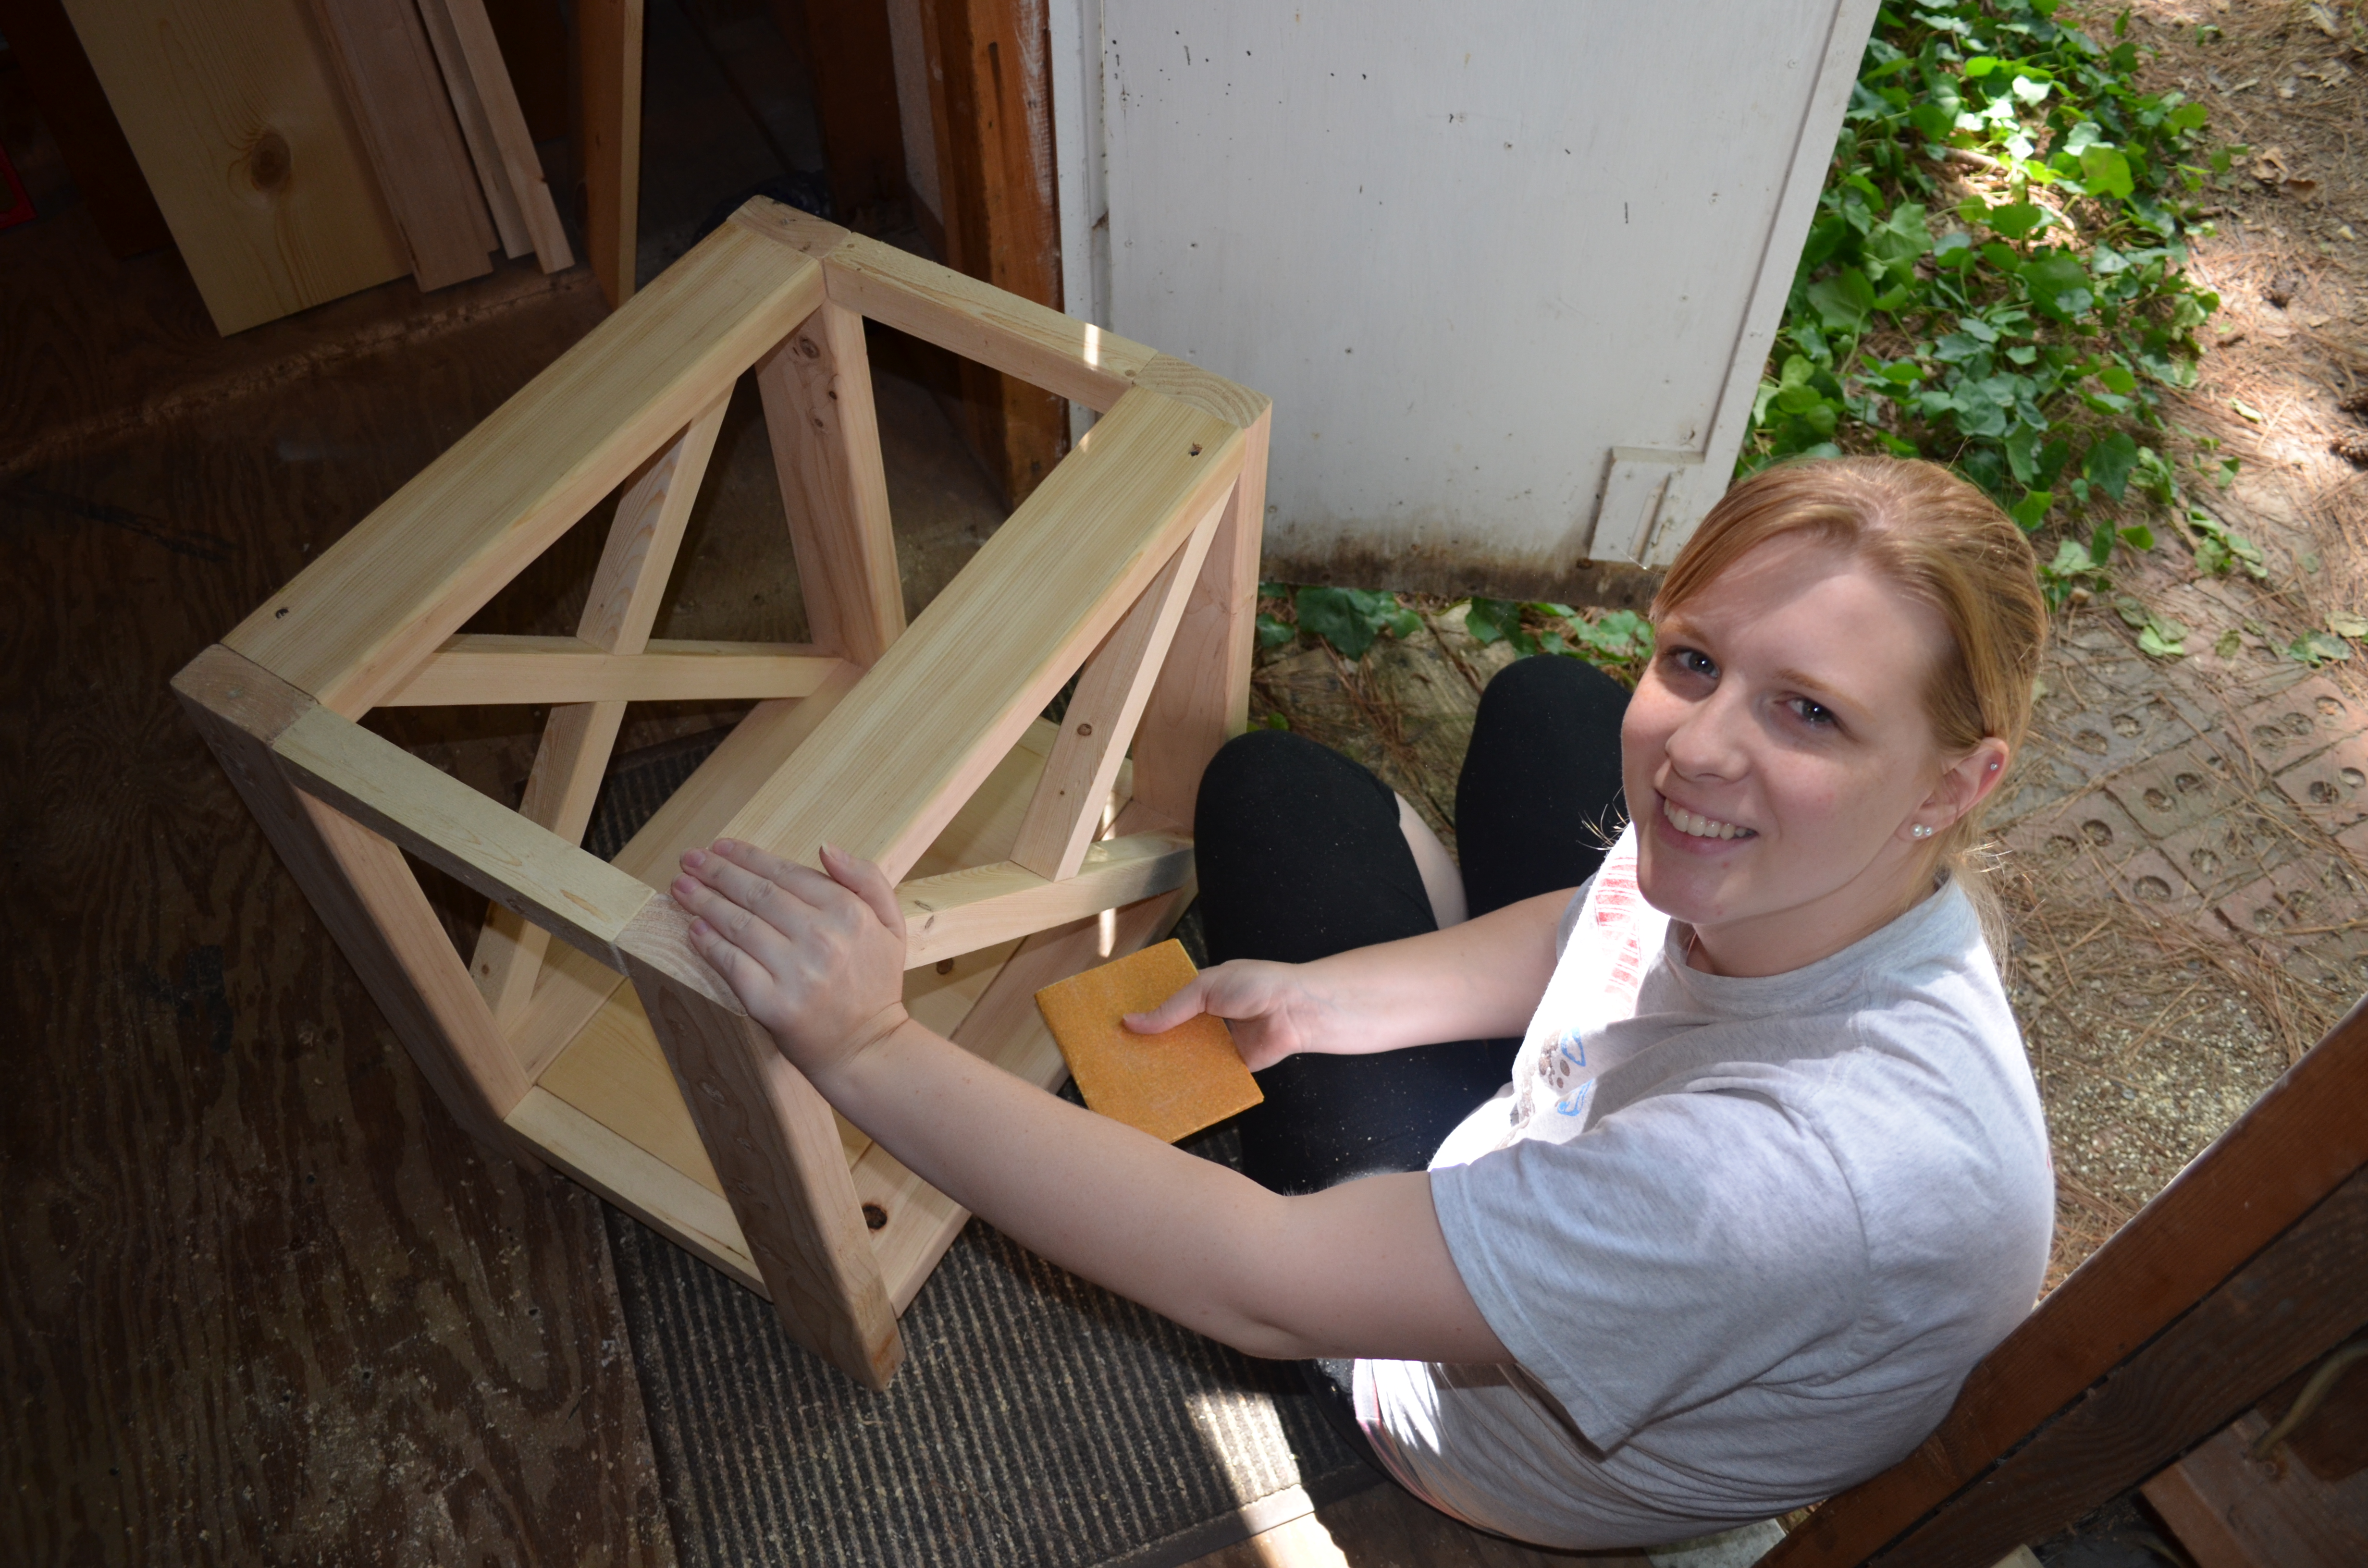
Sanding.
After we finally finished making all the cuts for the sides, we screwed on the table top, that we made up of four 2×6′s screwed together. After that was attached, the table was done. We brought it inside to see how it looked, since we hadn’t found a stain that we liked yet.
Once we found a stain we liked, which turned out to be Minwax’s Dark Walnut stain, we proceeded to stain the table. I found out a few things while staining:
- The can says to do in a well-ventilated area. It’s not lying.
- An 8×12 shed is not a well-ventilated area.
After learning those small facts, we bought ventilation masks for our future staining projects, including the coffee table and additional side table. Hopefully it will help our respiratory systems live a little longer.
We finished the stain that first night, and after another day and a half of sitting to dry, Ashley gave it two coats of polyurethane to seal it. Now, it’s happily sitting in our living room, waiting for the coffee table and the other side table (which are waiting in the shed for us to finish staining them).
Here’s the final product:
Our finished side table, drying after the stain.
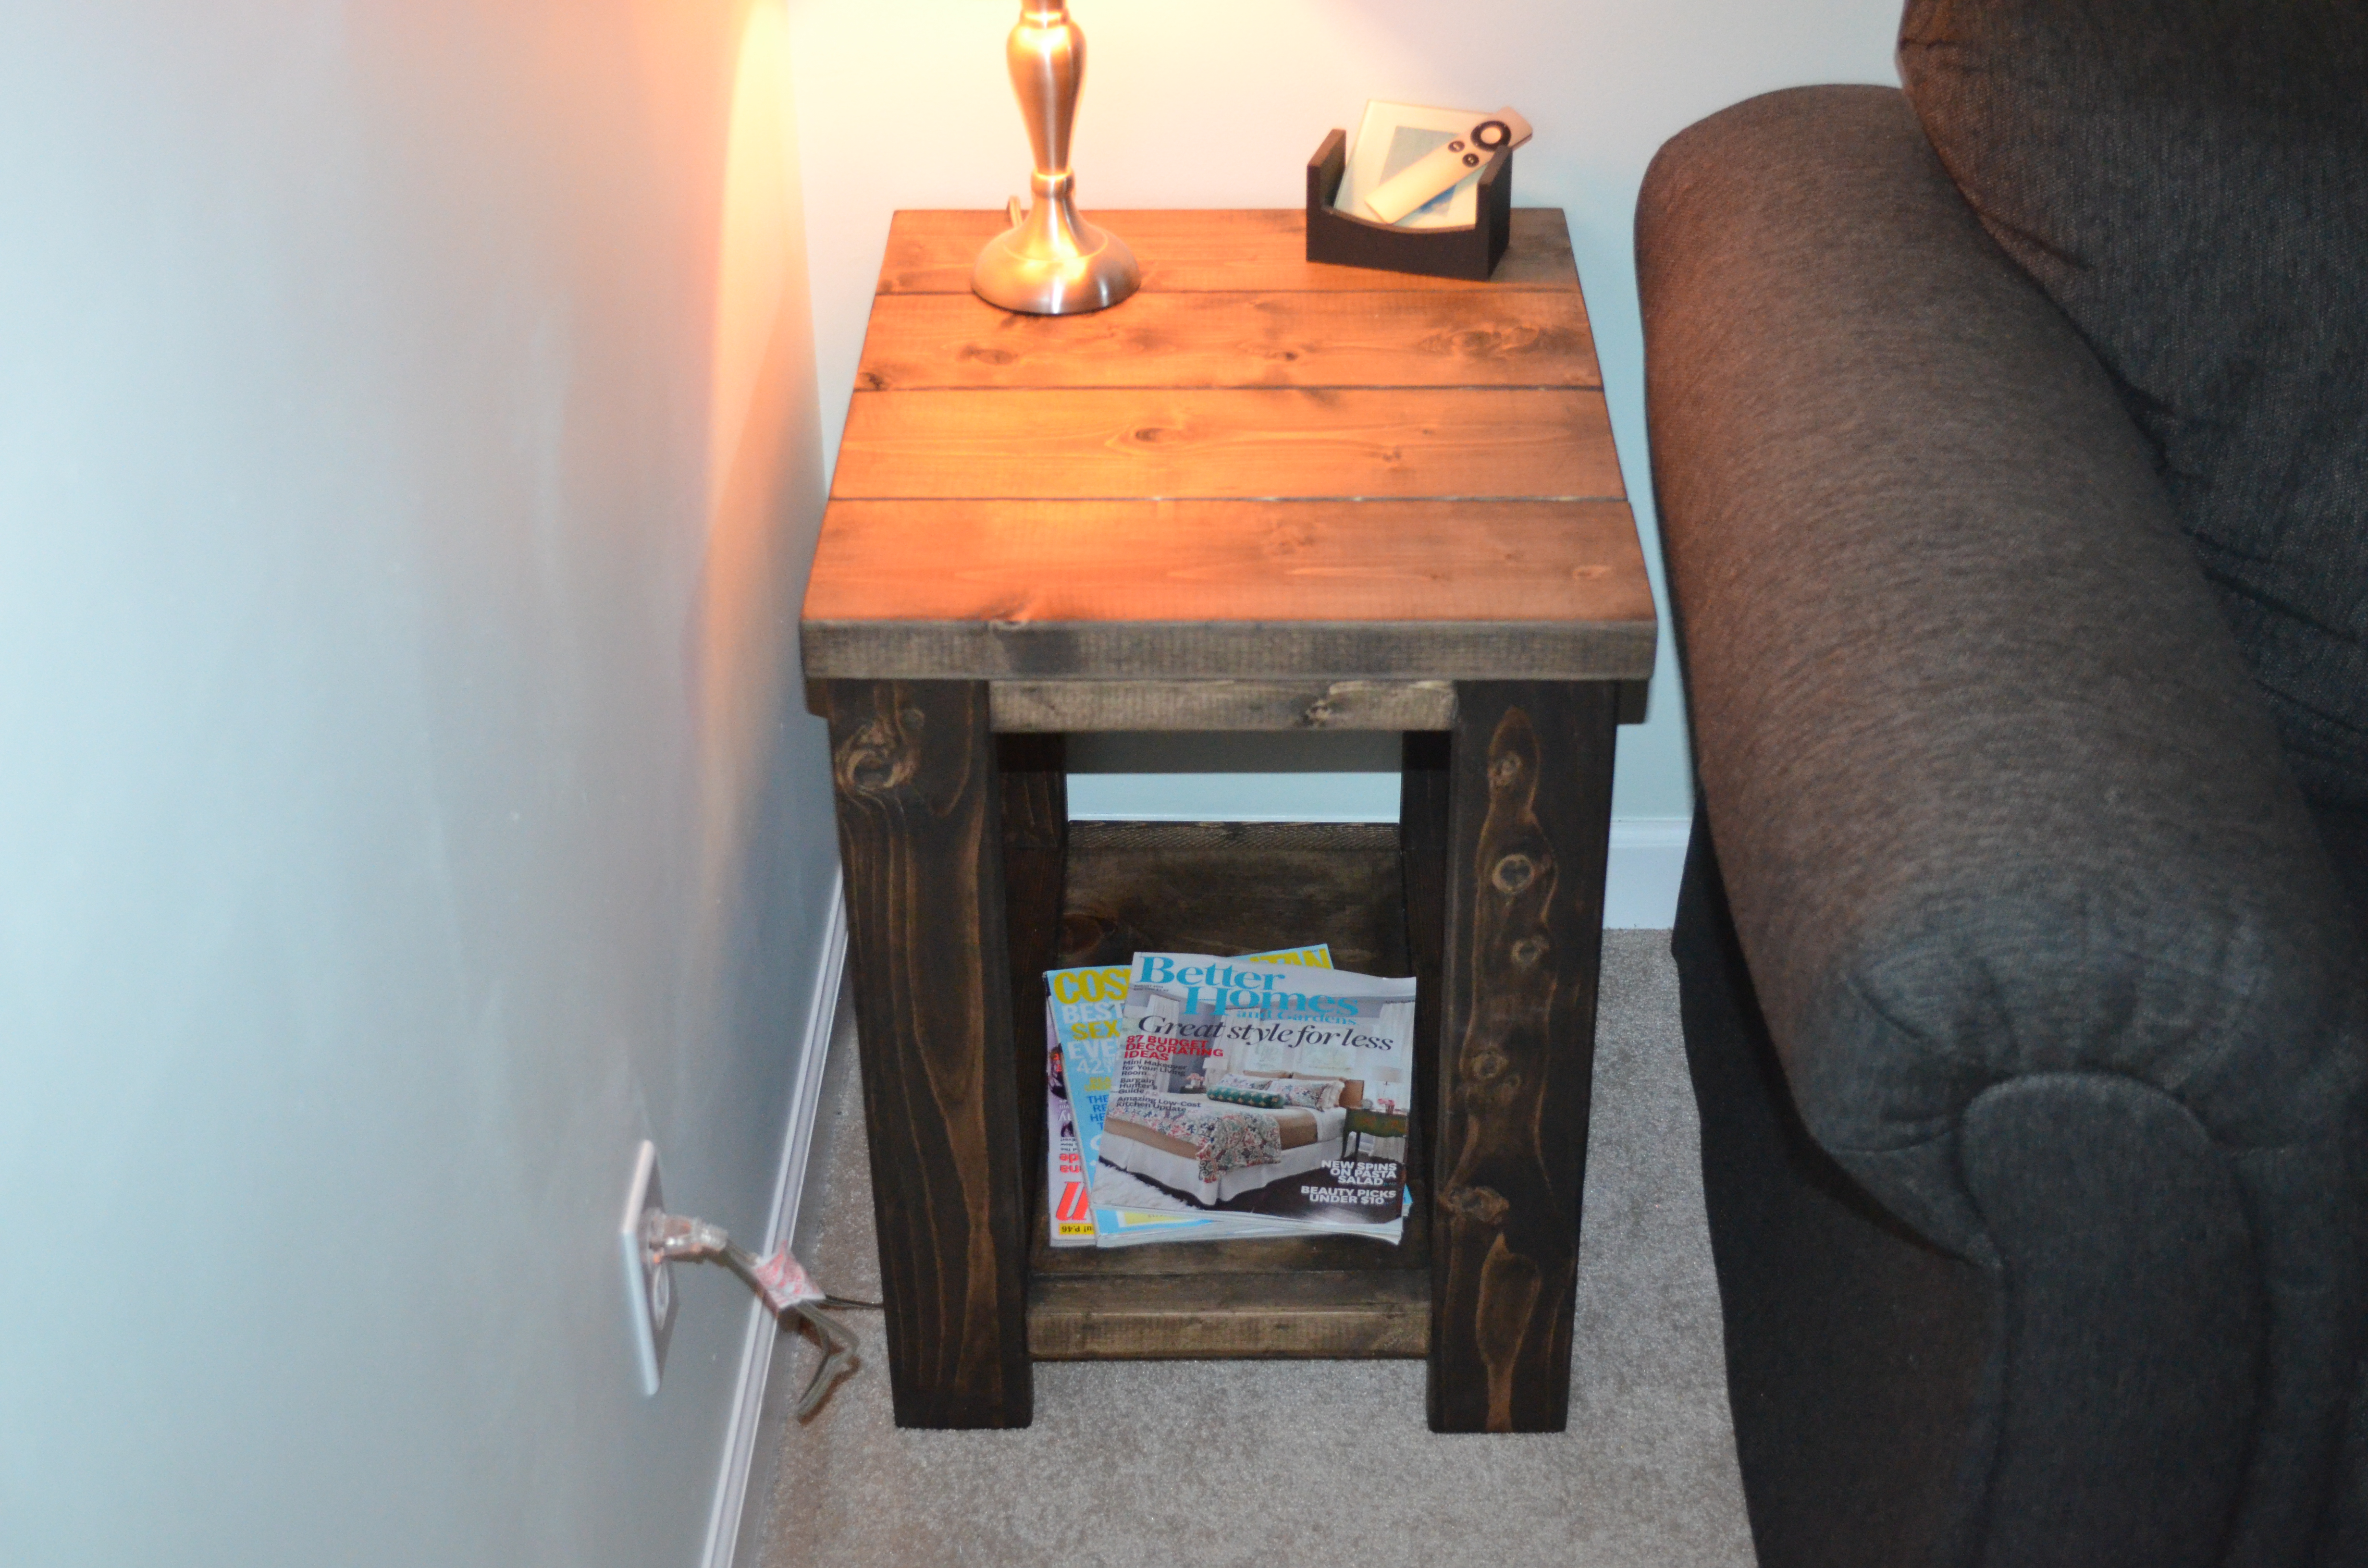
In the living room.
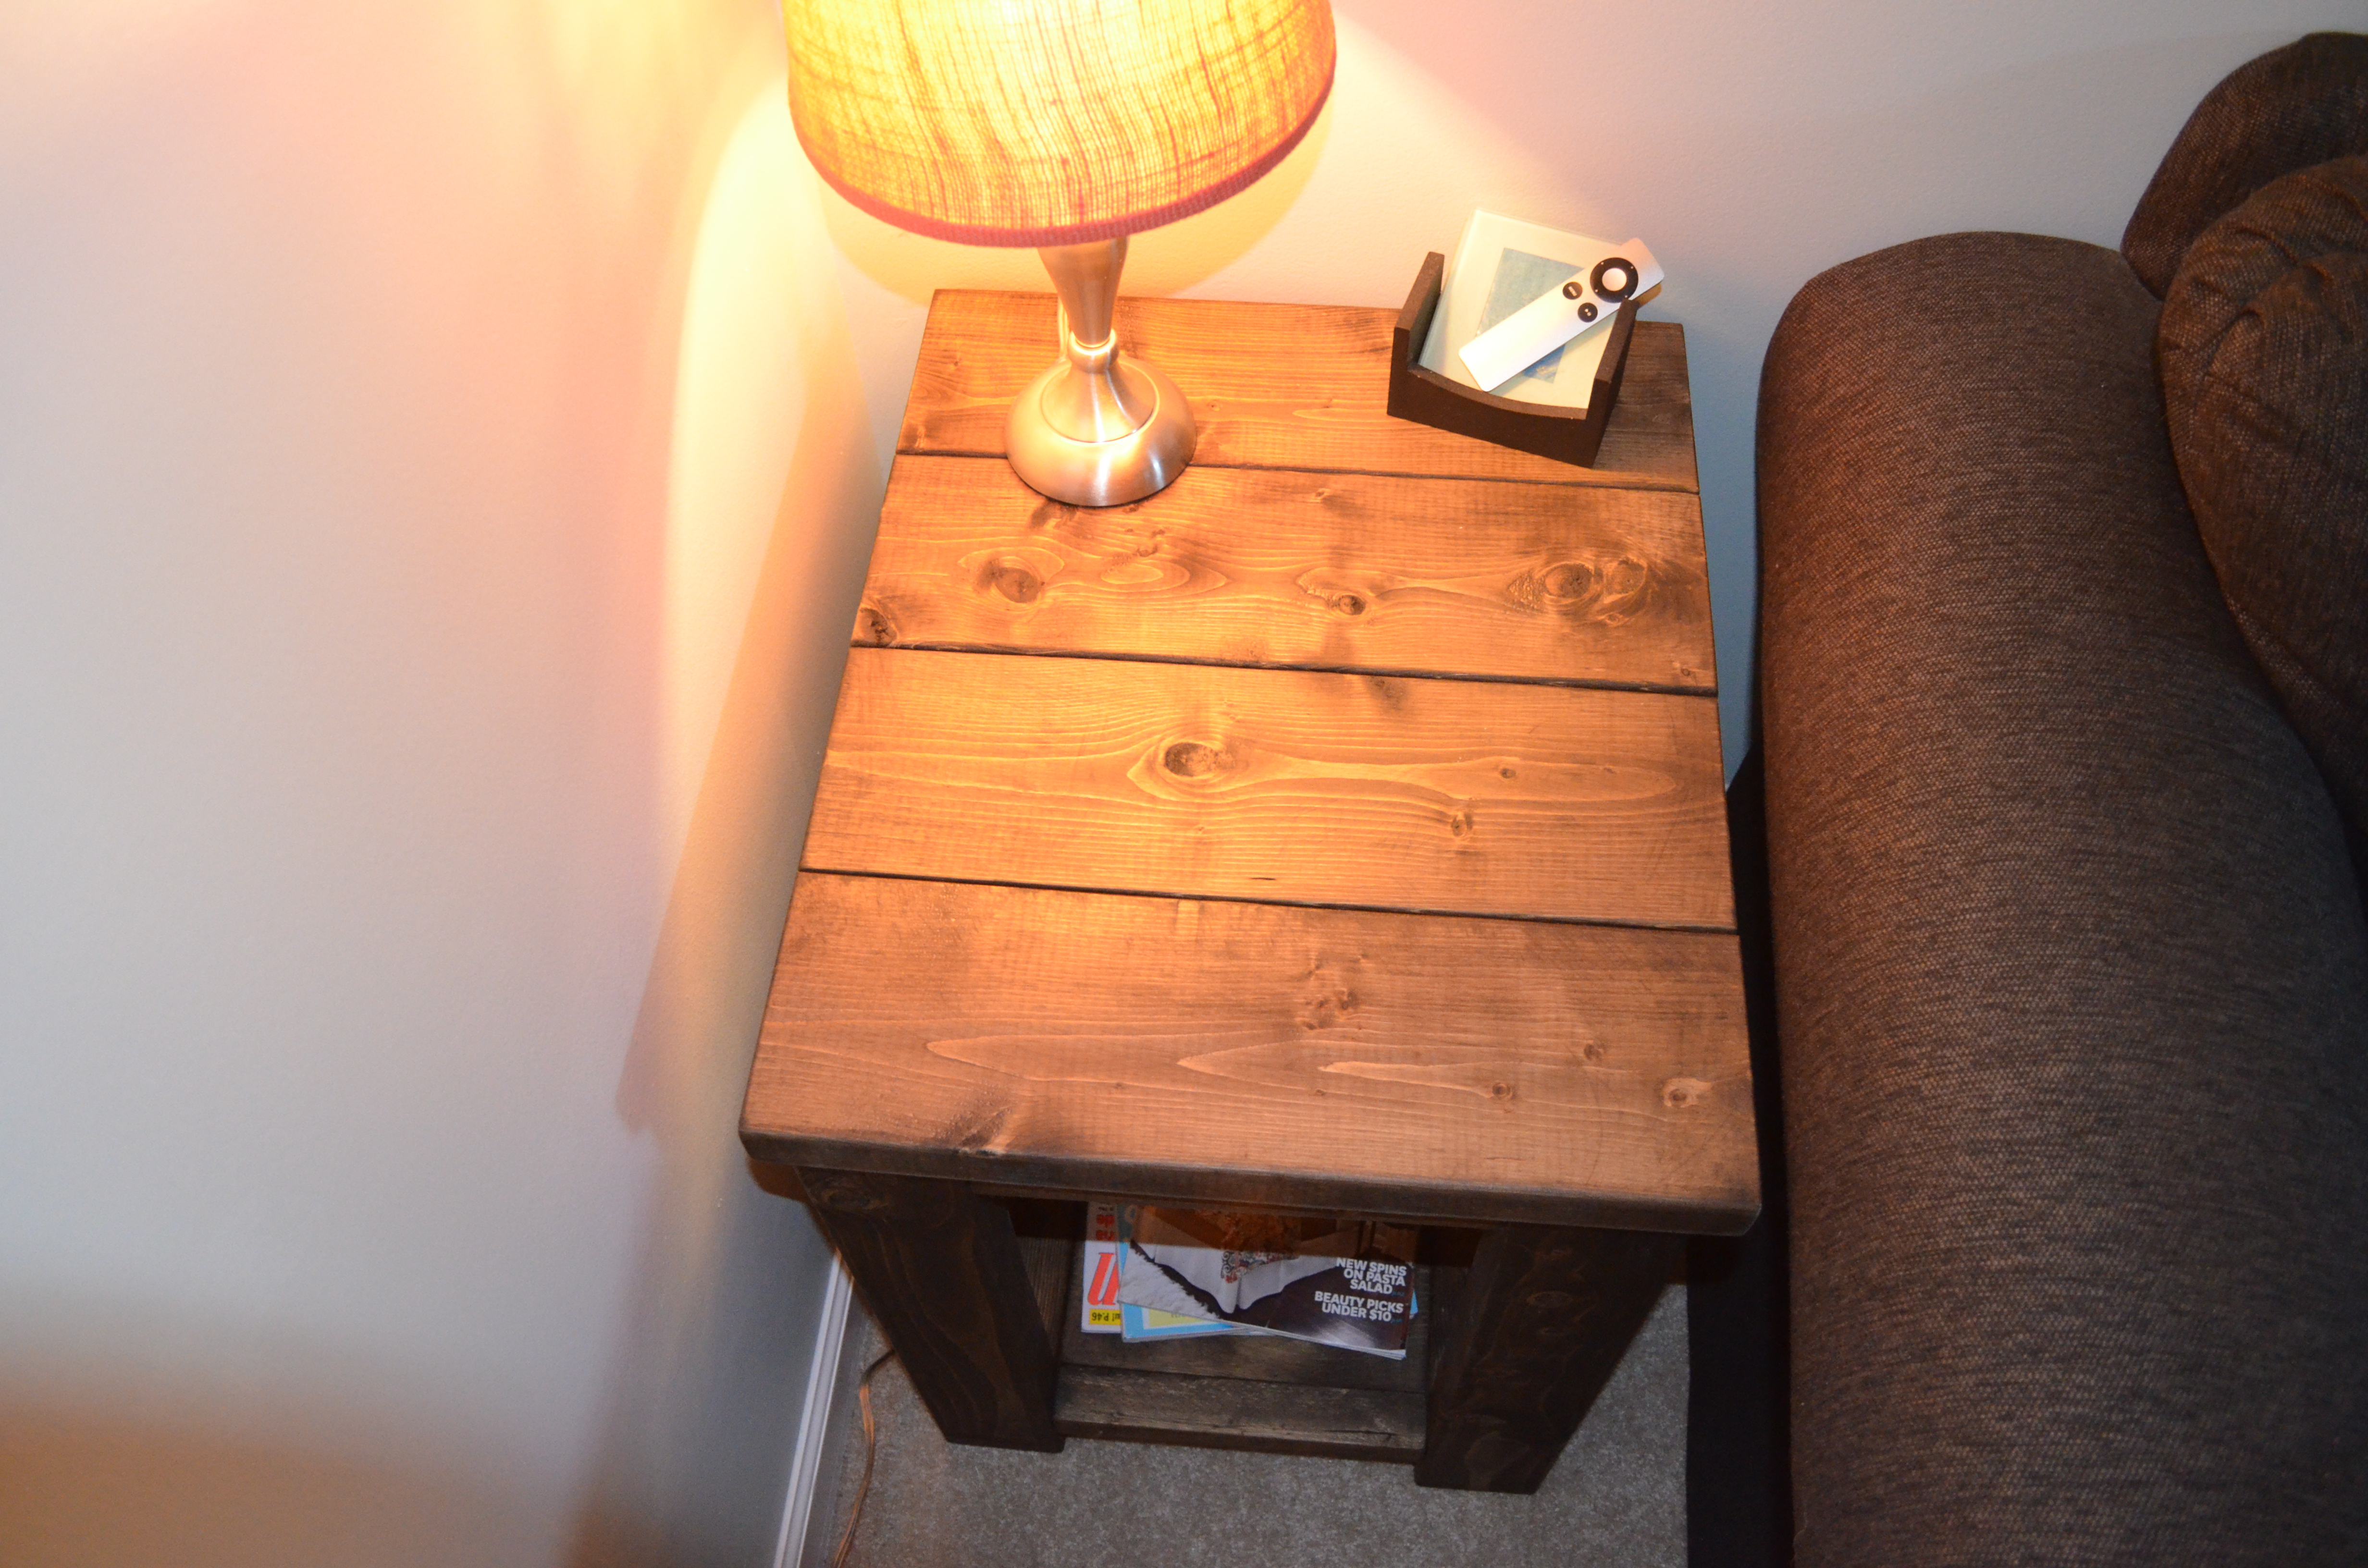
Close up of the top.
Once we finish the coffee table and the other side table we’ll post about those, too!
Wow, my big brother is growing up so fast.
Pingback: Three Month Update | Scott and Ashley